Difference between revisions of "Modelling:Skeleton"
Frankiezafe (Talk | contribs) (→Wrist) |
Frankiezafe (Talk | contribs) (→Resources) |
||
| Line 346: | Line 346: | ||
== Resources == | == Resources == | ||
| + | |||
| + | === Backups === | ||
| + | |||
| + | * [[File:Skeleton-model-backup.zip|Skeleton-model-backup]] - .blend file + refs folder | ||
| + | |||
| + | === Externals === | ||
* [https://www.biodigital.com BIODIGITAL HUMAN] - website to explore 3d anatomy. | * [https://www.biodigital.com BIODIGITAL HUMAN] - website to explore 3d anatomy. | ||
Revision as of 18:52, 14 March 2016
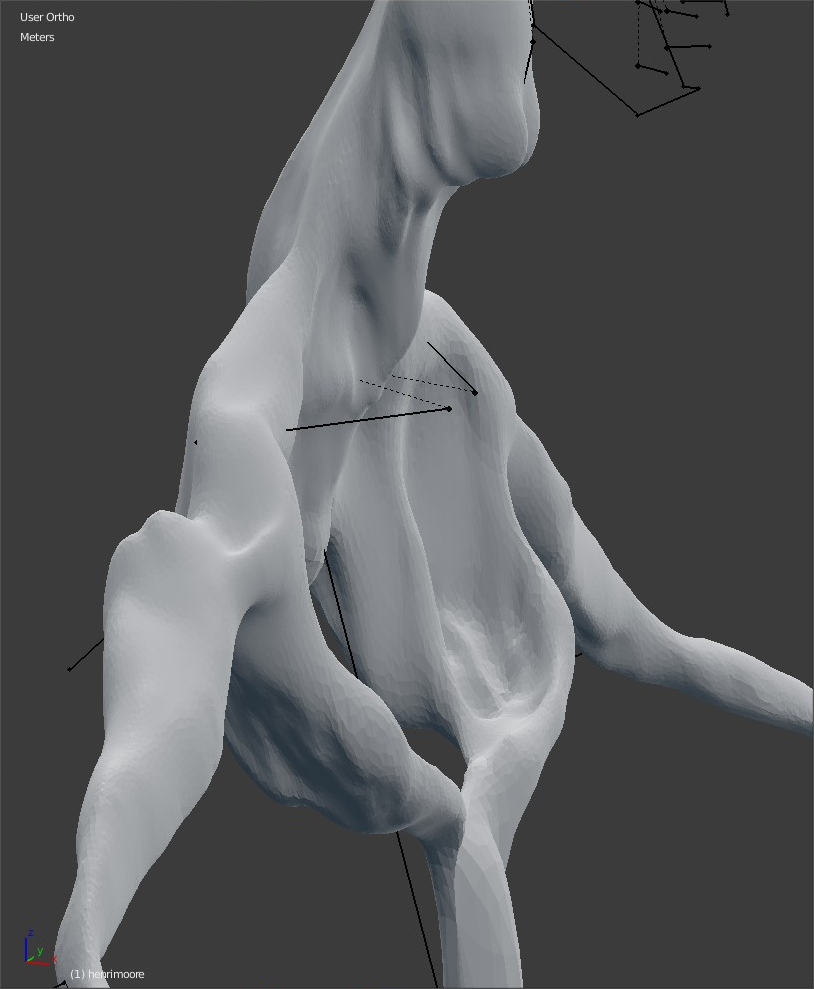
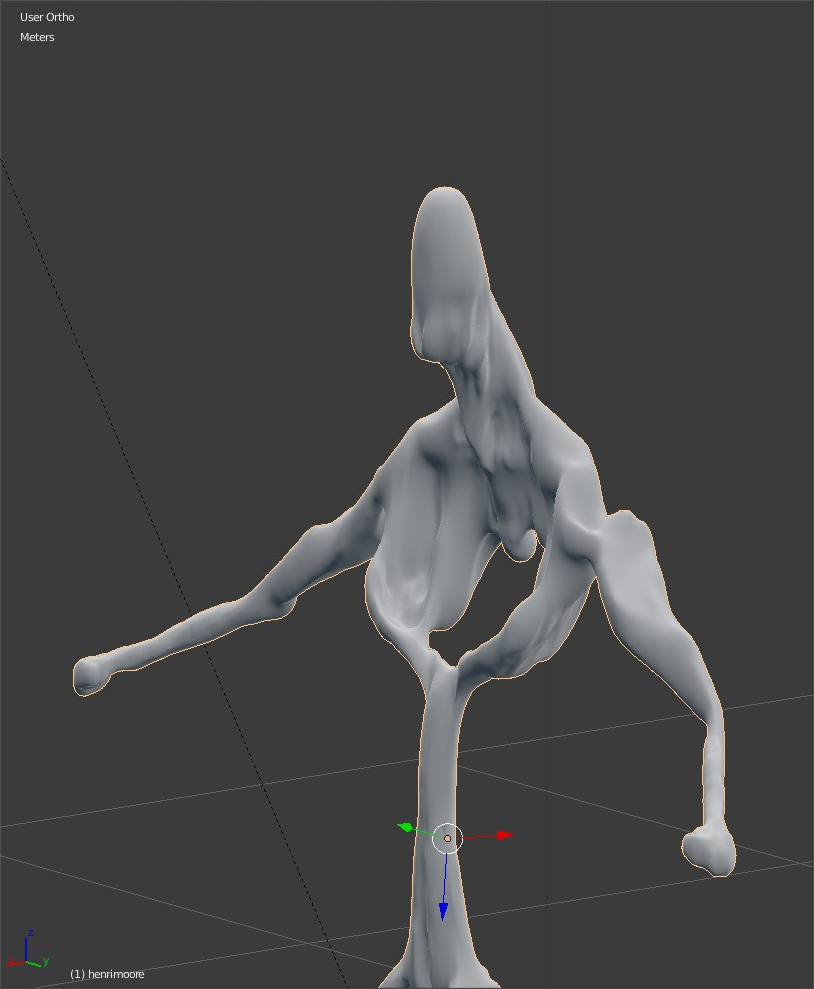
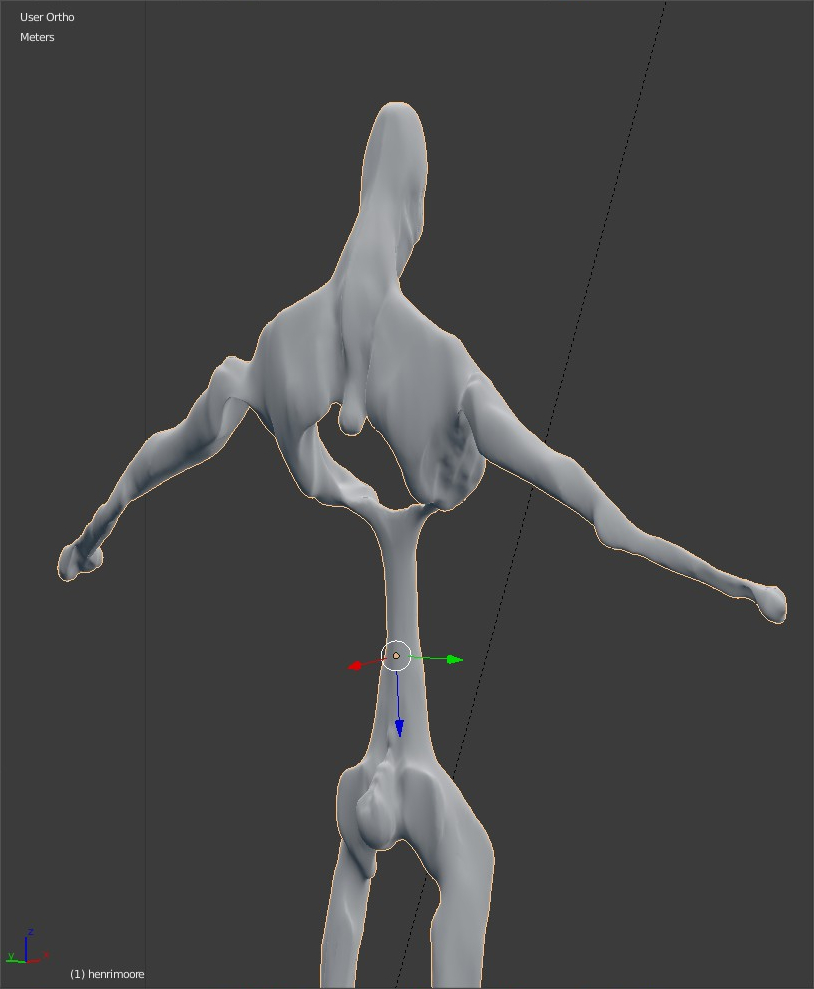
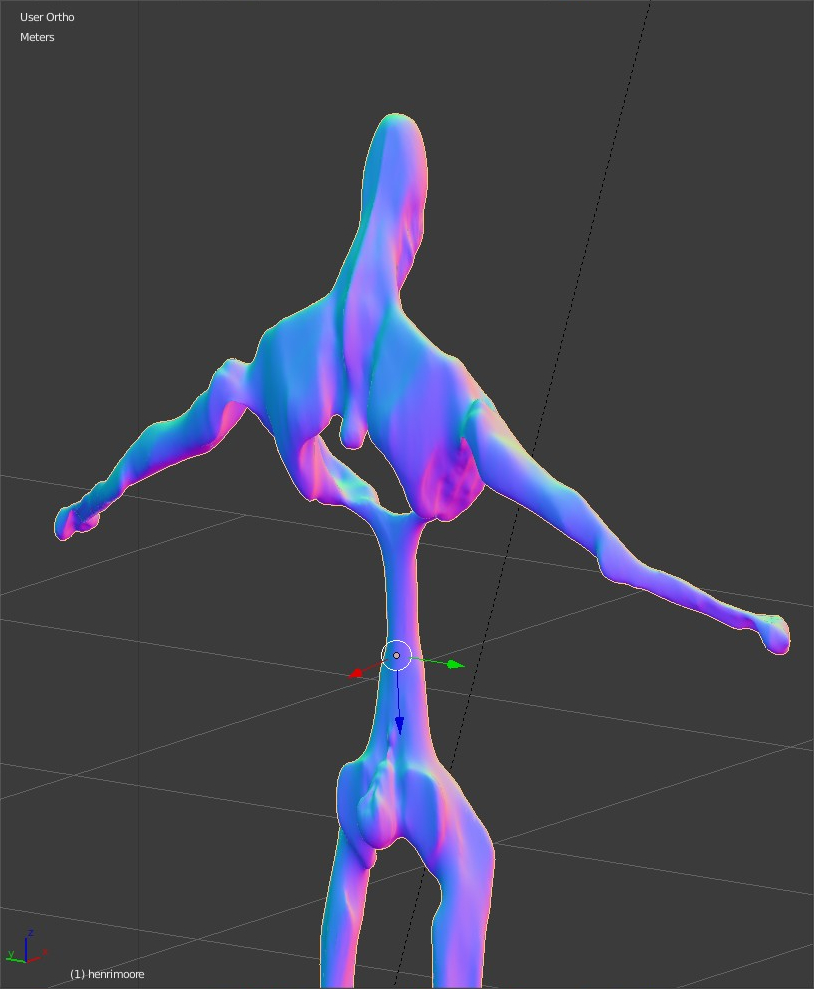
Infra layer of the avatar: skeleton/cartilage structure. Inspired by Reclining Woman of Henry Moore and by the Pale man of the Guillermo del Toro's Pan's Labyrinth.
Sculpting for pleasure
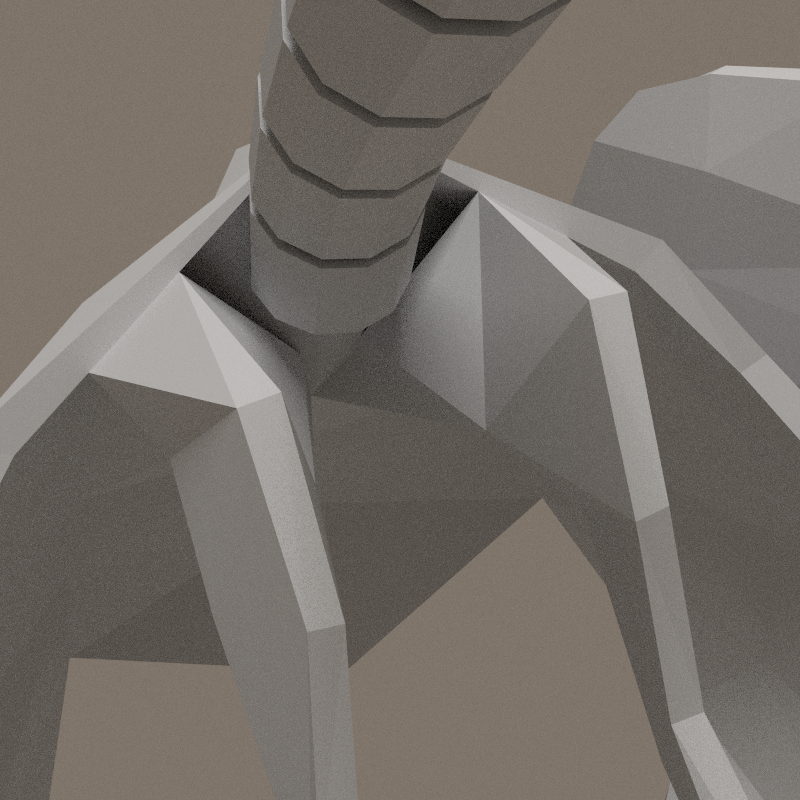
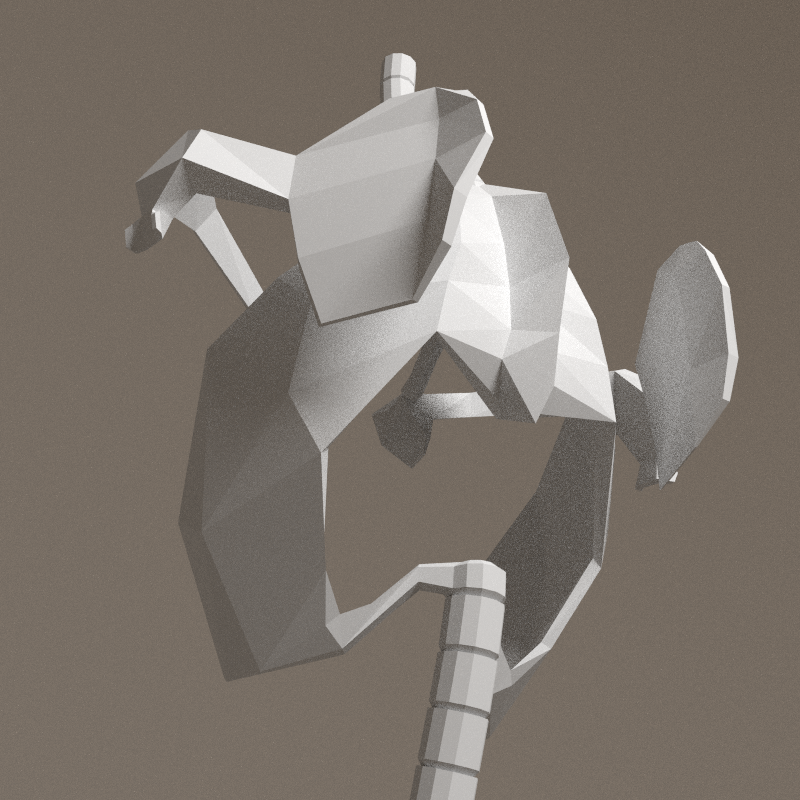
chest, head and arms
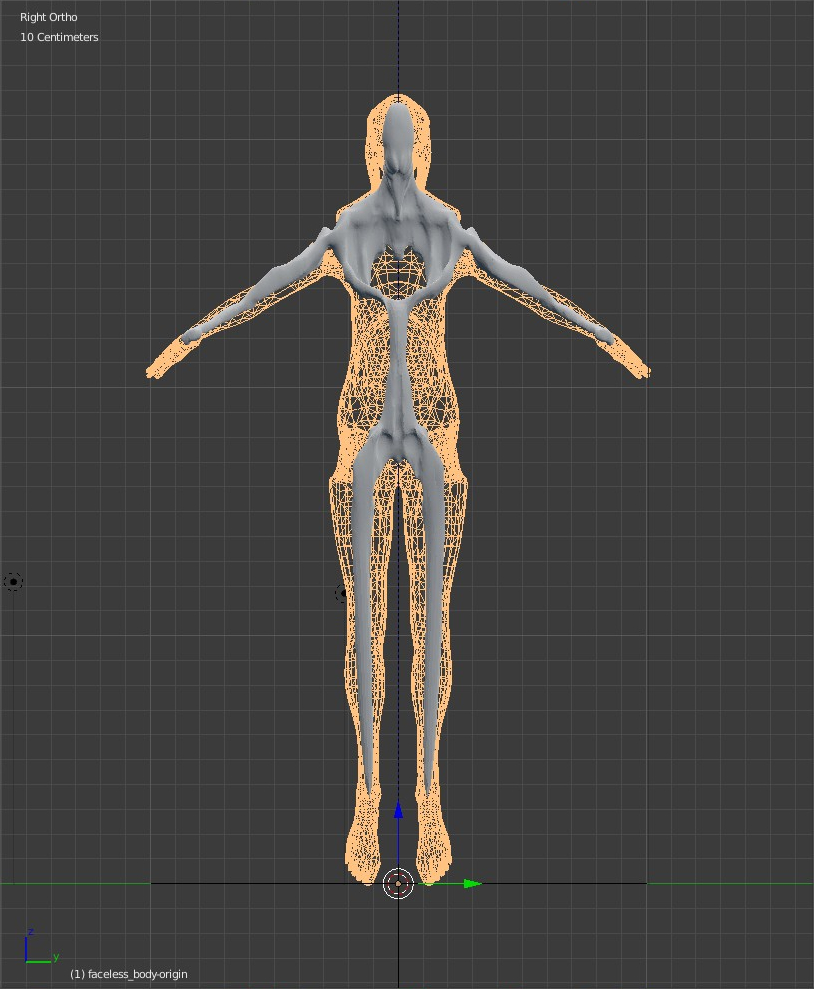
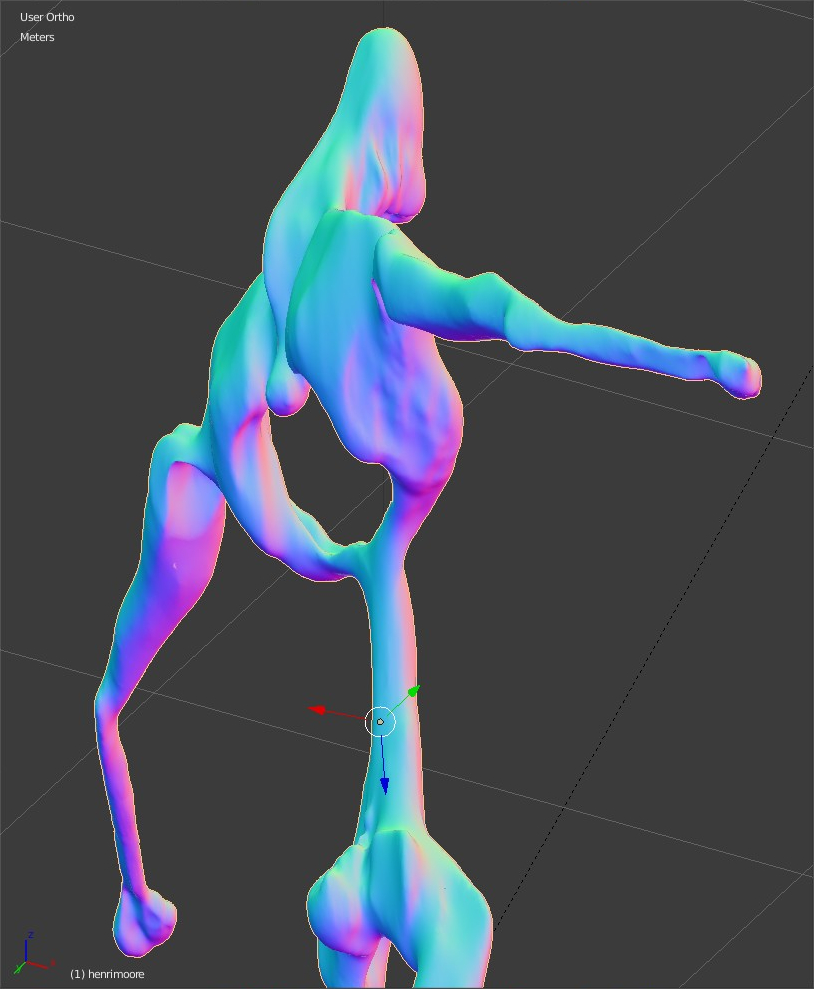
Sculpting a skeleton-like model.
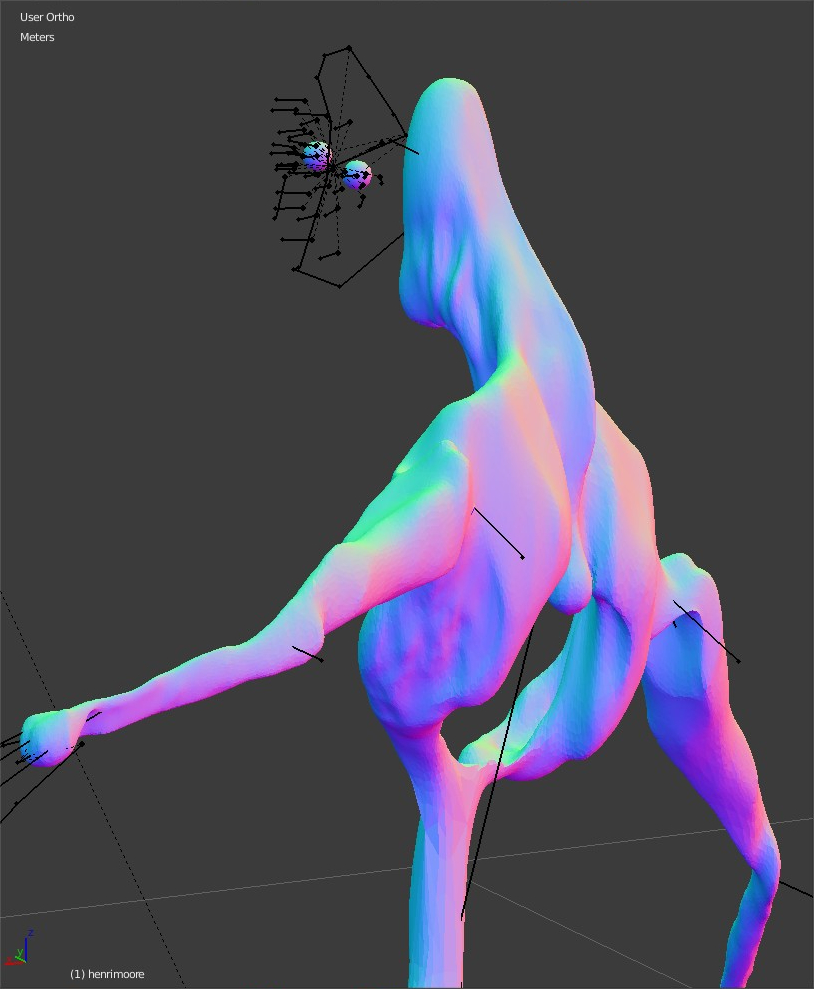
Workspace, with ref images loaded on the right.

Other views


notes
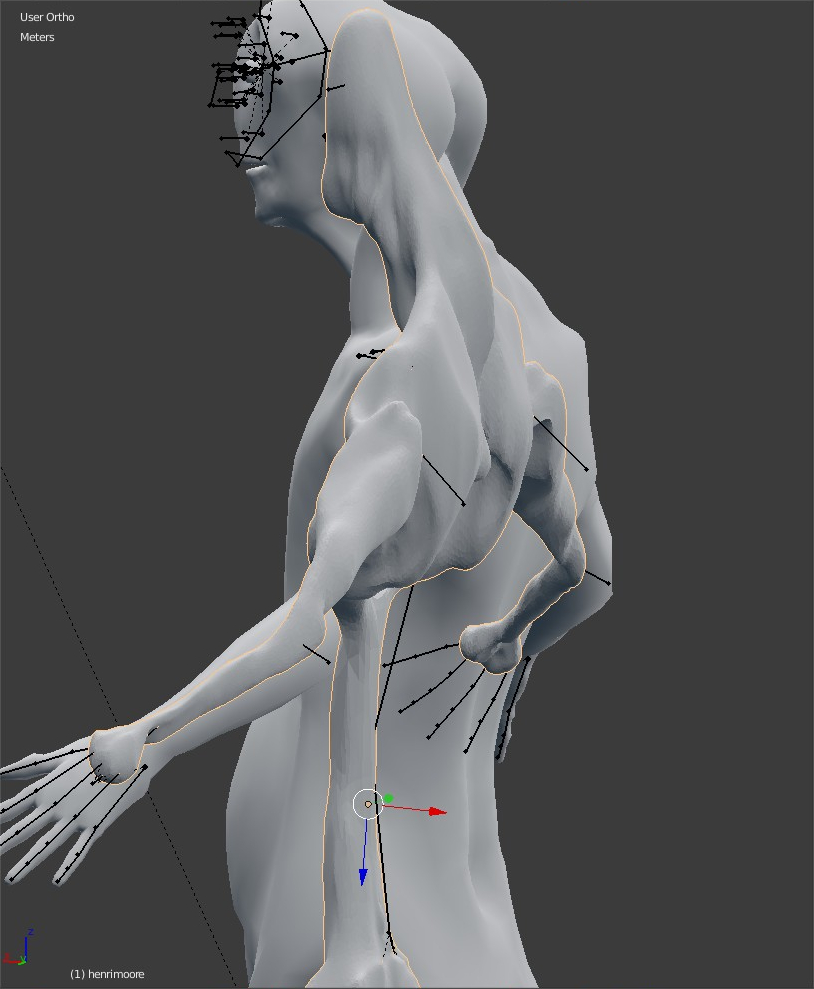
- Chest is still a bit wide, belly-spine, pelvis and legs have to be fine-tuned.
- The articulation points have to be marked clearly. If the model behaves like a bone structure, the softs areas have to be tiny and concave (marked by a bevel, convex or concave)
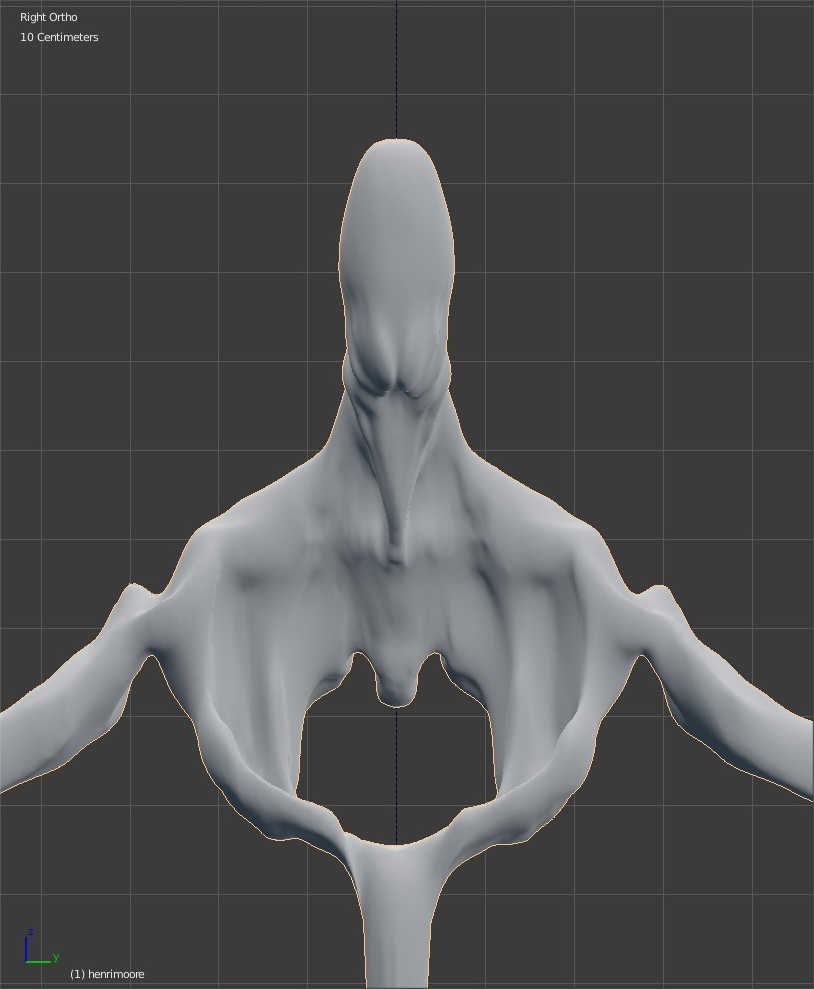
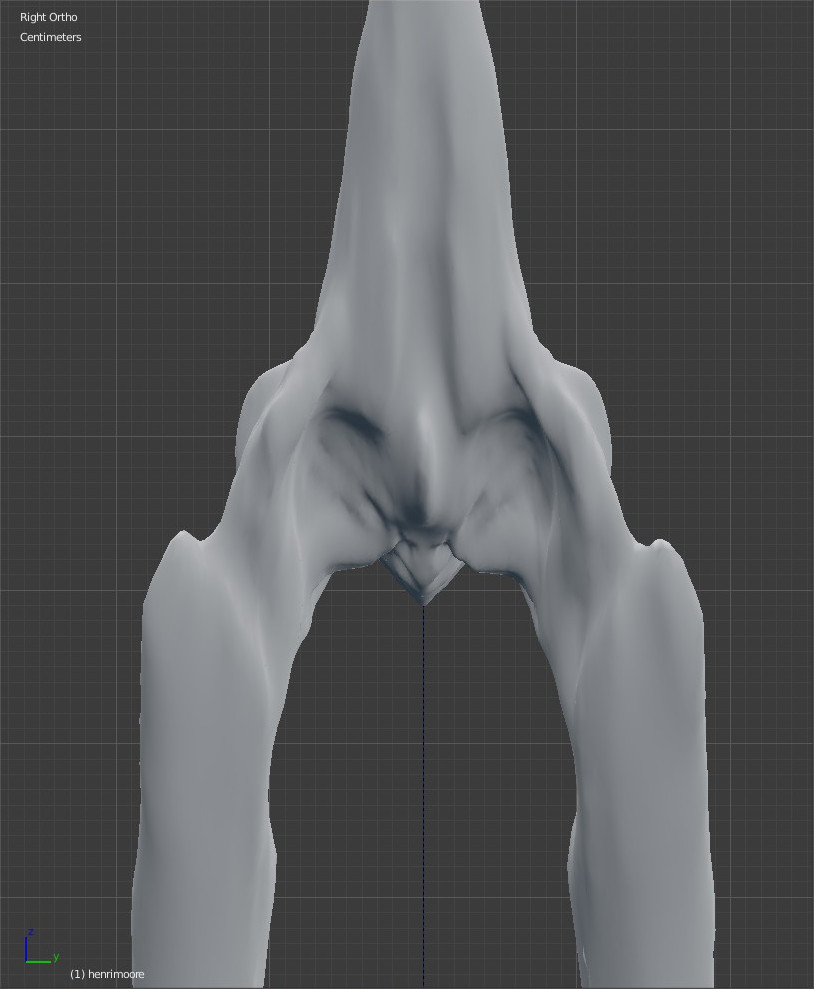
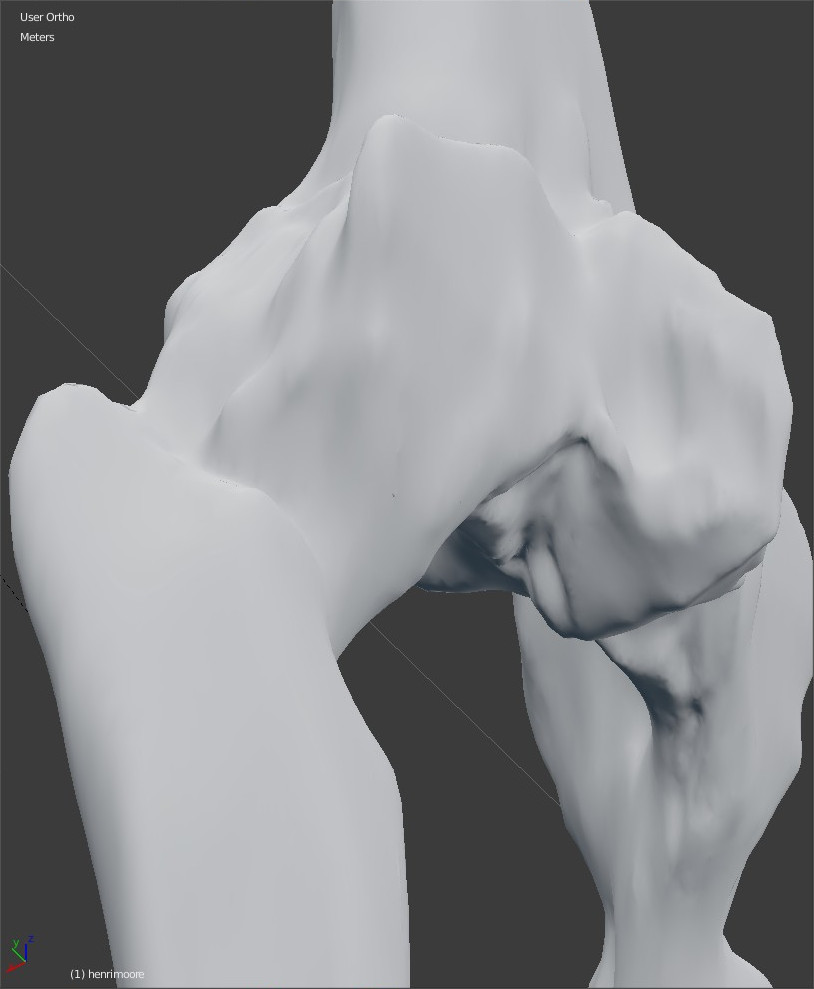
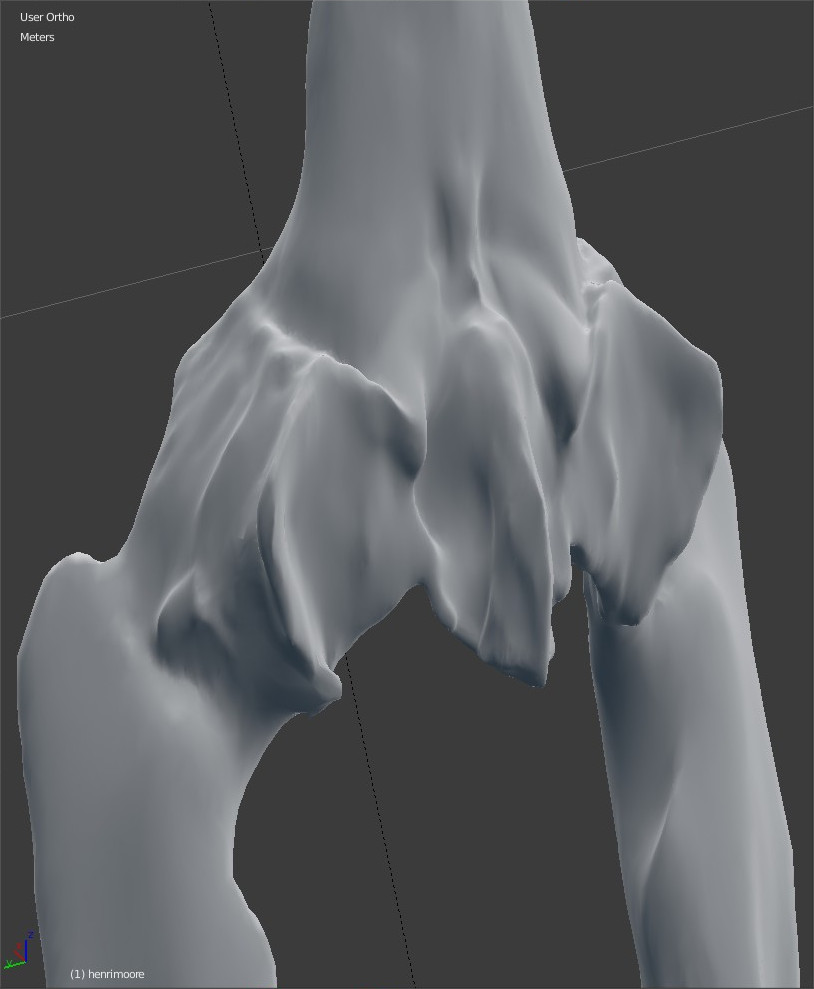
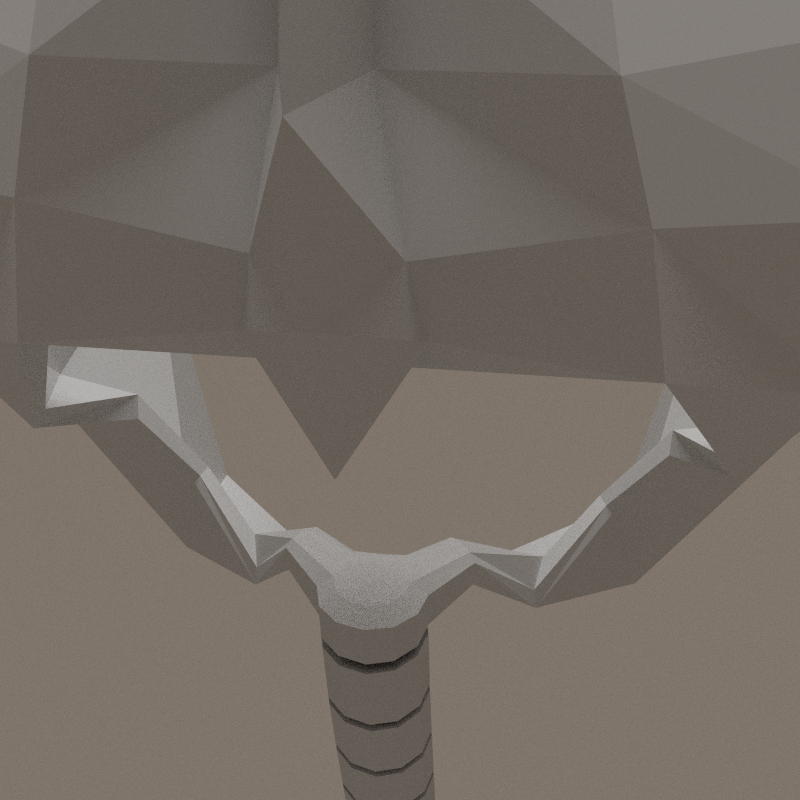
pelvis
Working on pelvis. Flaps at the back are not big enough. They should receive muscles of the legs and therefore be wider.


---
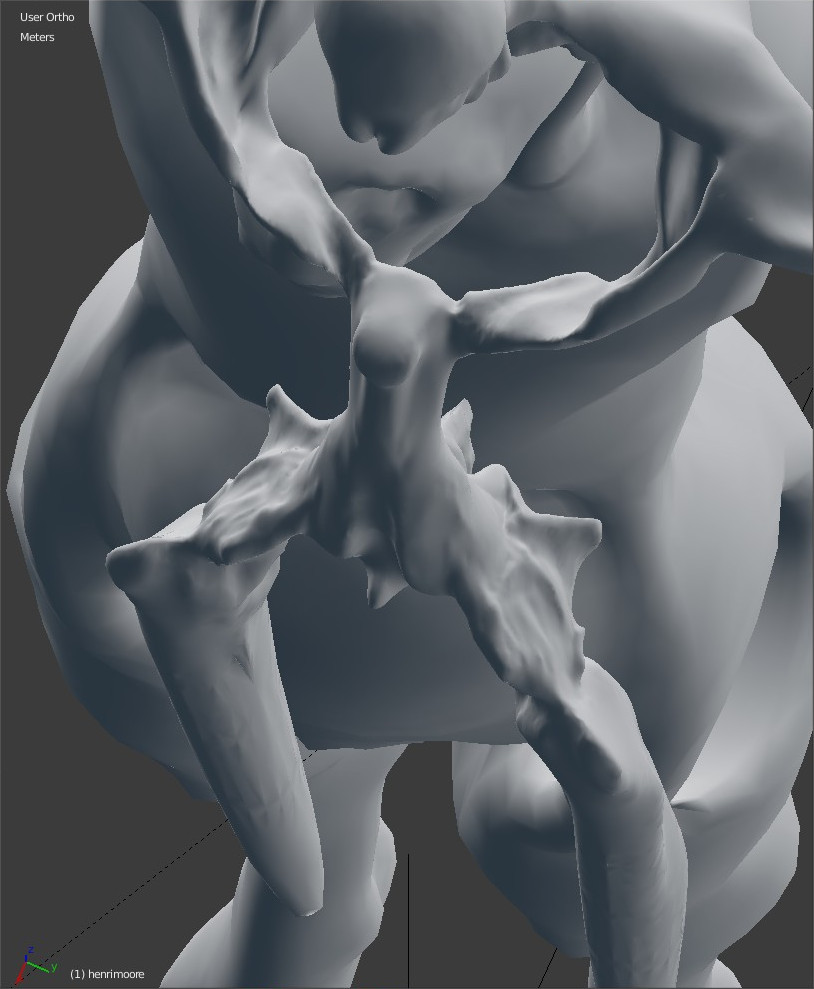
Skeleton consistancy
Complete handbreak: i'm masturbating on the details of the model without taking care of the mechanic, without thinking to the specificity of a 3d avatar. See Theory:Avatar for the underlying thoughts.
So, back to an empty scene, just keeping the armature of a bipede, wich is the starting point of the whole modeling.
Mechanics

Each bone is conceived separately, and is an interpretation of the armature. The work of Moore is more present in the sources, and the work of Jacques Fabien Gautier d'Agoty is mounted. The way JFGdA is describing anatomy is not correct but beautiful because there's a layer of personal interpretation in his paintings.

- better hips/pelvis consistancy
- pelvis will be stretch towards coxys and pubis not working, abandonned
- clavicle-neck link
- simplified hips
- no more mudguards
- with butt flaps
- begining arms and leg articulation.


- elbow articulation
- knee articulation
Just realised the articulations are absoloutly NOT functional mechanically!
Back to basics, let's study anatomy.
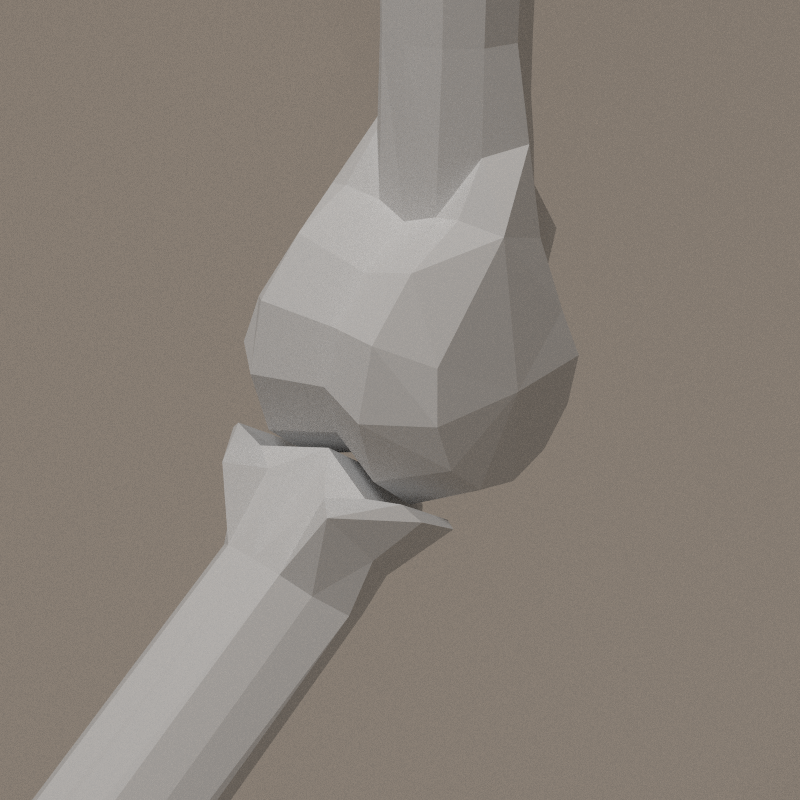
Elbow study
Taking the video into account, new meshes for arm and forearm.
- outward angle: ~19°
- inward angle: ~180°

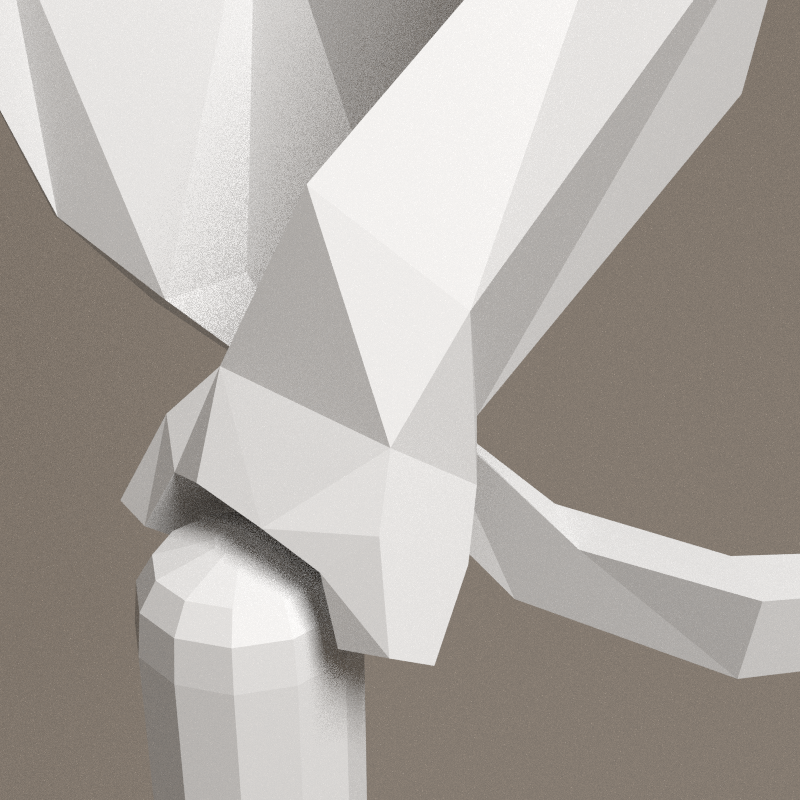
The end of the arm is finished by a cylinder perpendicular to the bone (elbow pivot). Elbow pivot have 2 times the diameter of the arm ; its center is aligned on the periphery of the arm. The pivot have a central valley that "guide" the forearm => 1 axis rotation. The forearm is just sculpted to follow the shape of the shape of the pivot.
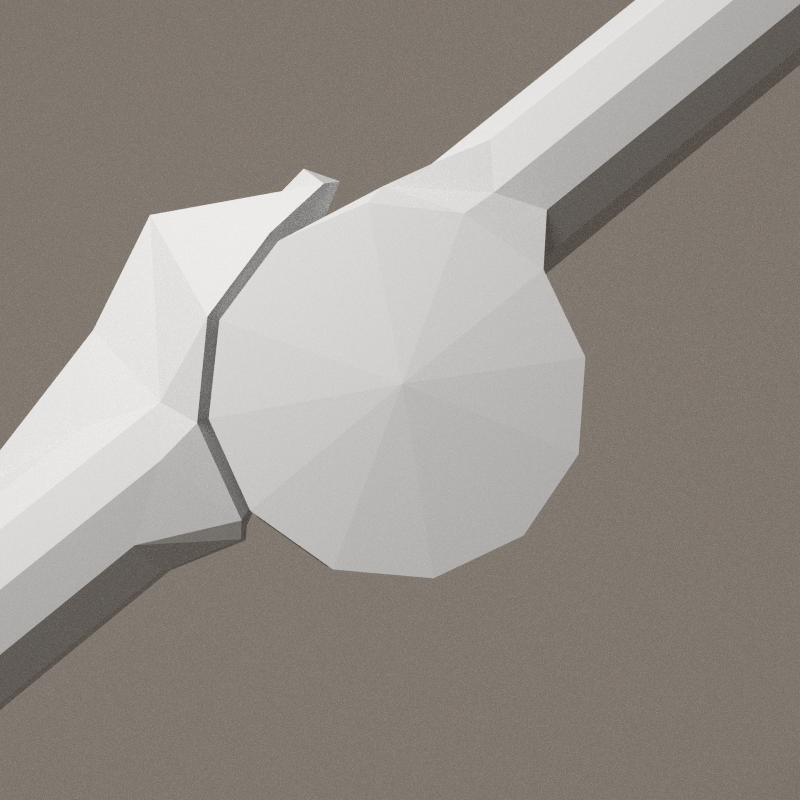
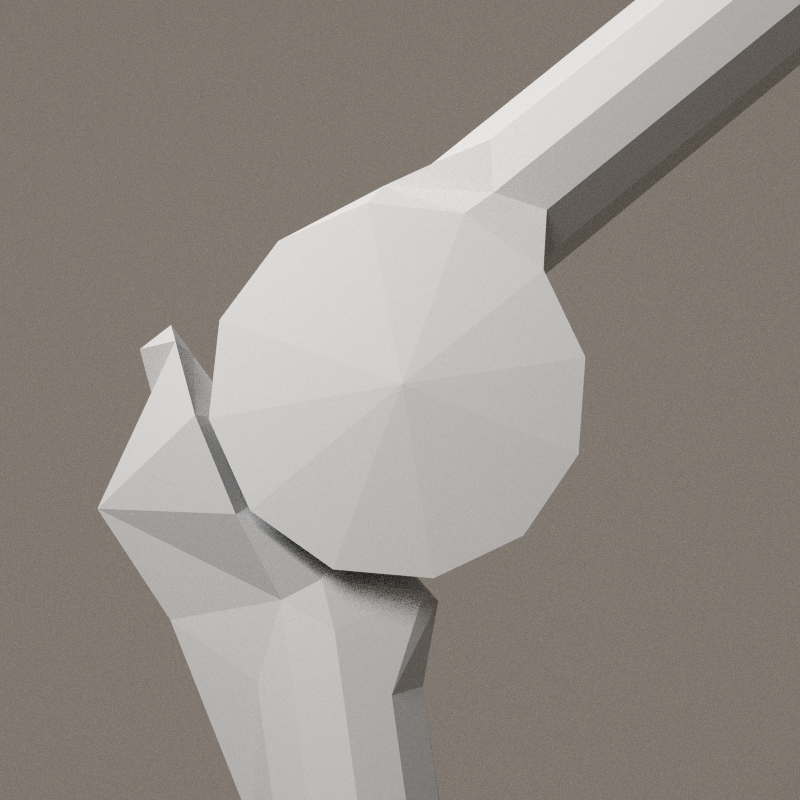
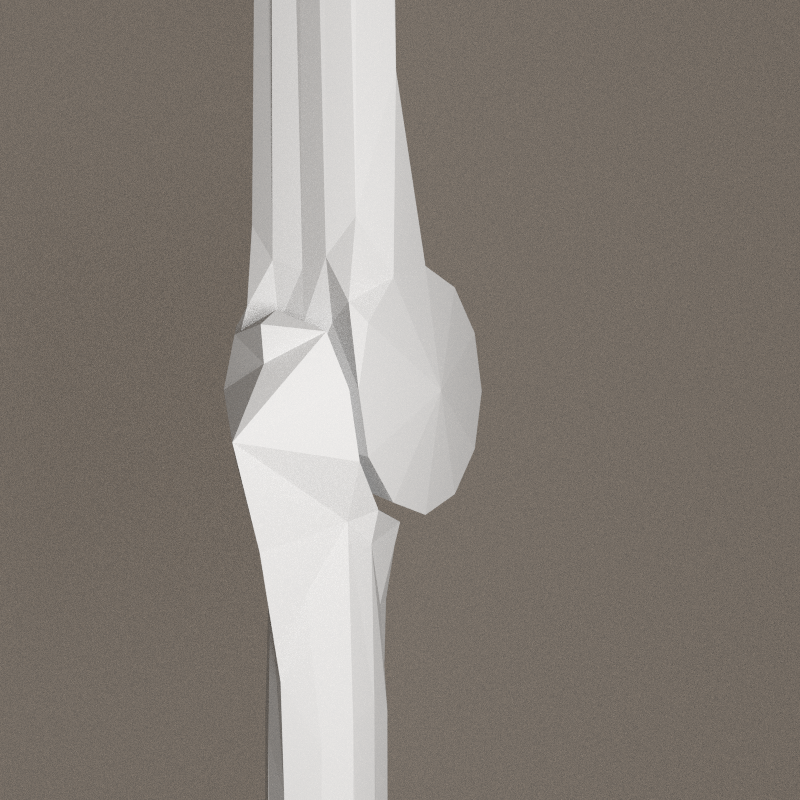
Knee study
The end of the femur has a pulley shape, and the head of the tibia is a double hollowed shape. The front joint stop is stronger than the elbow.
- outward angle: ~23°
- inward angle: ~177°

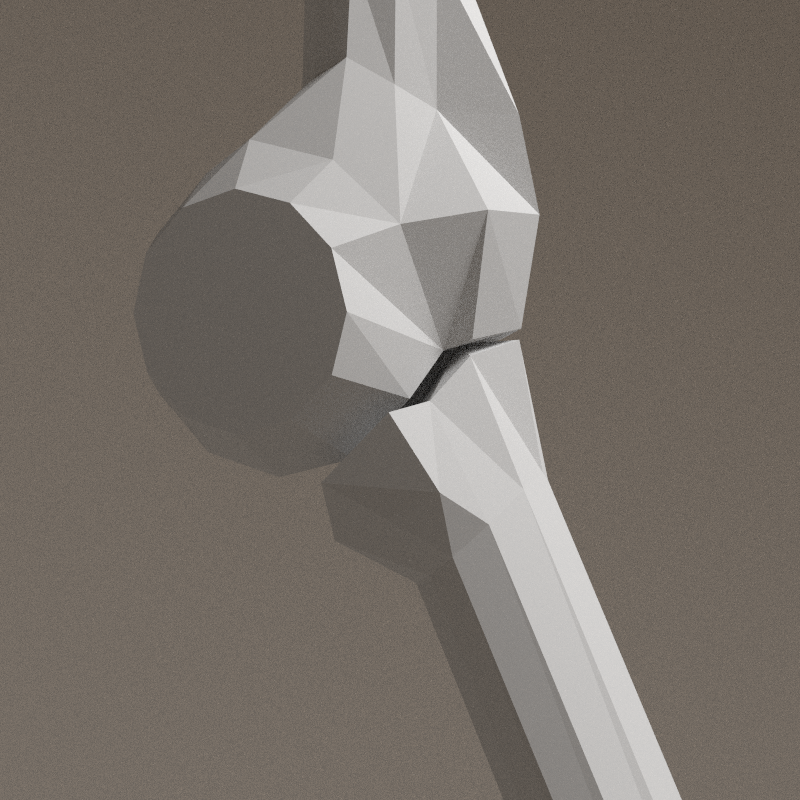
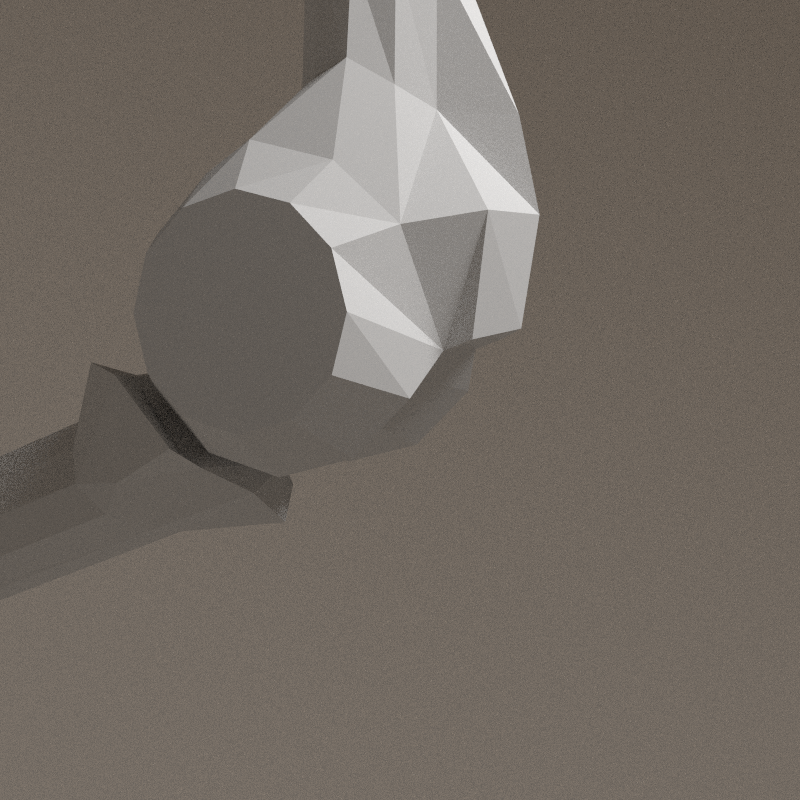


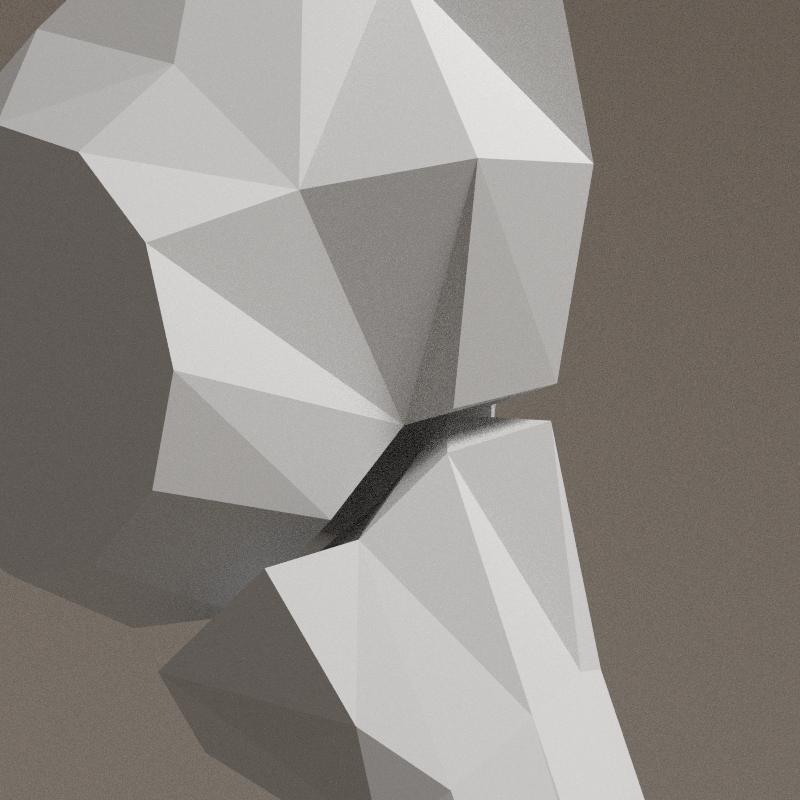
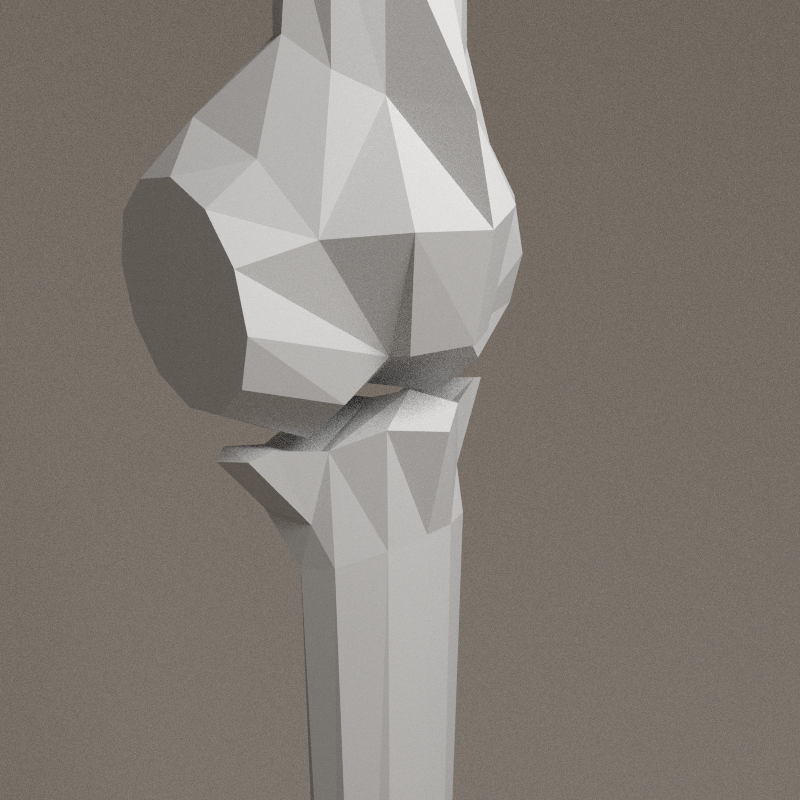

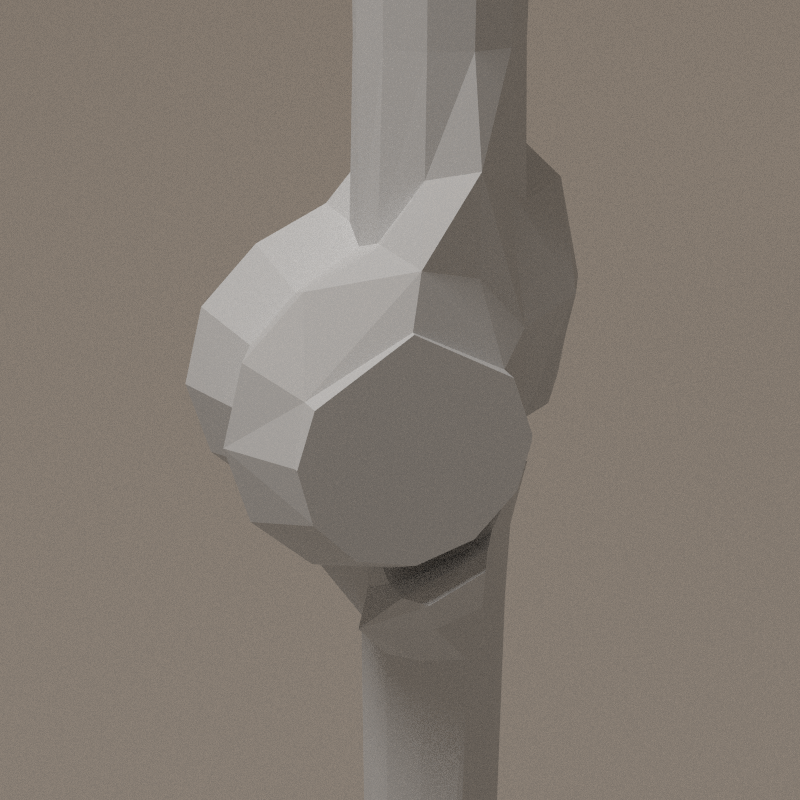
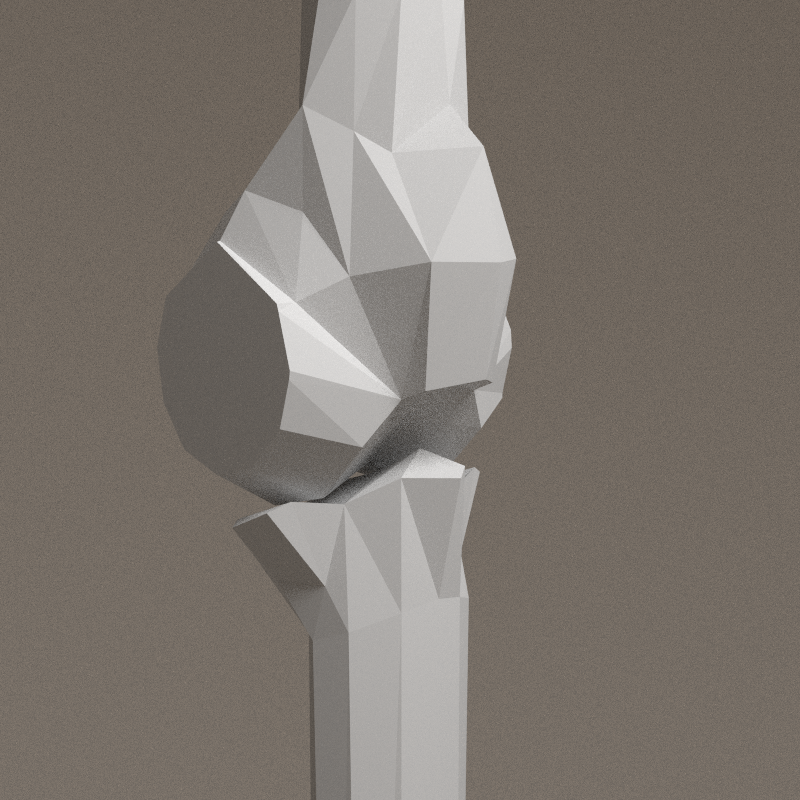
Junction with hip has to be fine-tuned.
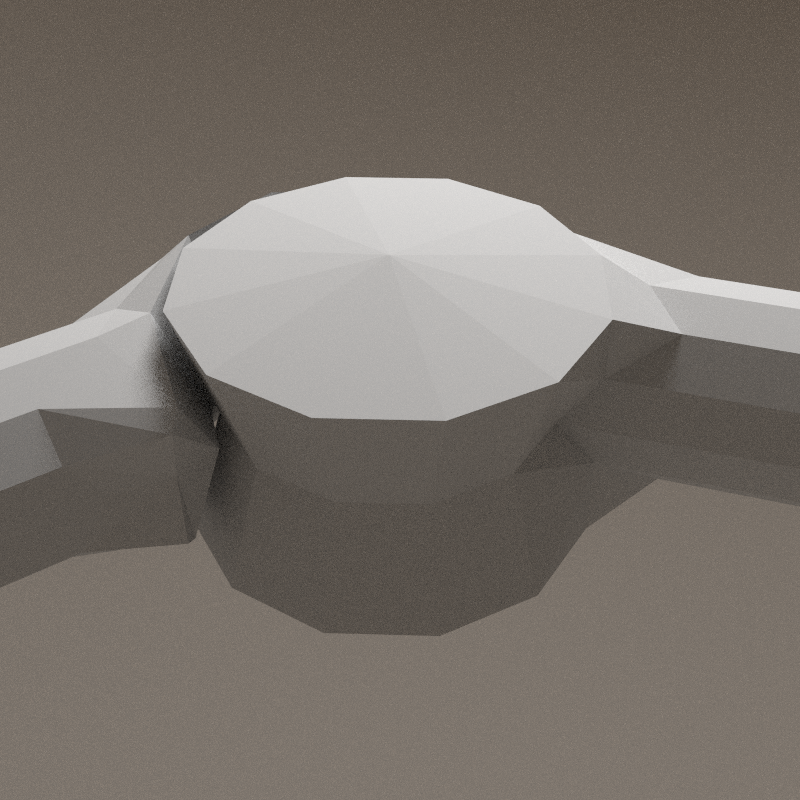
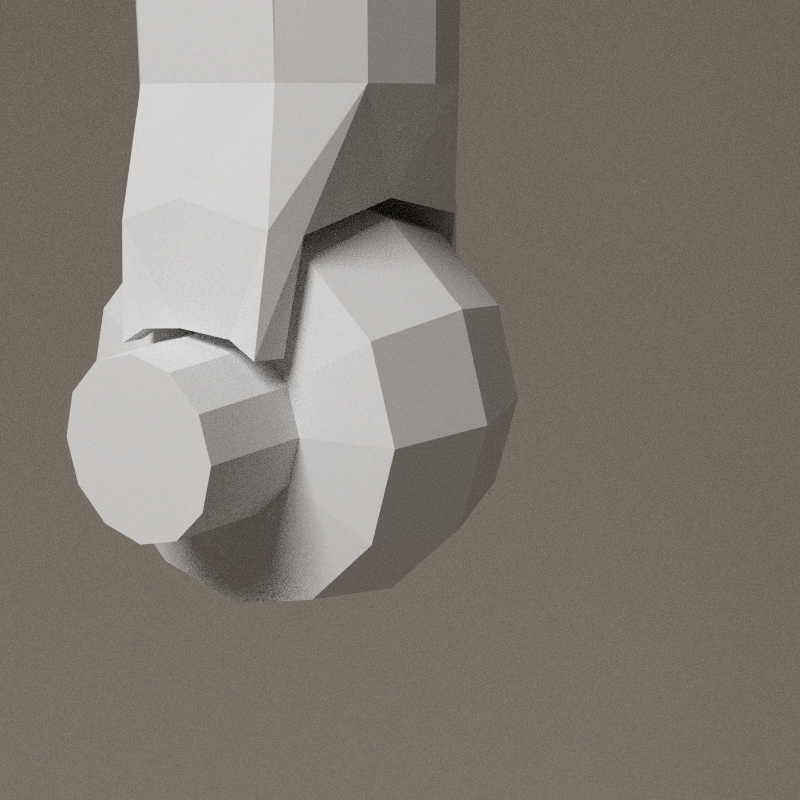
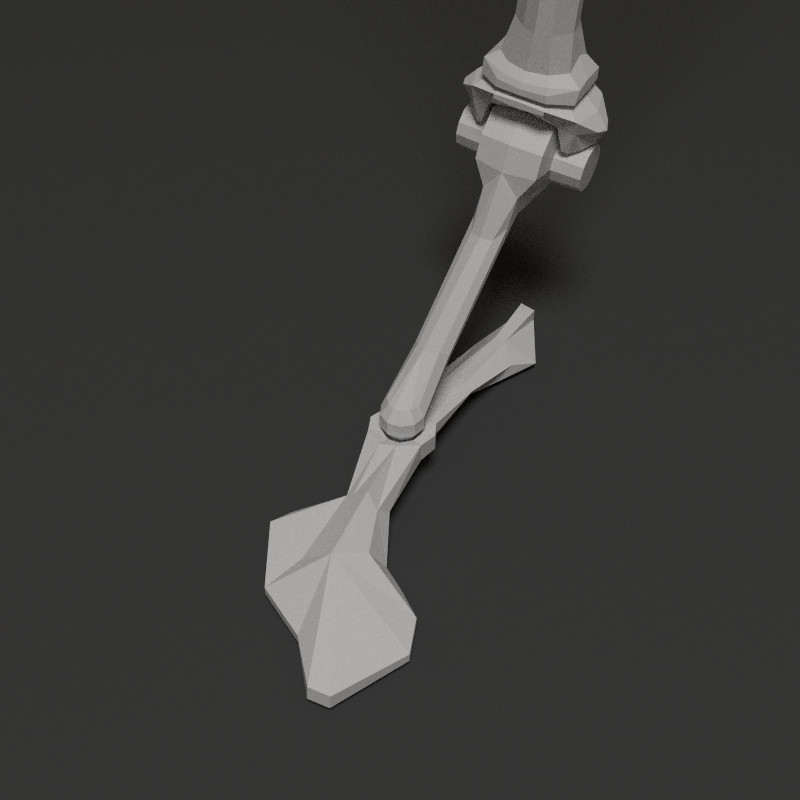
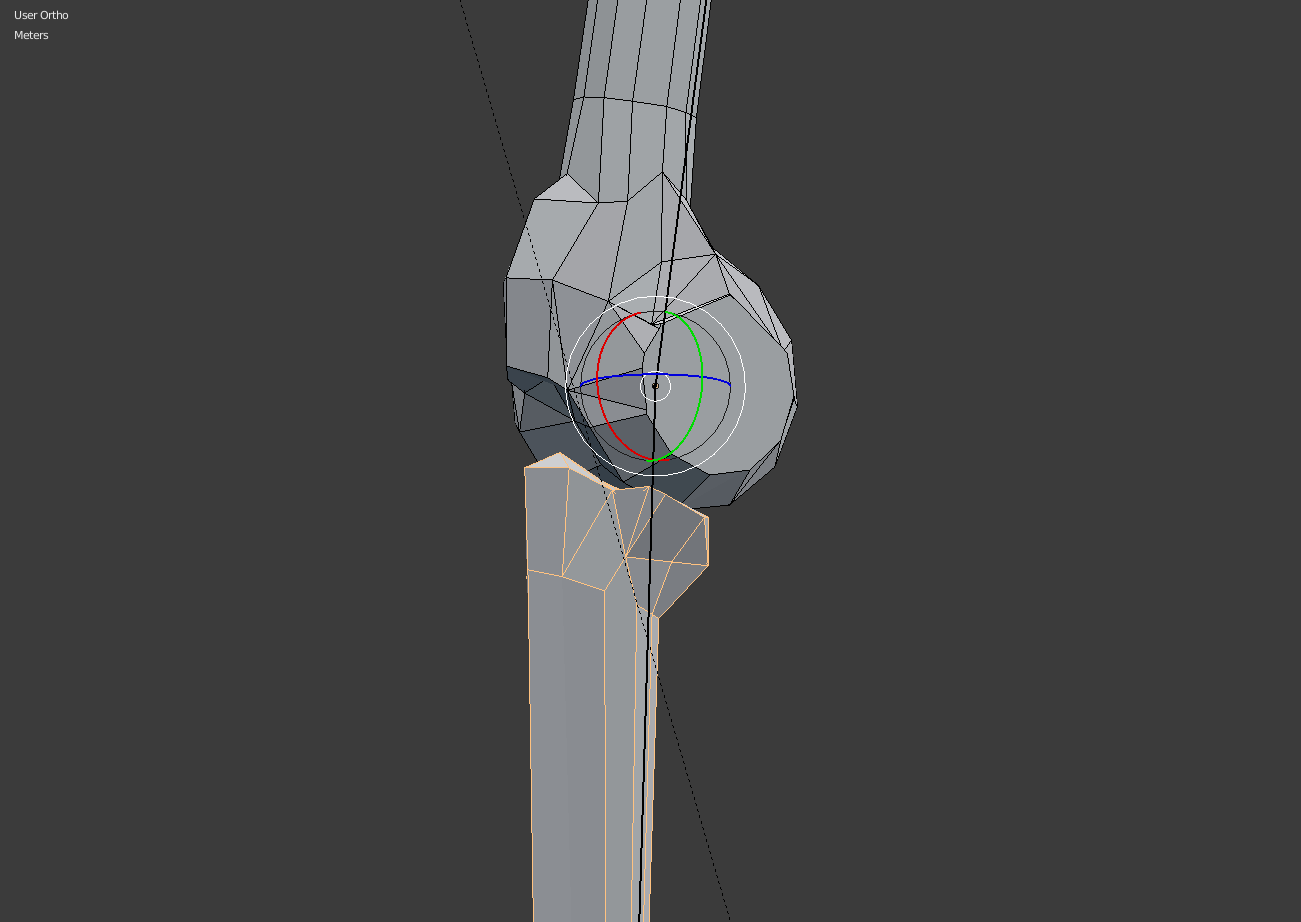
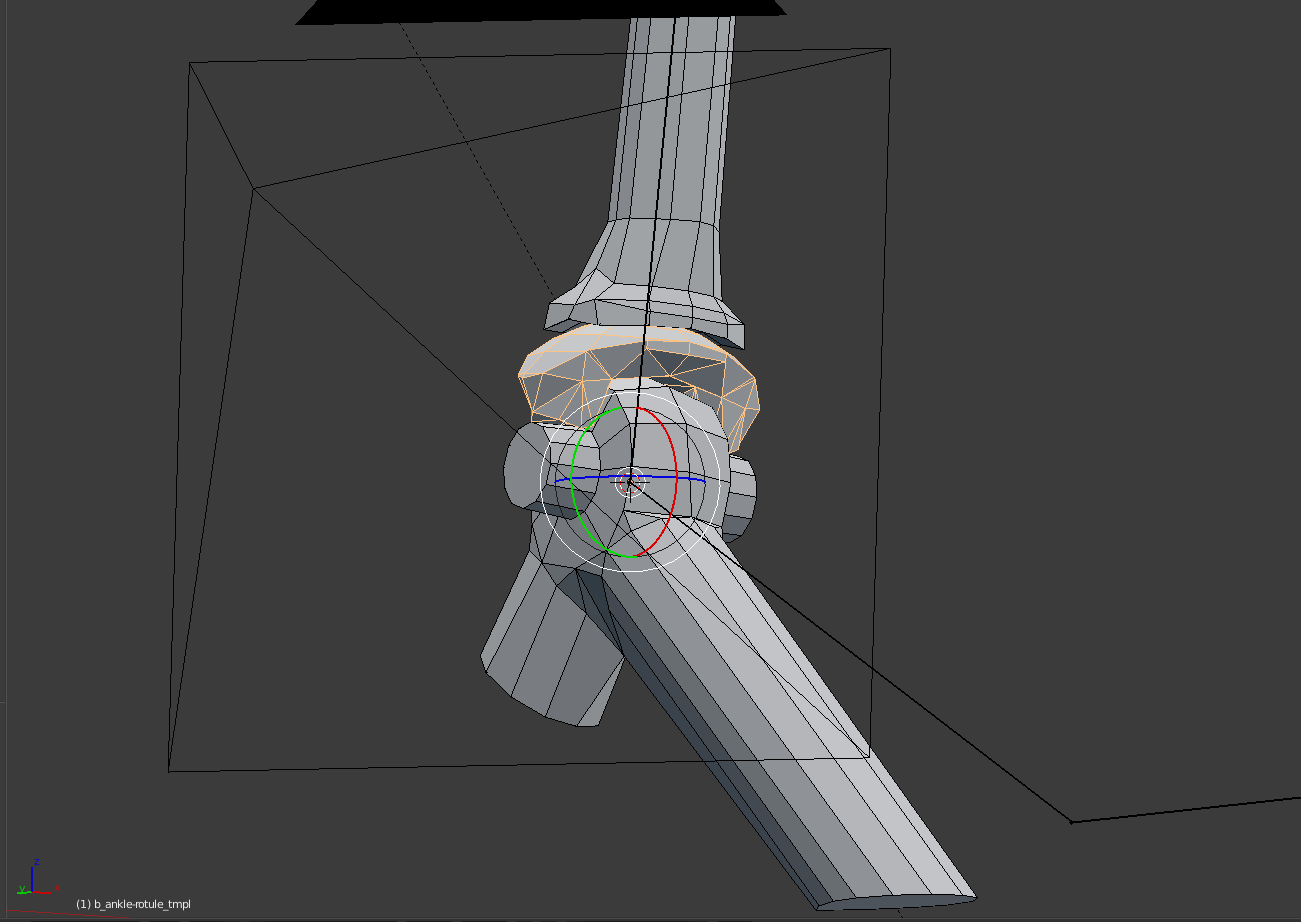
Ankle study
Started as a one axis wheel, it miss a bit of freedom to render the right movments of the ankle. Above the axis, a coupole is cutted, allowing bending of the wheel in Y and Z axis (the wheel turns on X axis). By enlarging the bottom part, the articulation gains in Y axis without becoming huge on the upper part.
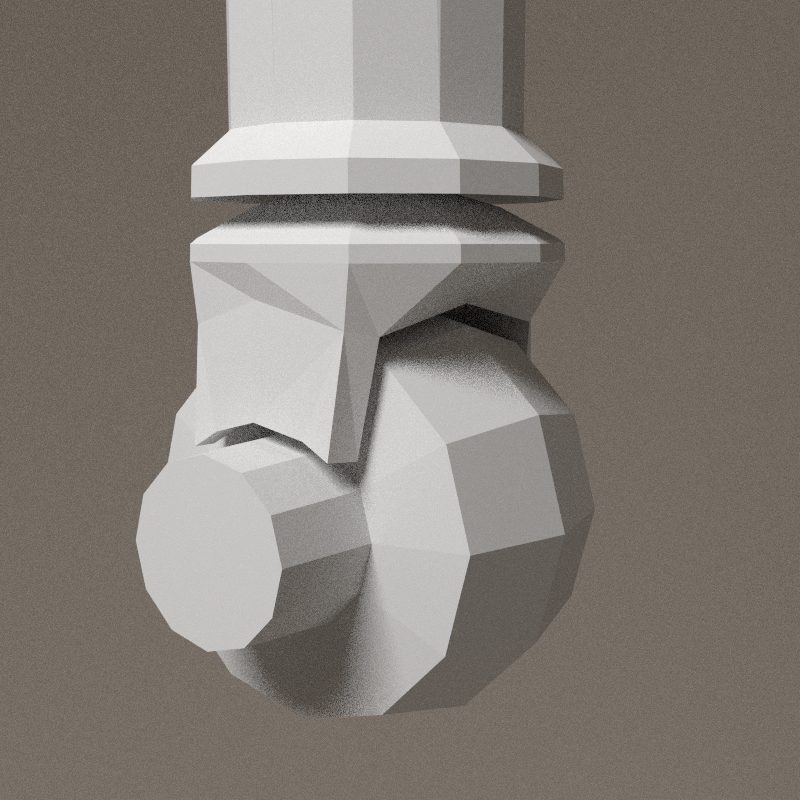

Final version of the articulation, X, Y and Z rotation enabled.
- X: ~ -84° > 84°
- Y: ~ -60° > 60°
- Z: 360°

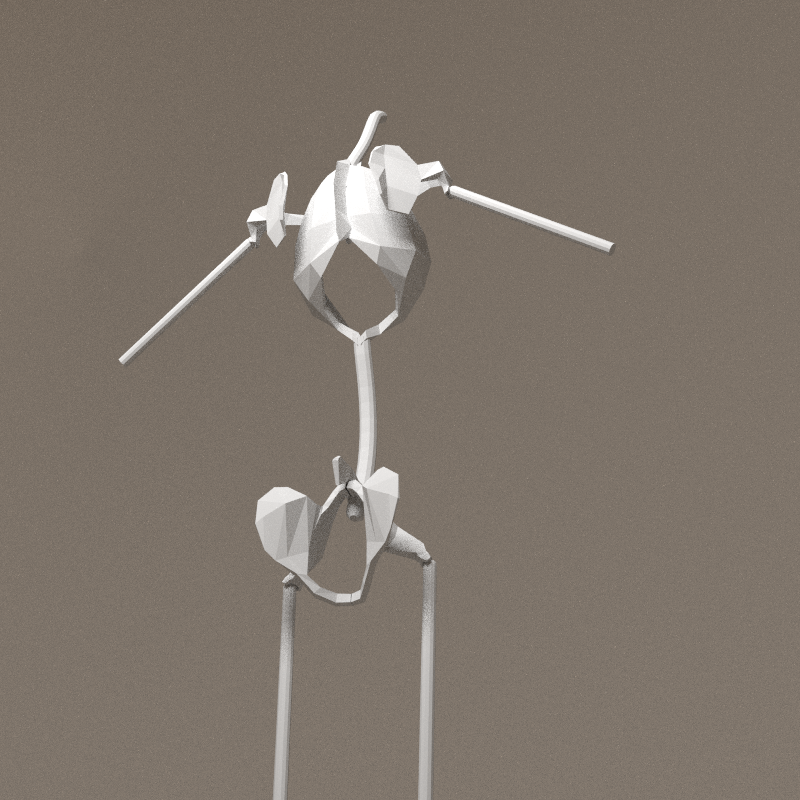
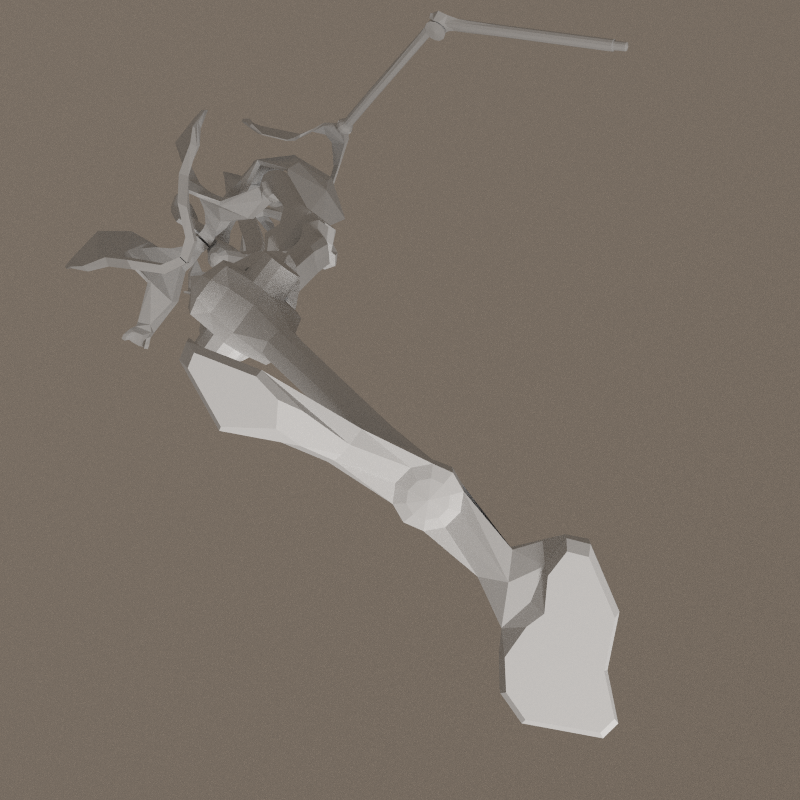
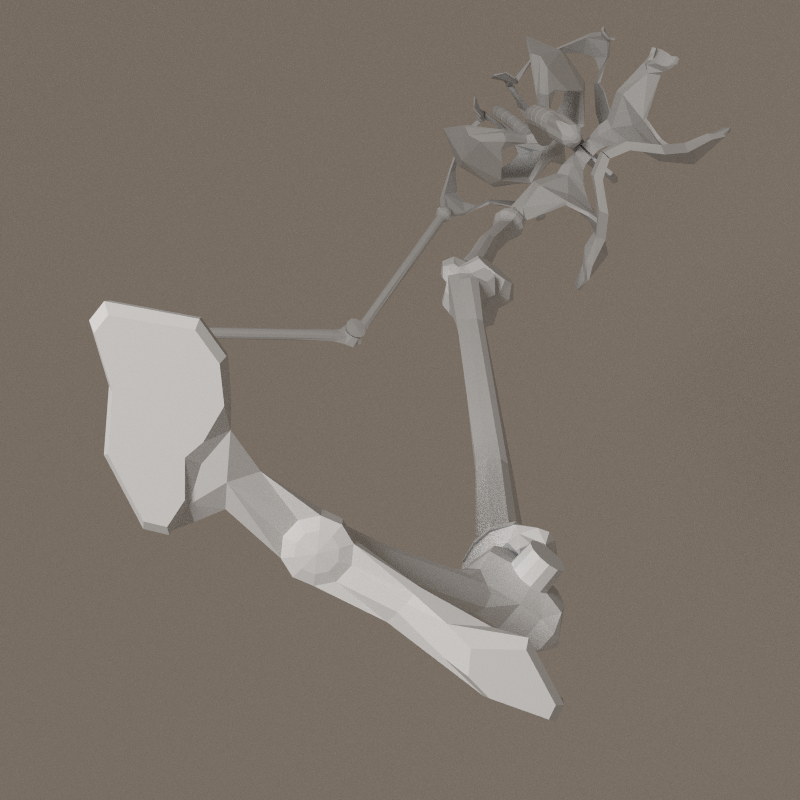
The head and the hand still have to be designed. To test the intergrity so far, i have to place all the bones at the right place. As i'm using the armature of the previous version of the tanukis, members are deformed.
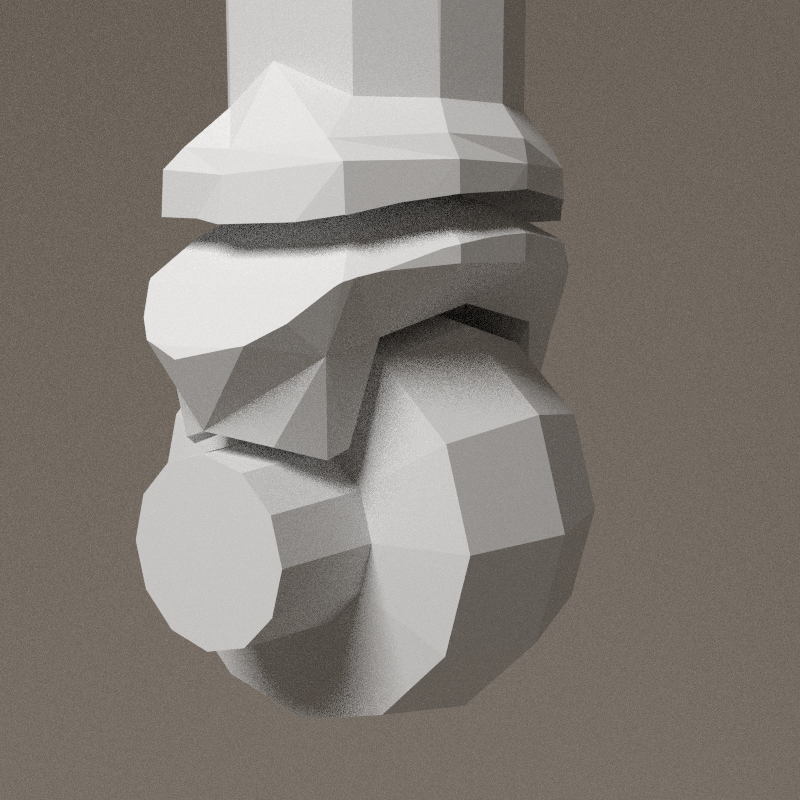
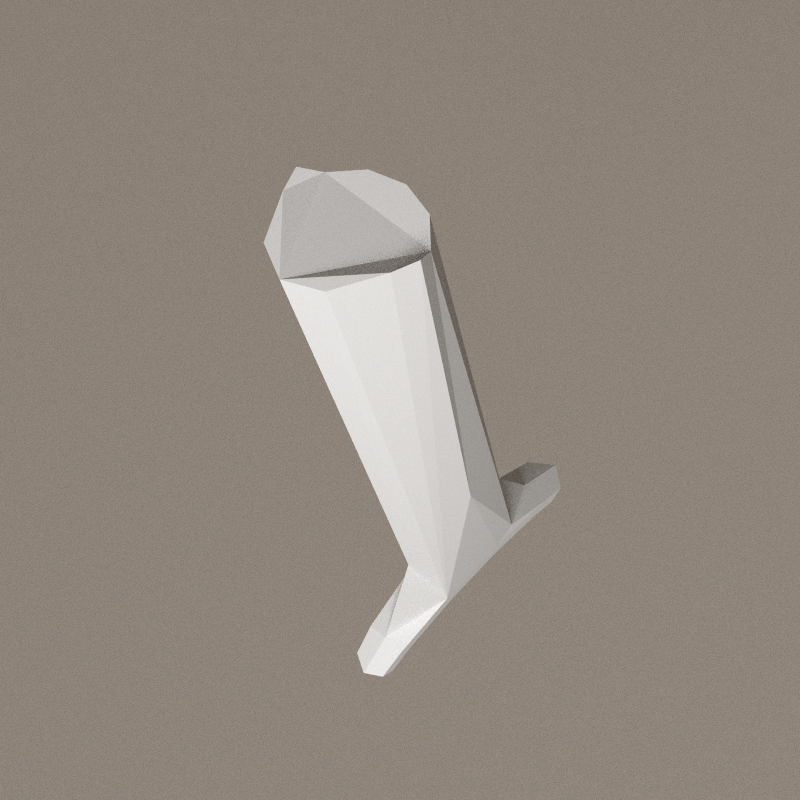
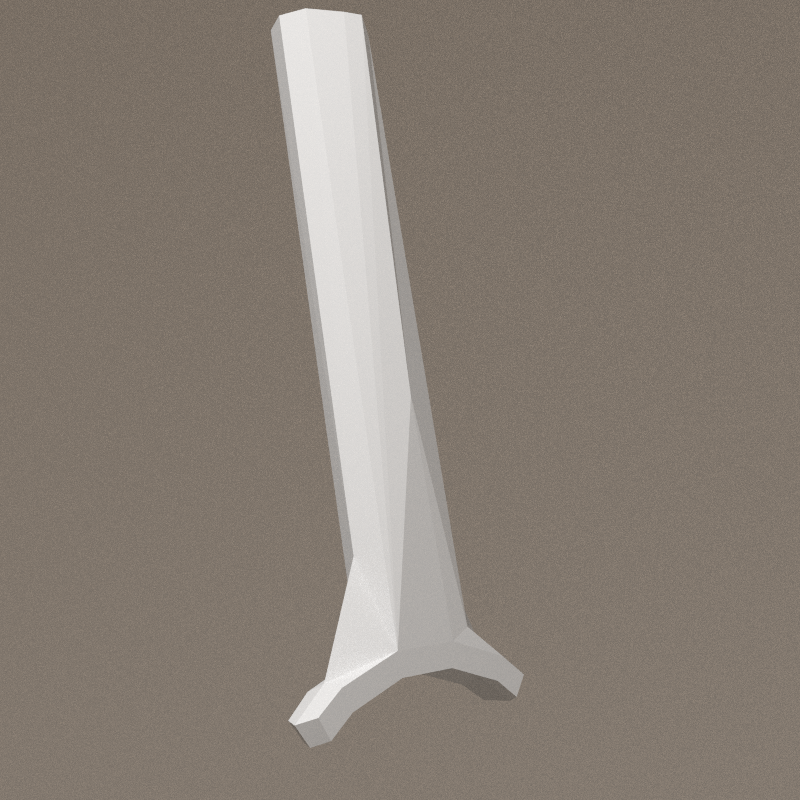
Foot study
After several attempt to end the leg nicely, i designed a foot... Artictulation is a bit special, the heel and toes are fixed together.
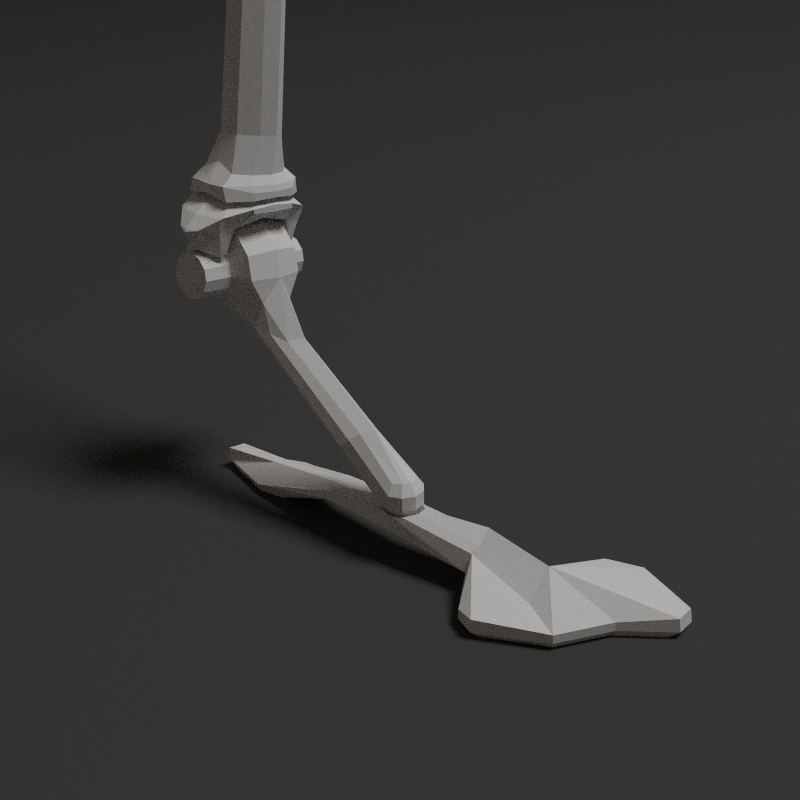


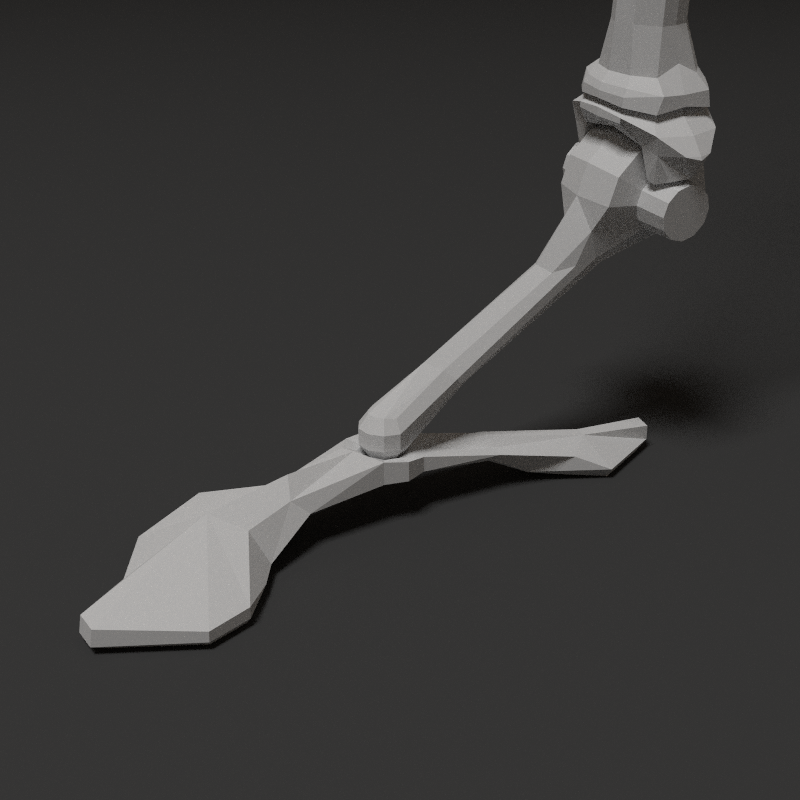
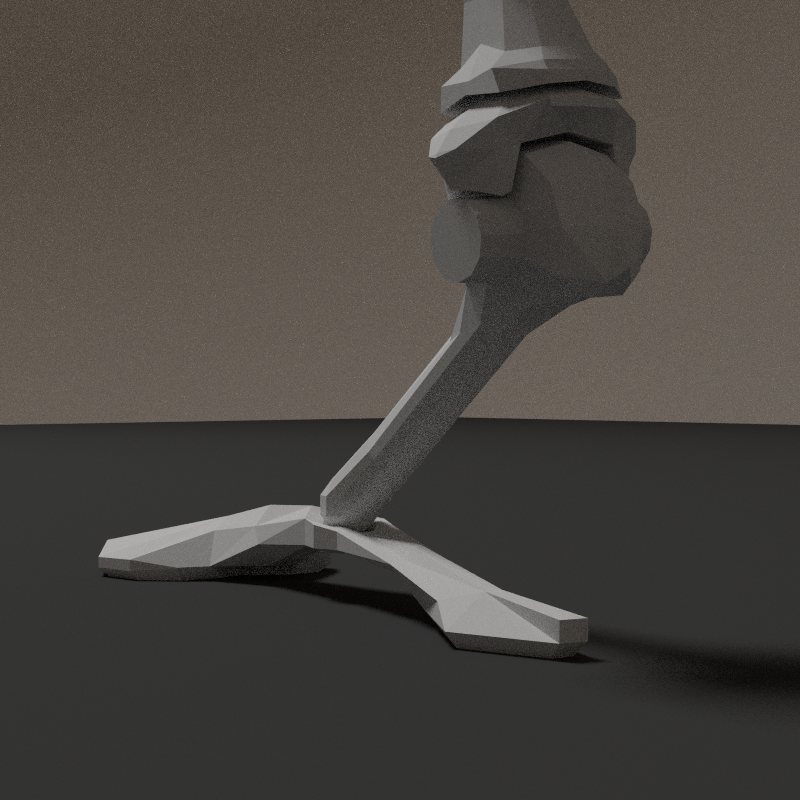
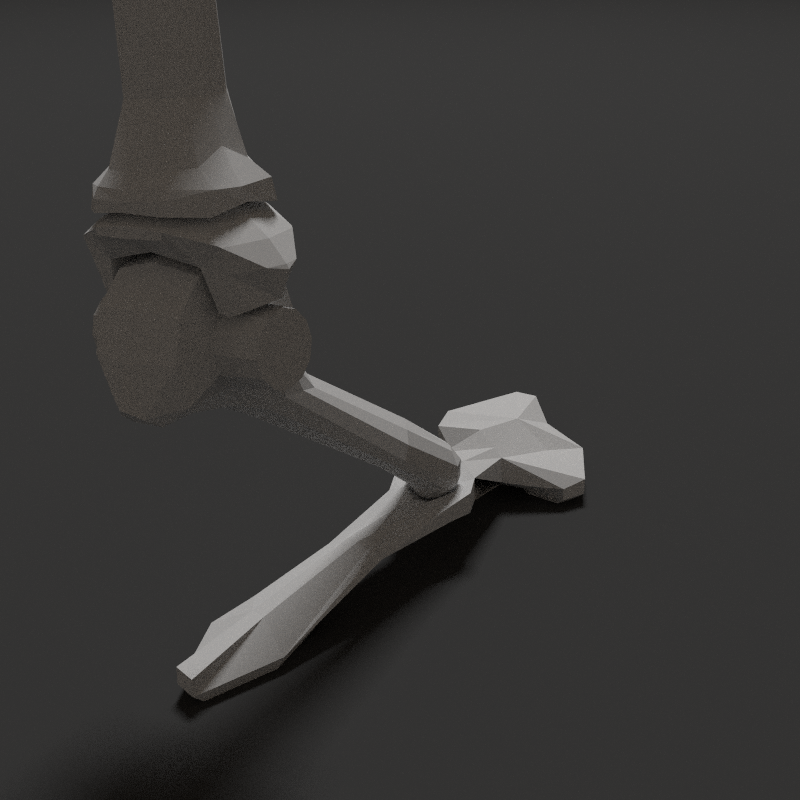
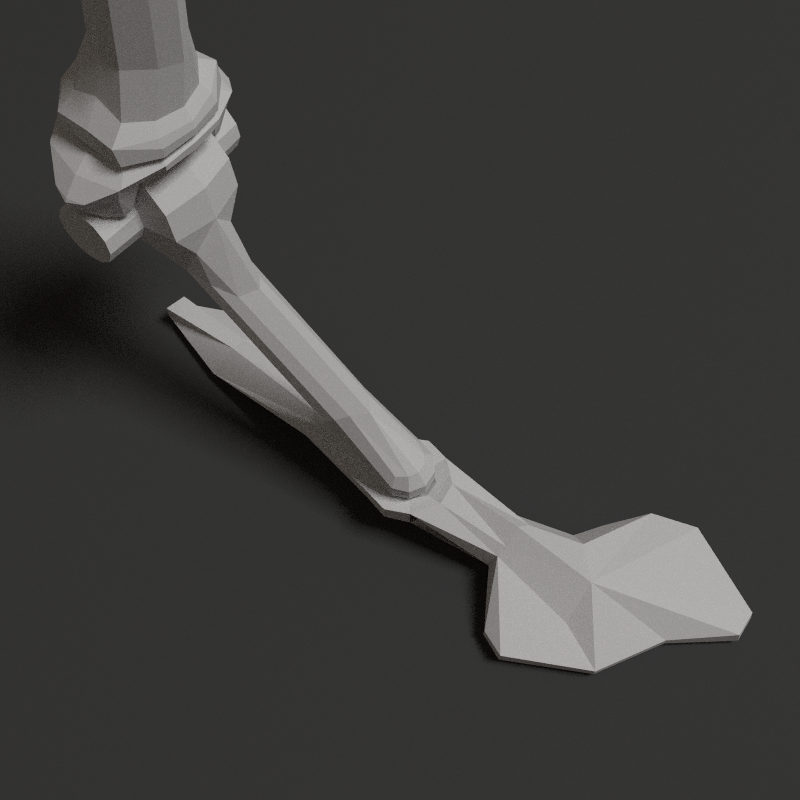
Limits
- X: ~-60° > 32°
- Y: ~-40° > 40°
- Z: 360°
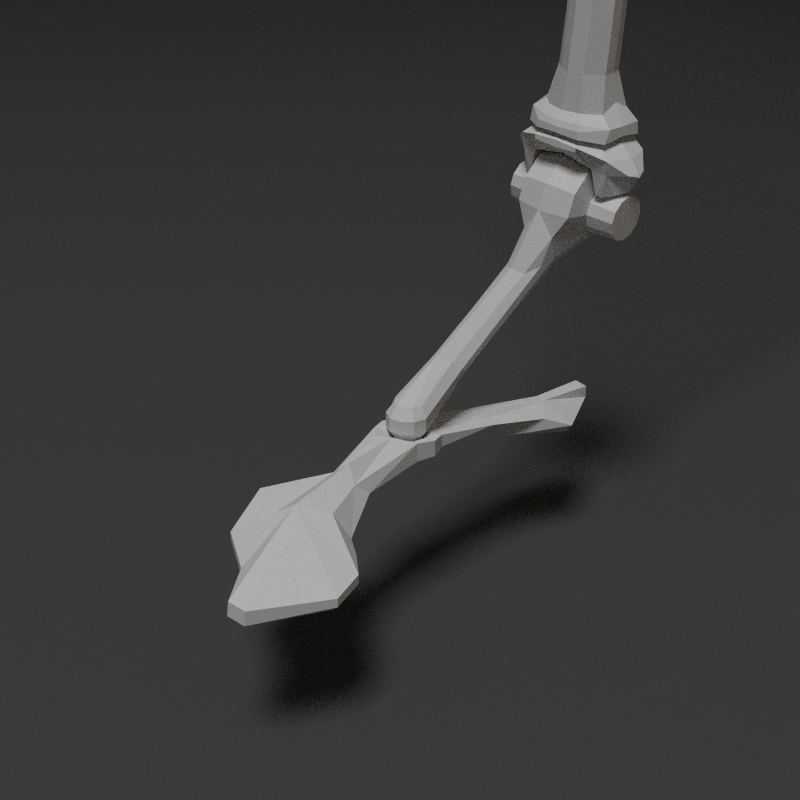
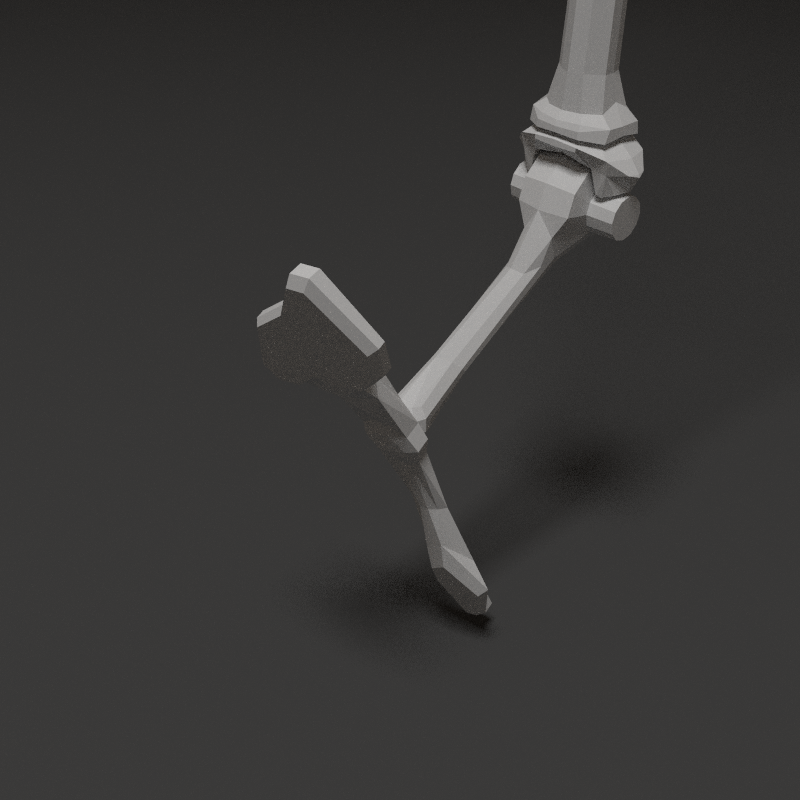
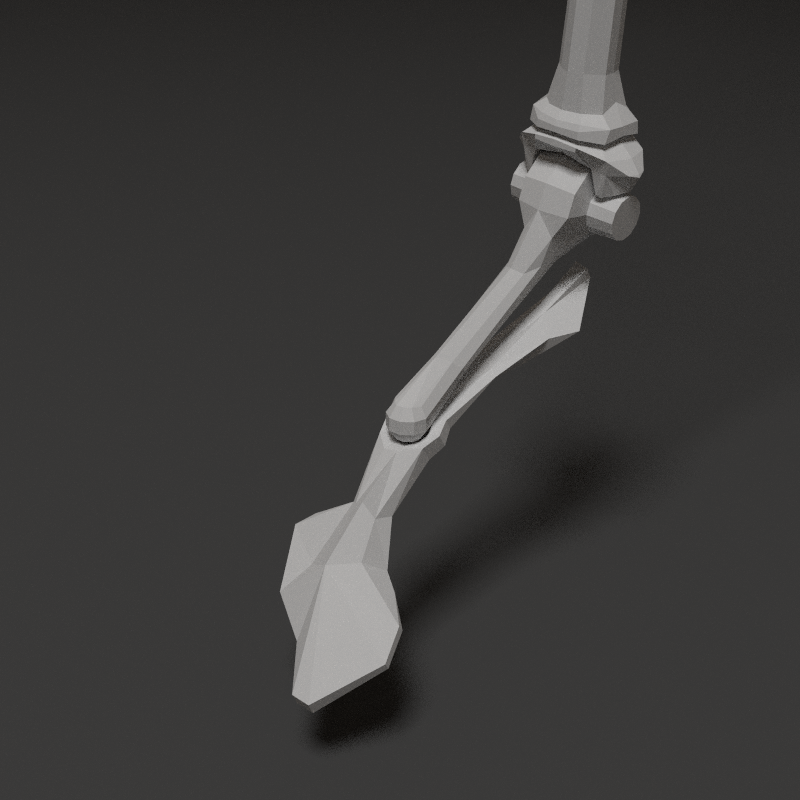
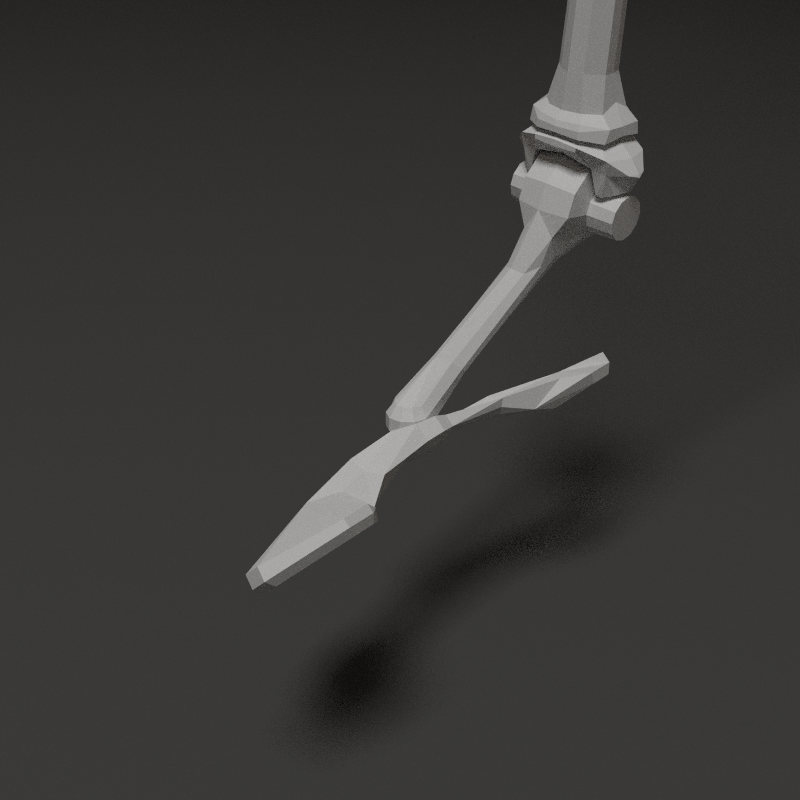
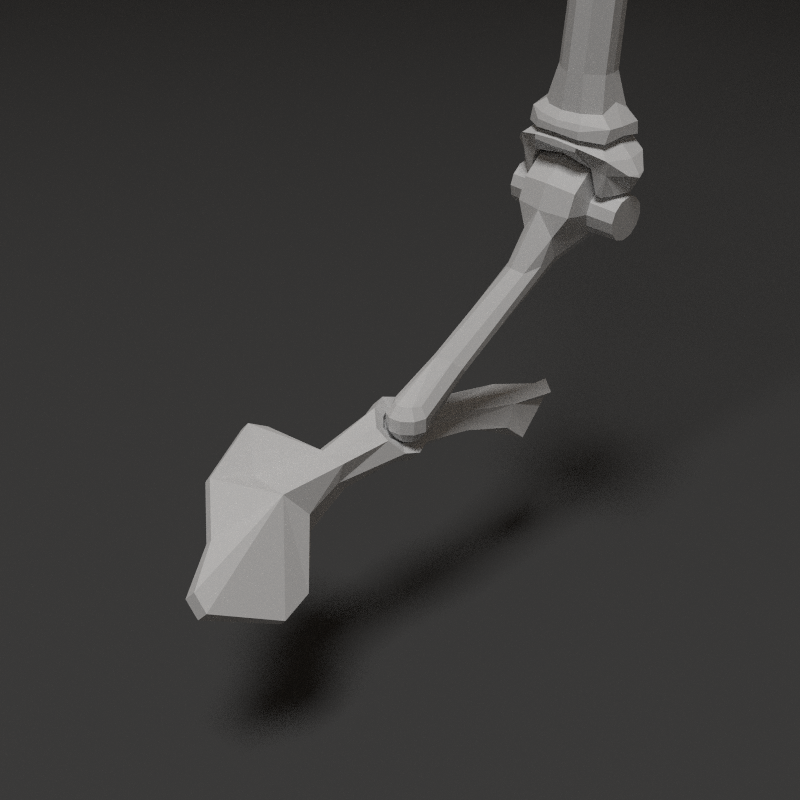
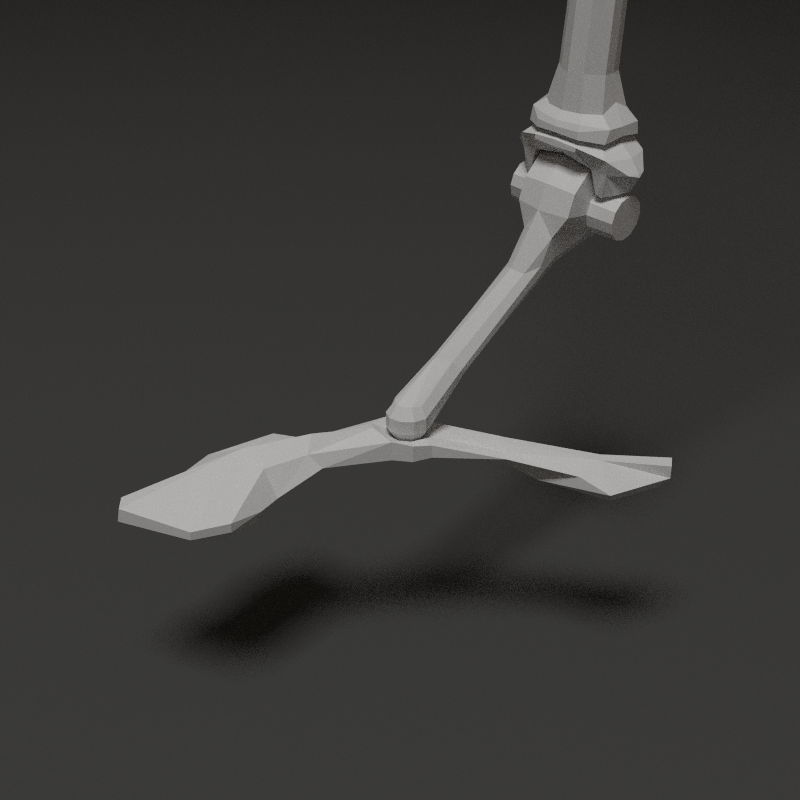
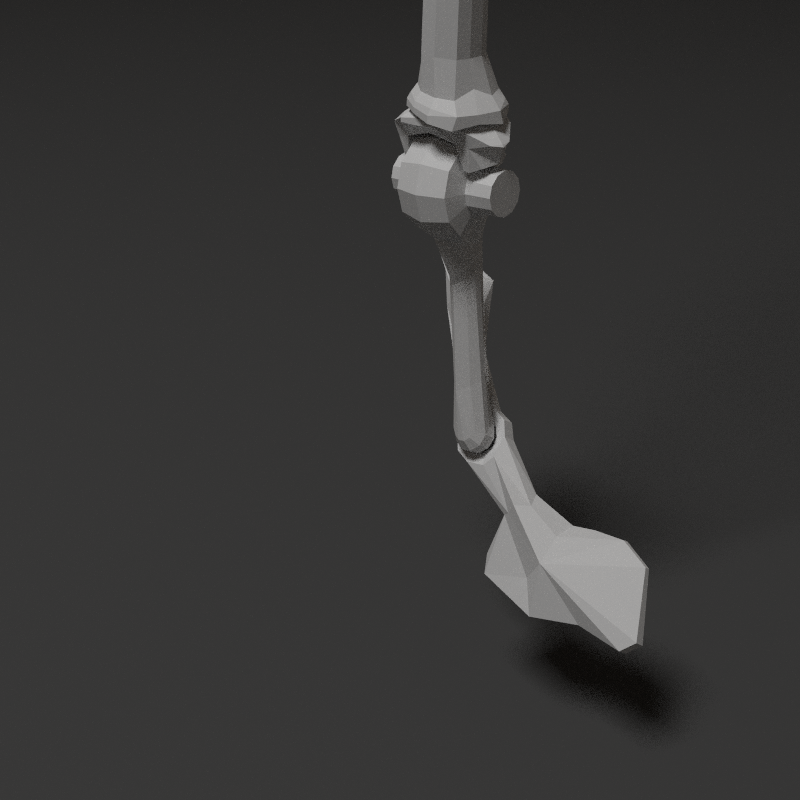
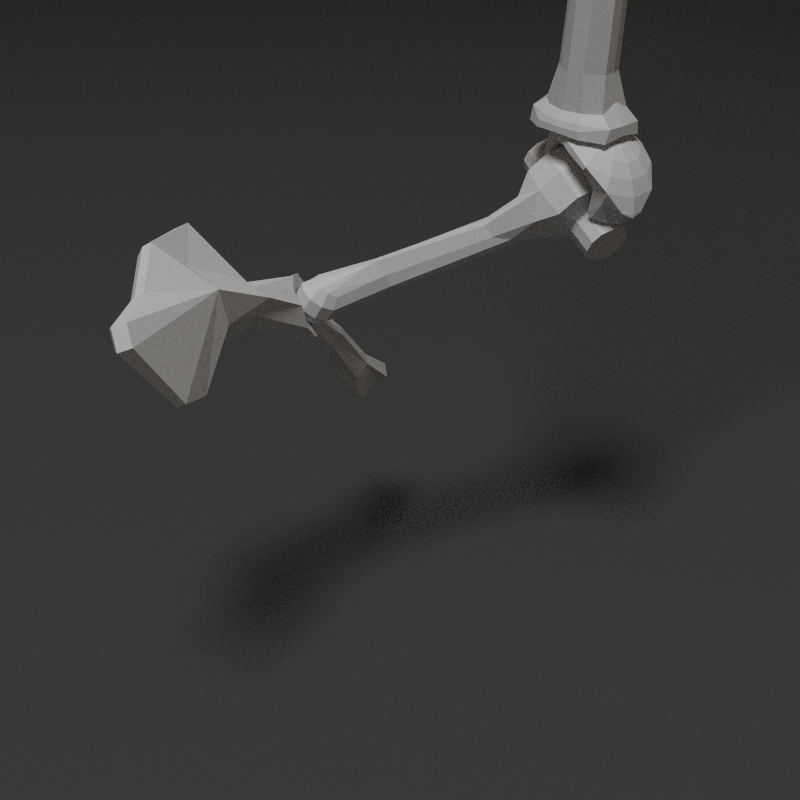
The spherical connection allow foot's plane to adjust to the floor. The result is a kind of sport shoe. I imagine a certain level of elasticity in this bone -> acting as a shock absorber.

With the ankle and the foot articluation, the foot is very agile.
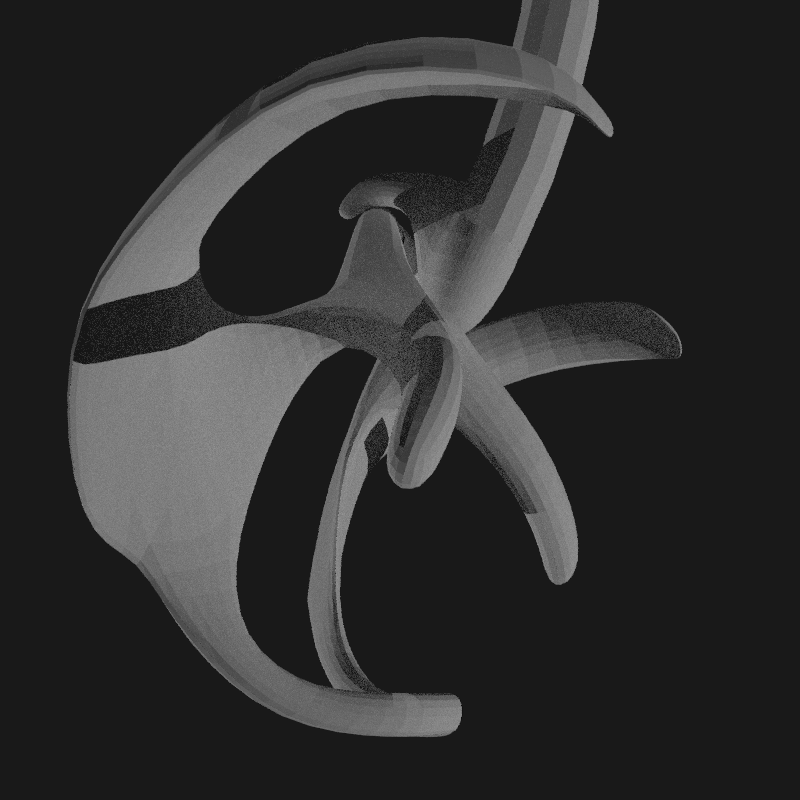
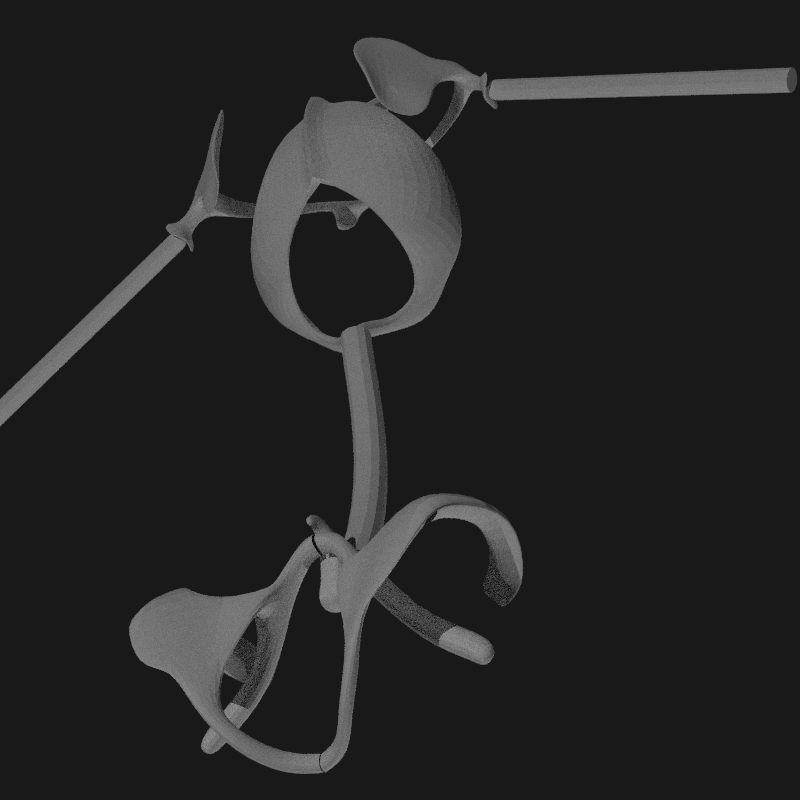
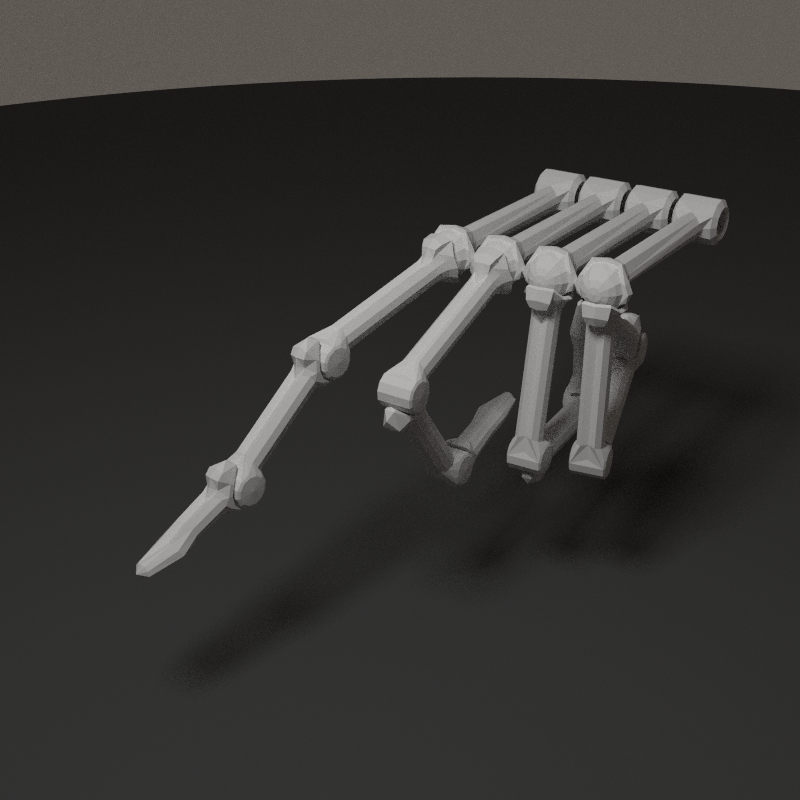
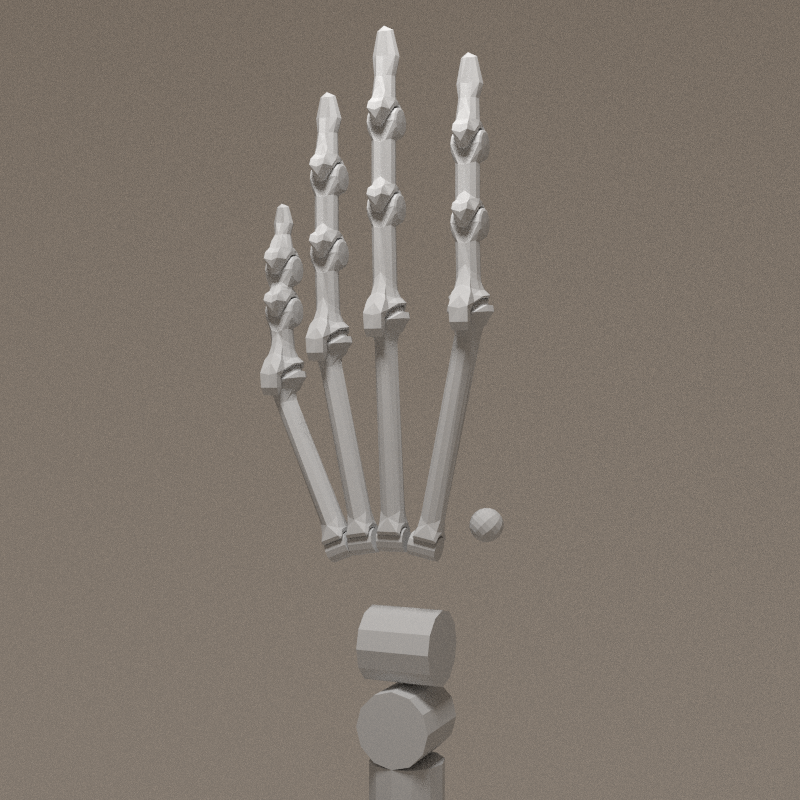
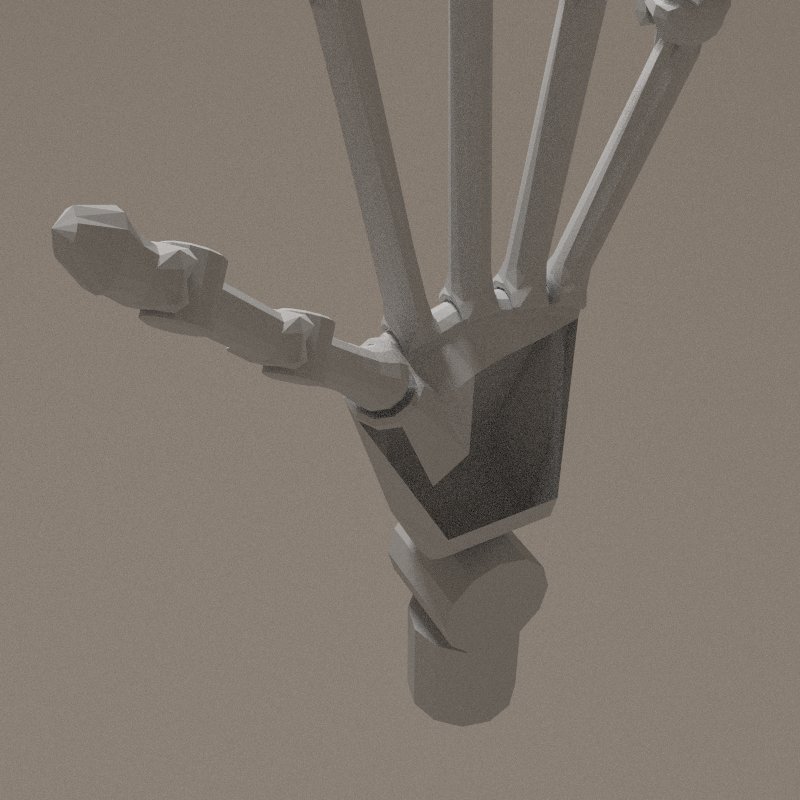
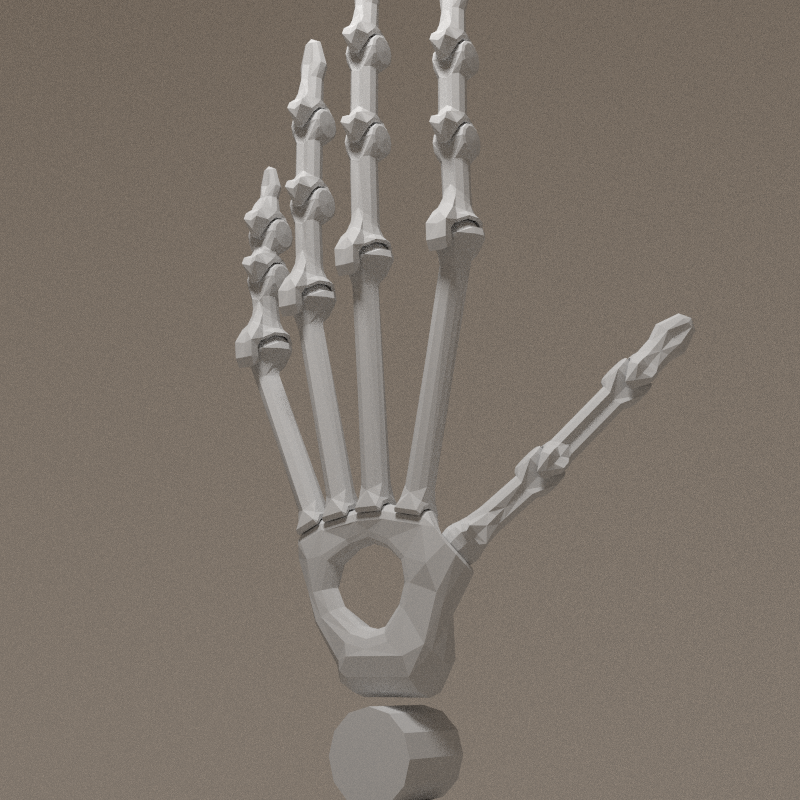
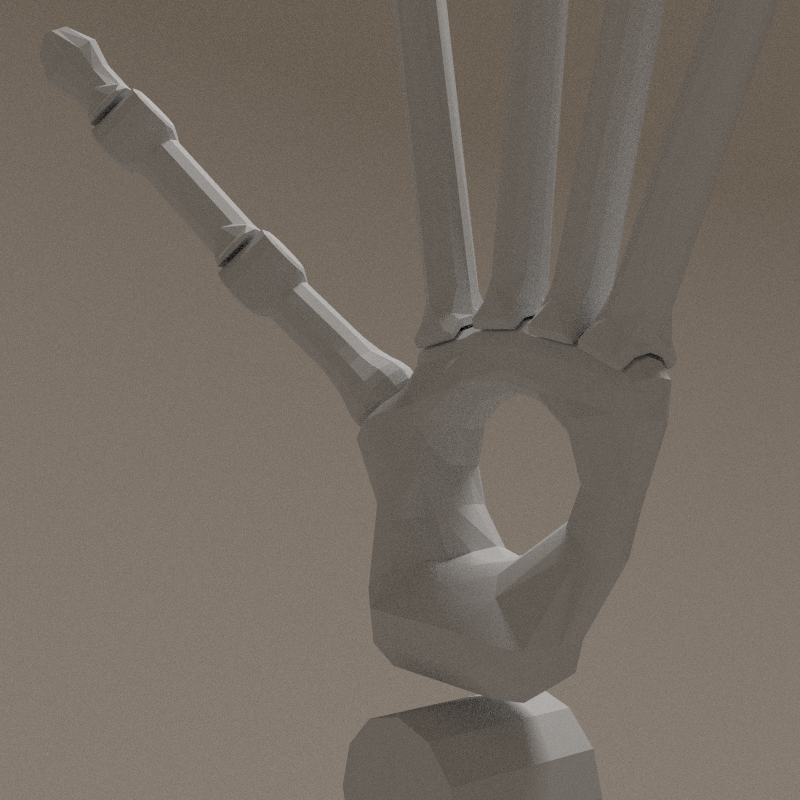
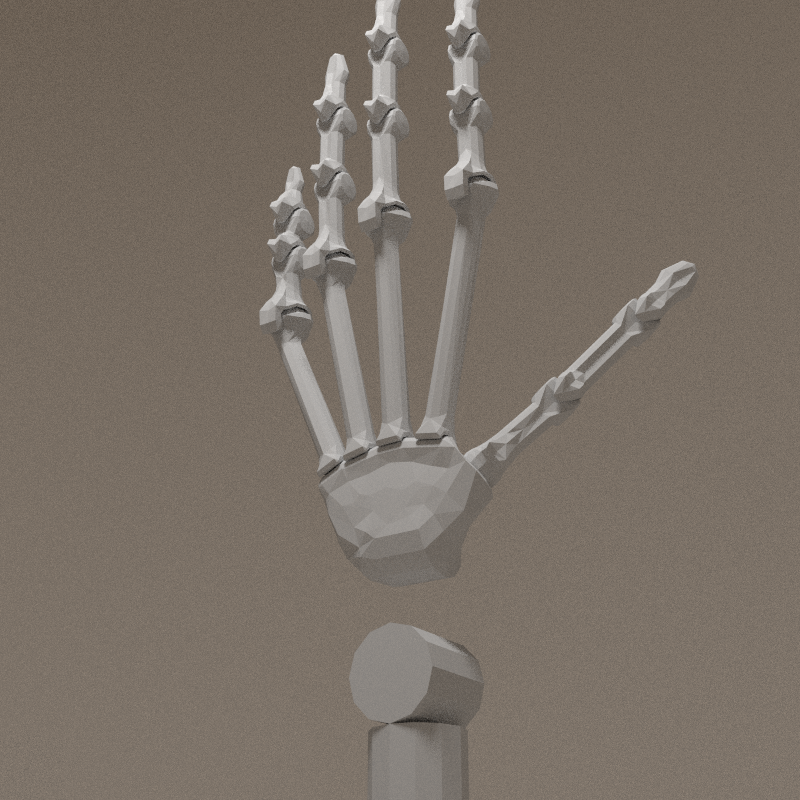
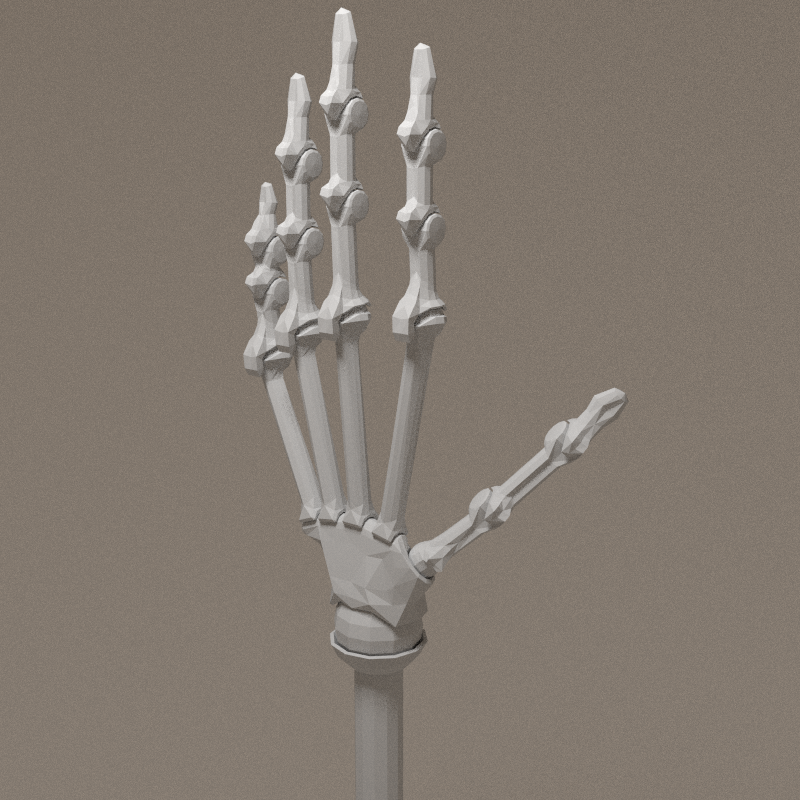
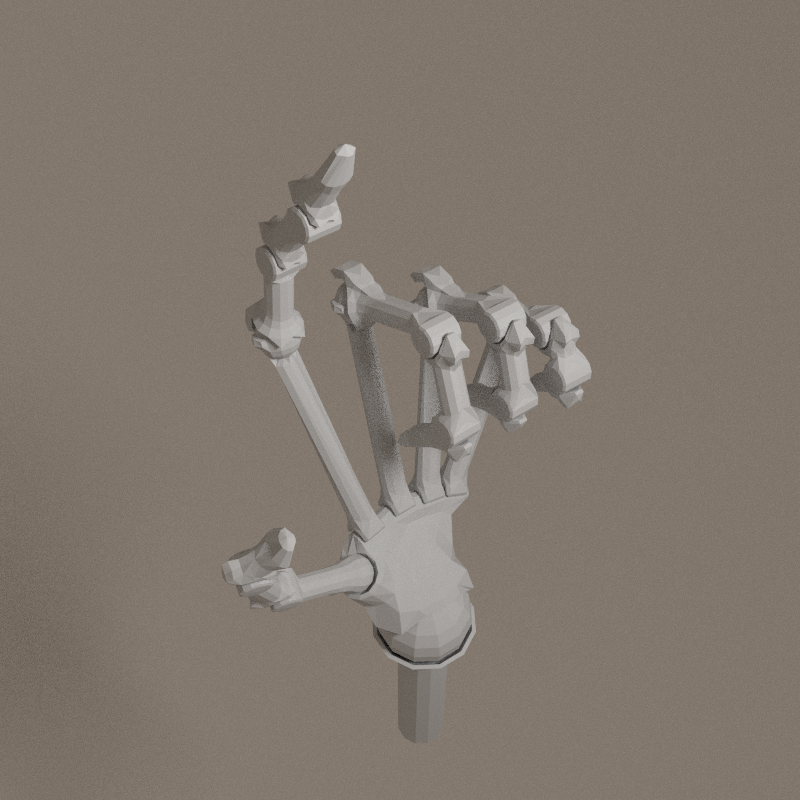
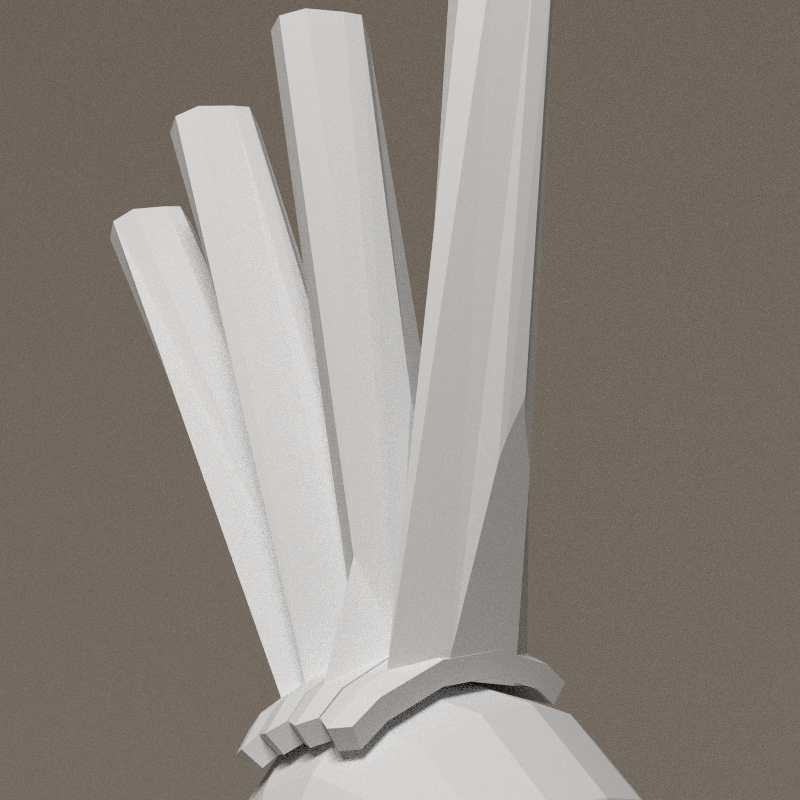
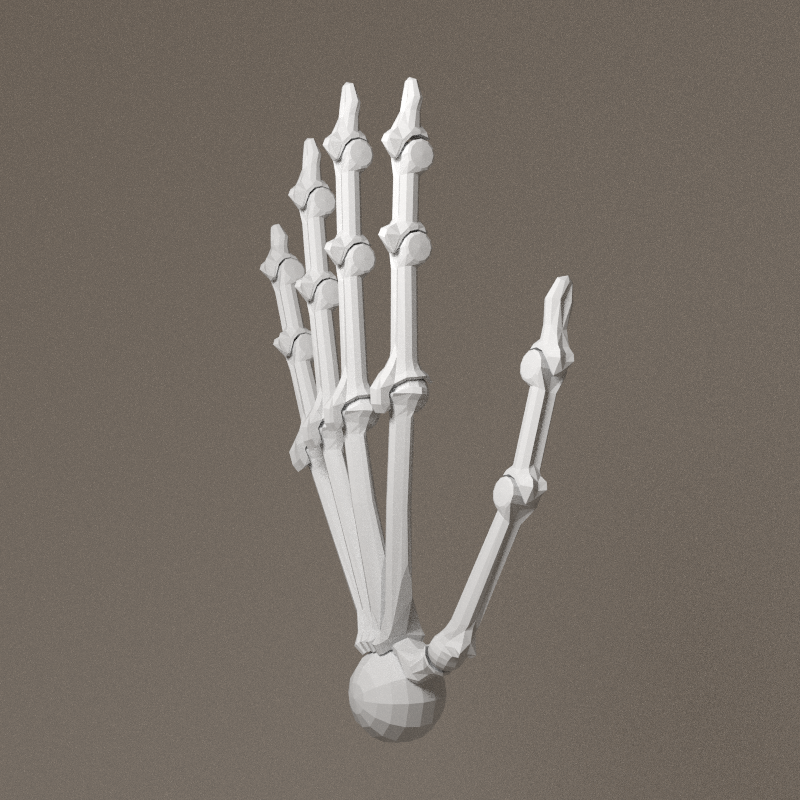
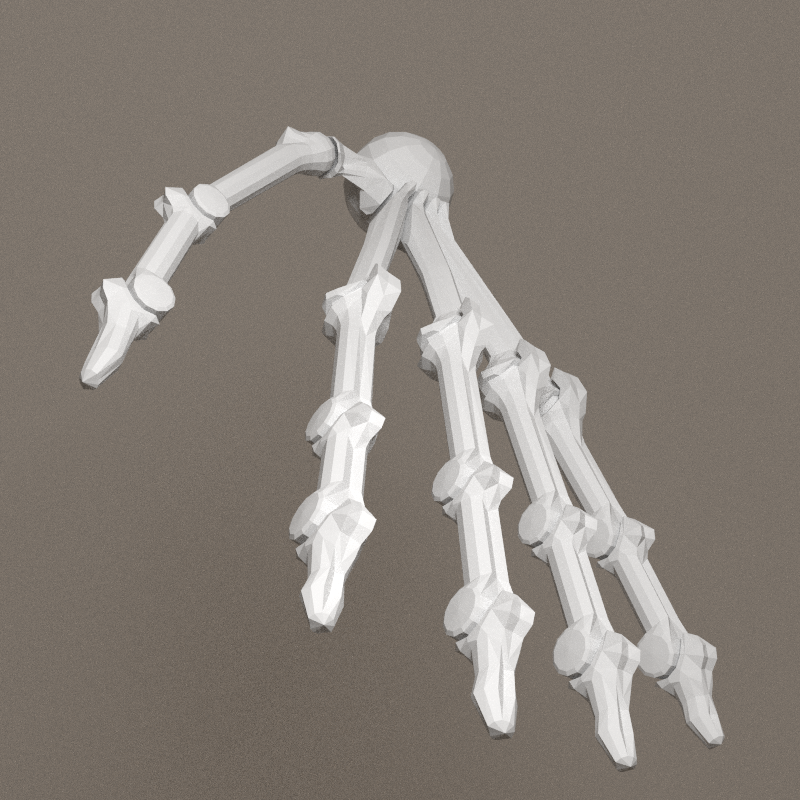
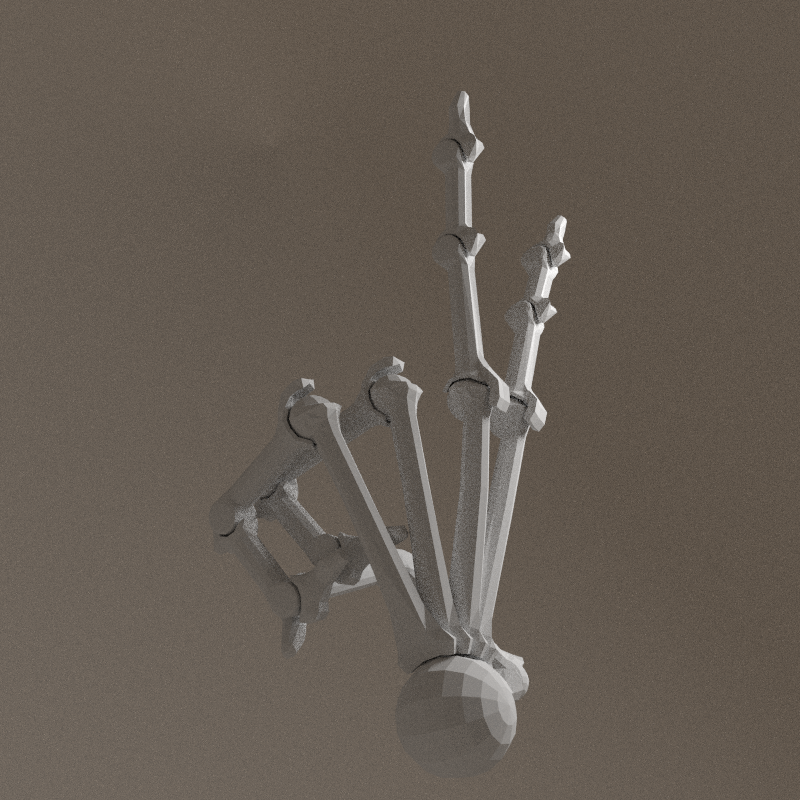
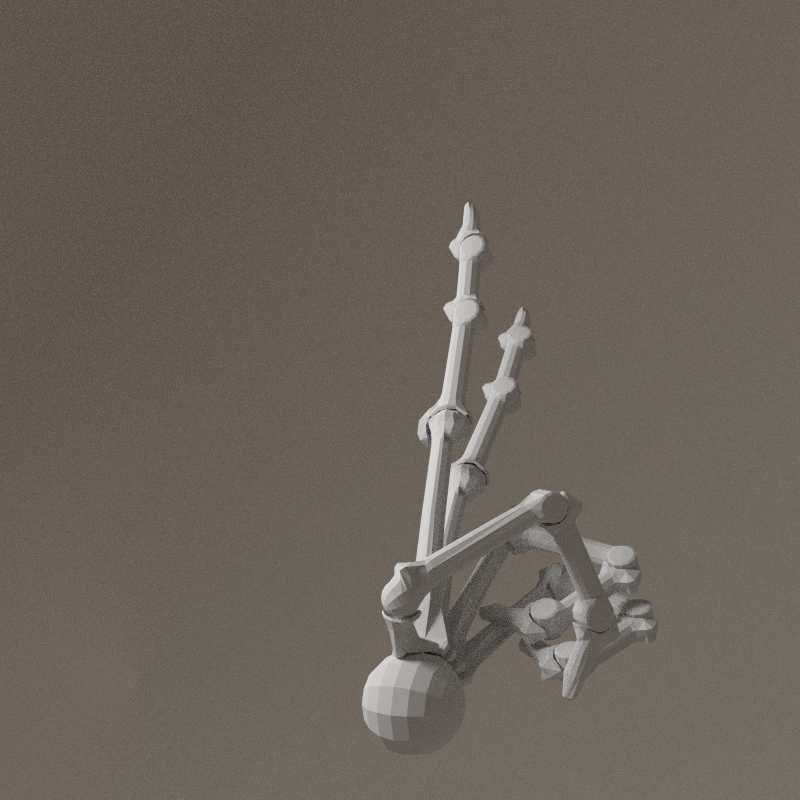
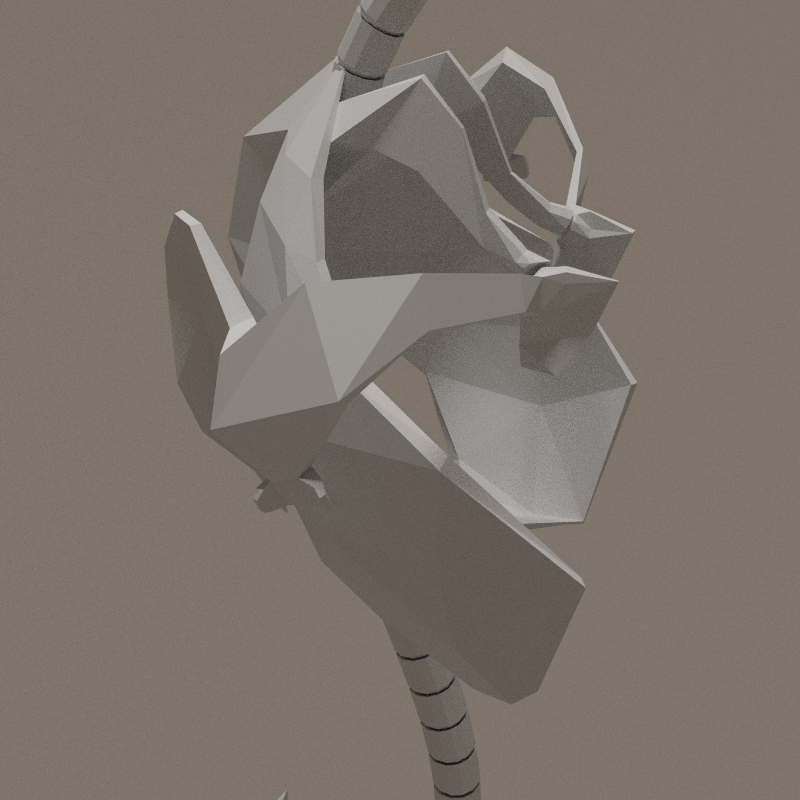
Hand study
This part is a tricky & scary one. First researches have been done on in another context, with the palm divided in 5 parts.
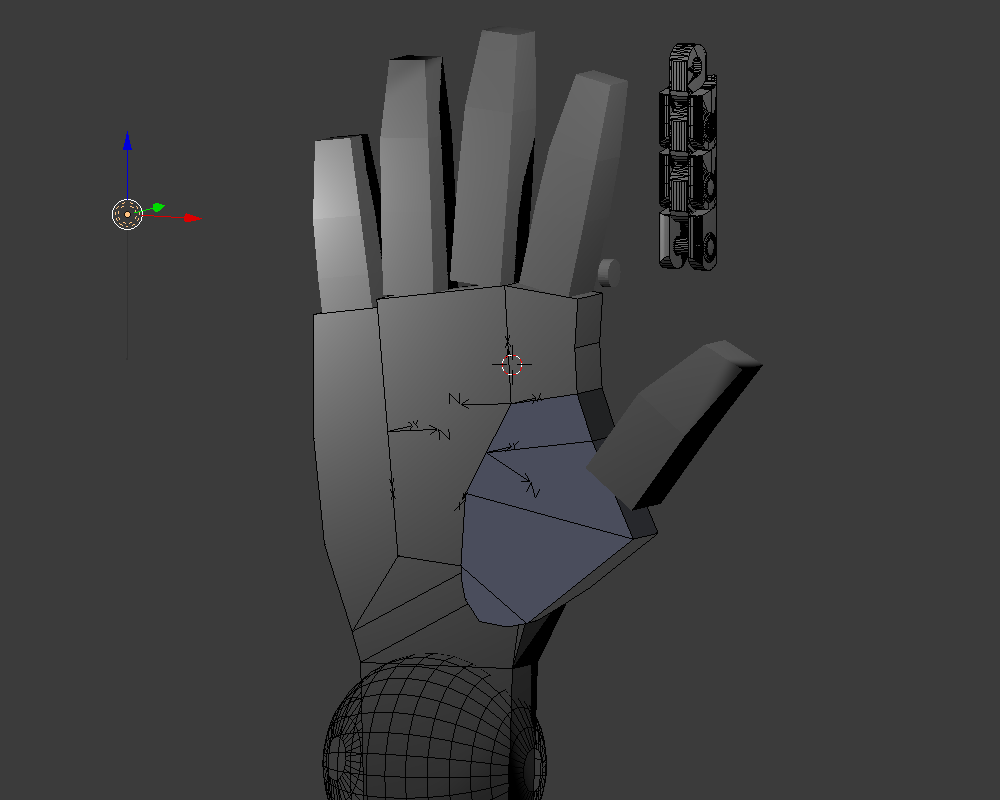
It's a very complex part of the skeleton, especailly because it will be one of the major physical interaction point in the installation. I like bionic style, but it's not consistant with the rest of the skeleton. Another question is: will the hand be cover by skin, or is it directly the final surface? With tendons visibile, an "écorché" hand. The foot is a nice mix of bones & cyber.
Workspace:

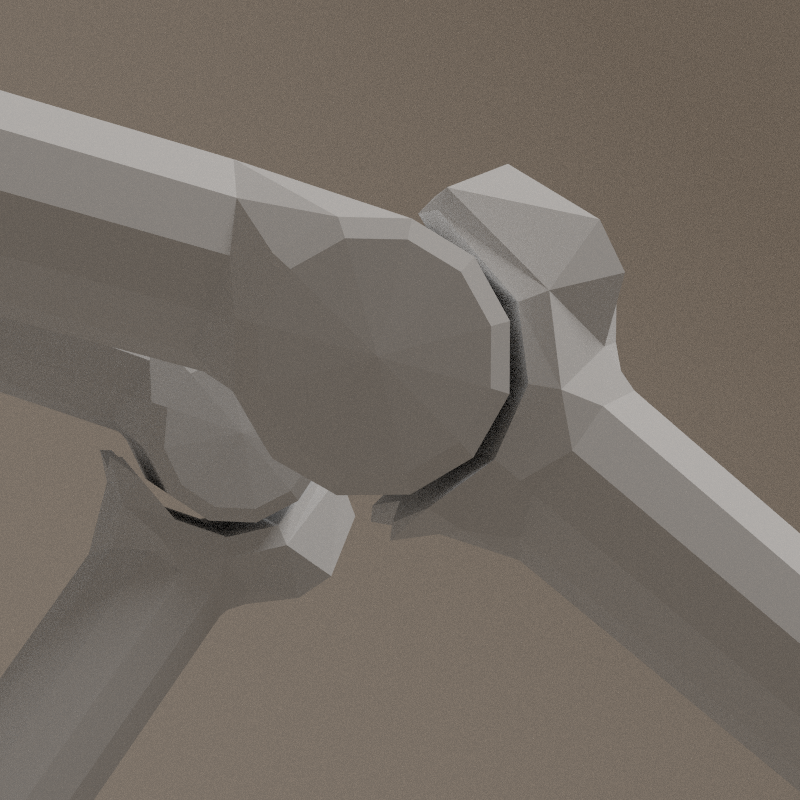
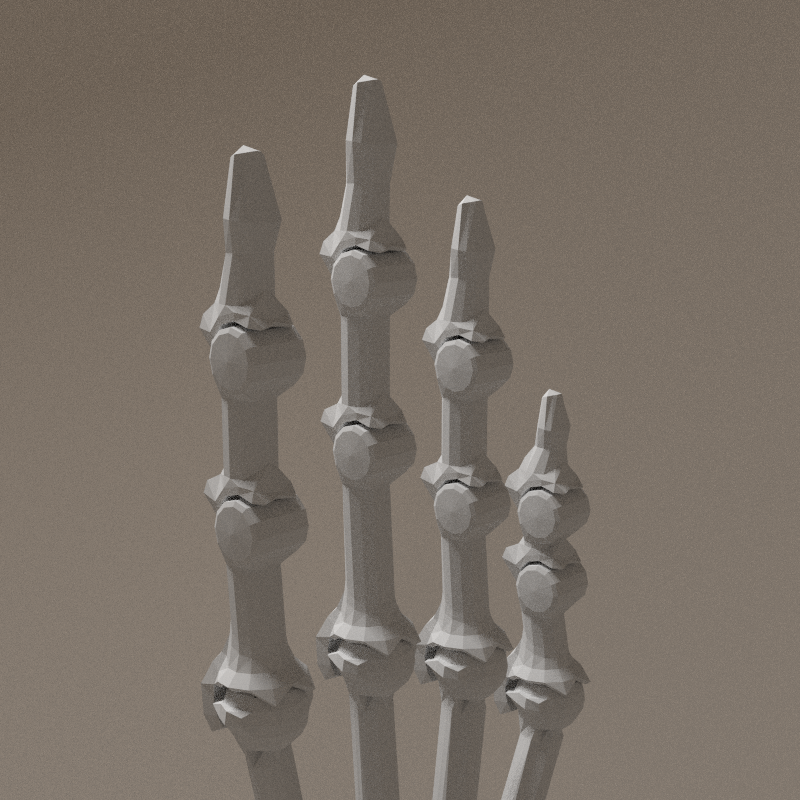
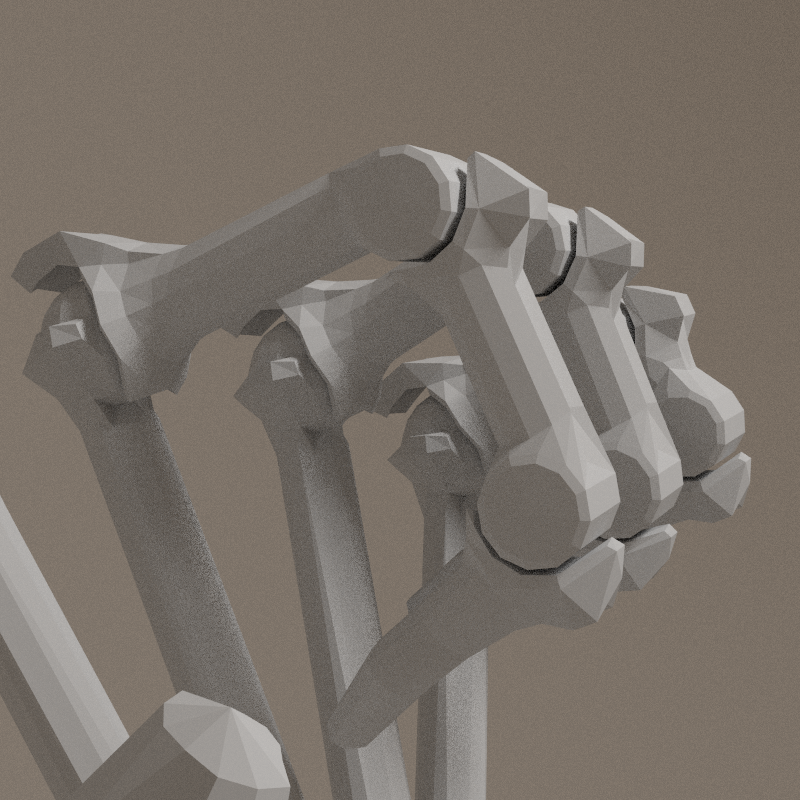
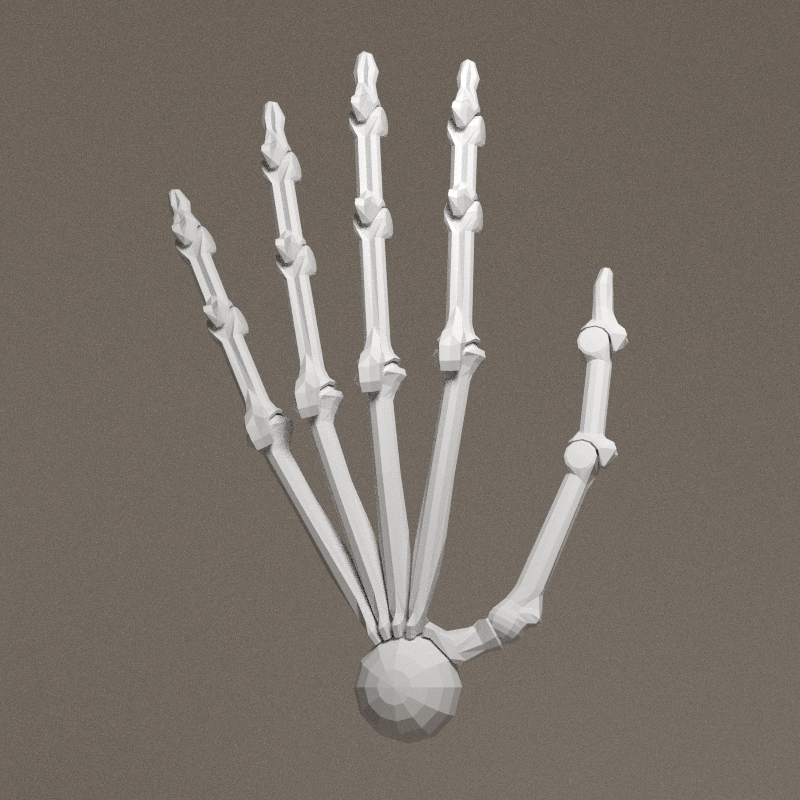
Finger

source: http://www.learnbones.com/hand-bones-anatomy/
- metacarpals are fixed in one row, strong constrain on X axis
- proximal phalange - spherical articualtion with bumpers
- X axis: ~ -103° > 17°
- Y axis: ~ -19° > 19°
- intermediate phalange - cylindrical articualtion
- X axis: ~ -120° > 20°
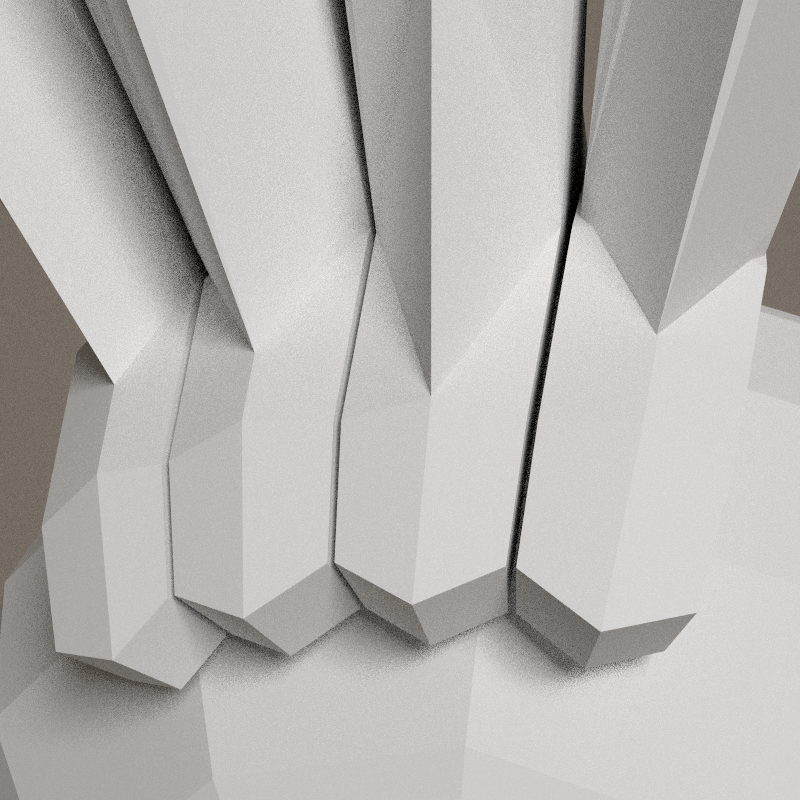
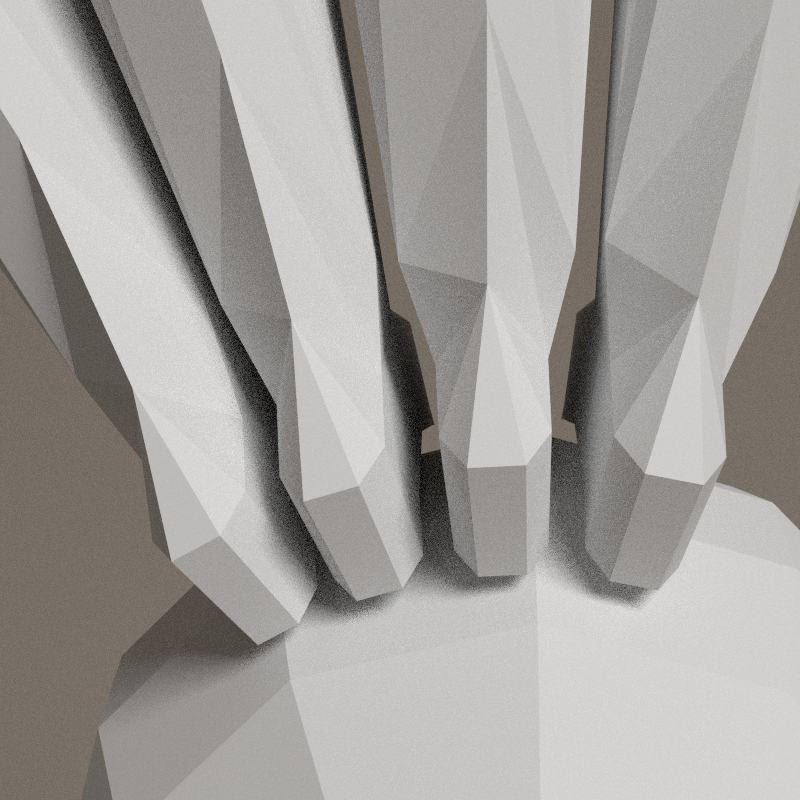
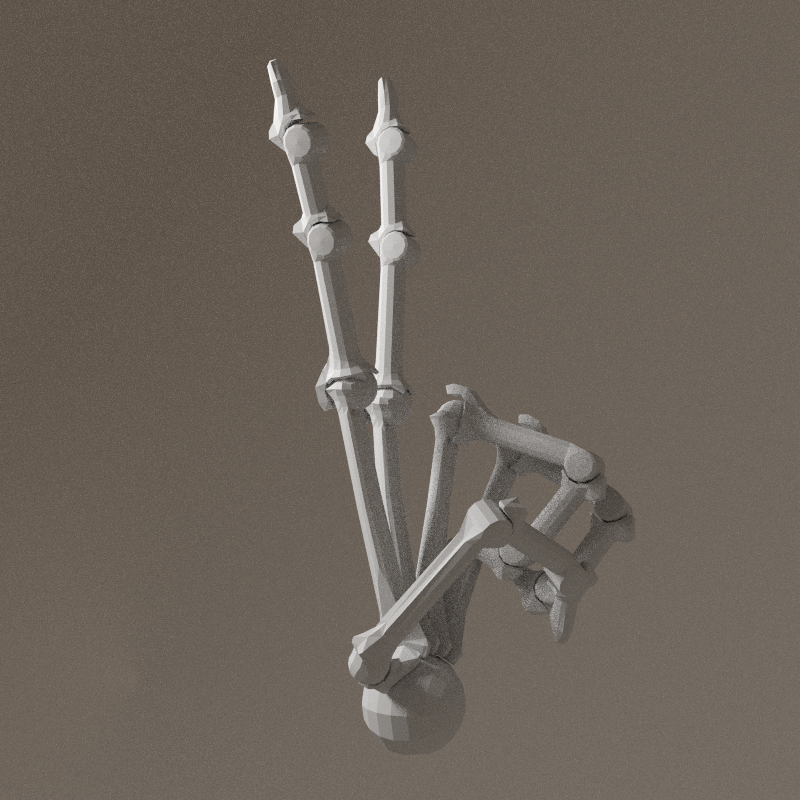
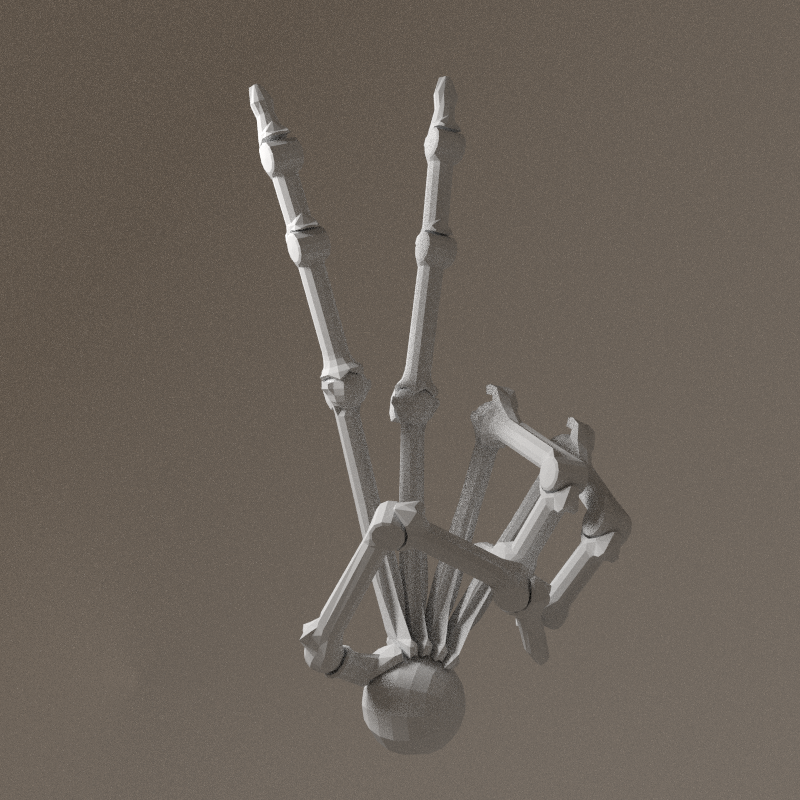
the three last images are an improved version:
- all tuberosities have a valley in the middle for tendon
- the metacarpal to proximal phalange articulation's protection is ensured by the tuberosity, a kind of shield


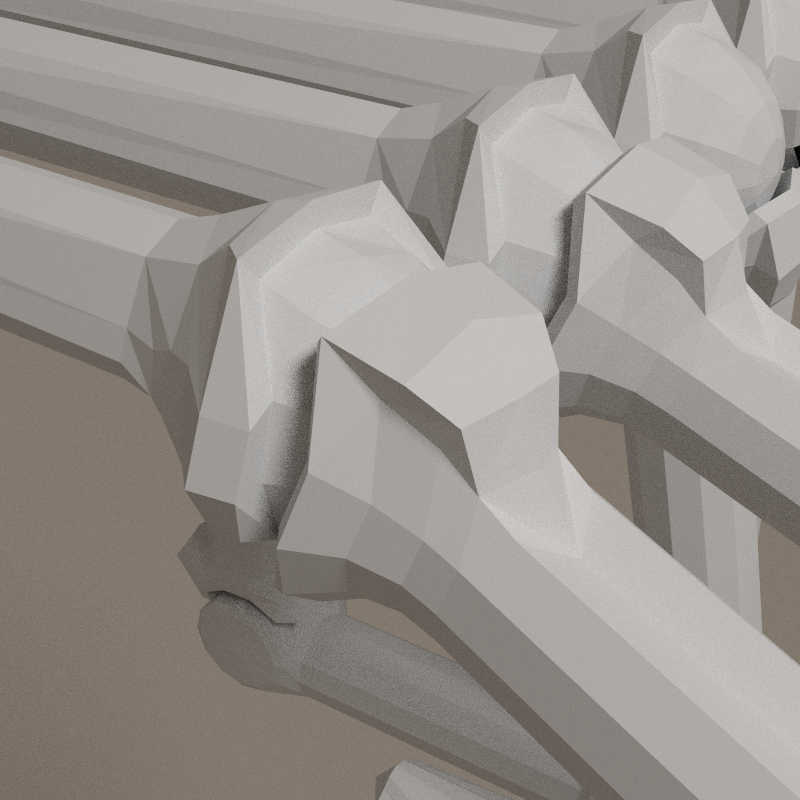


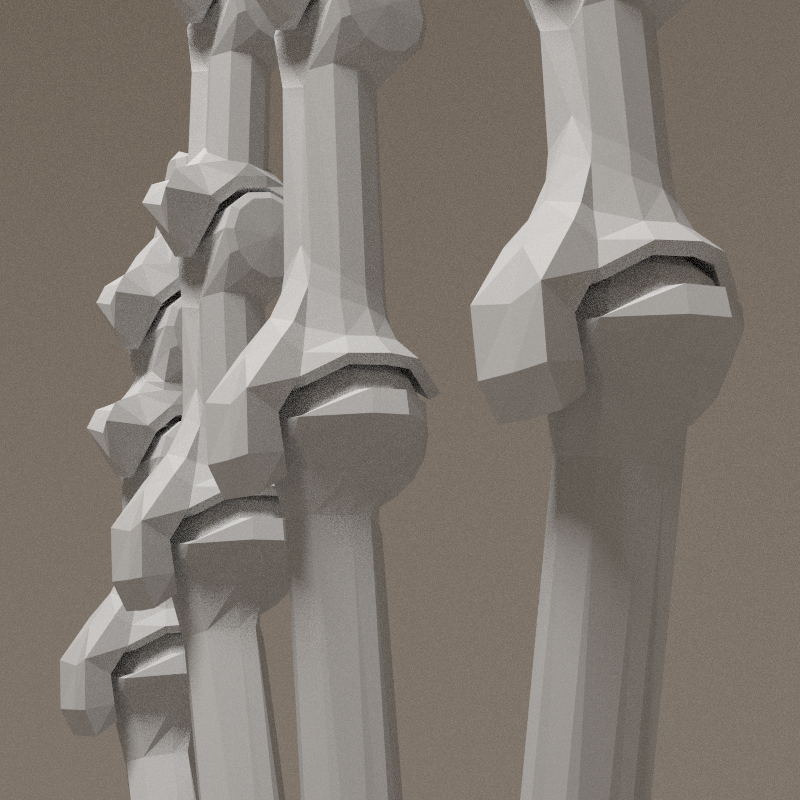
Palm
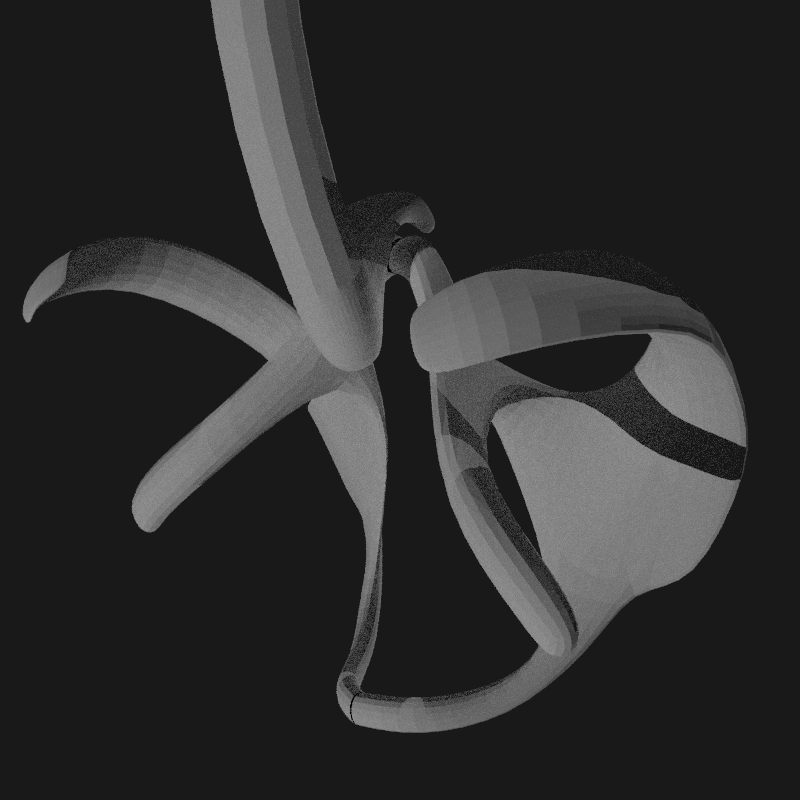
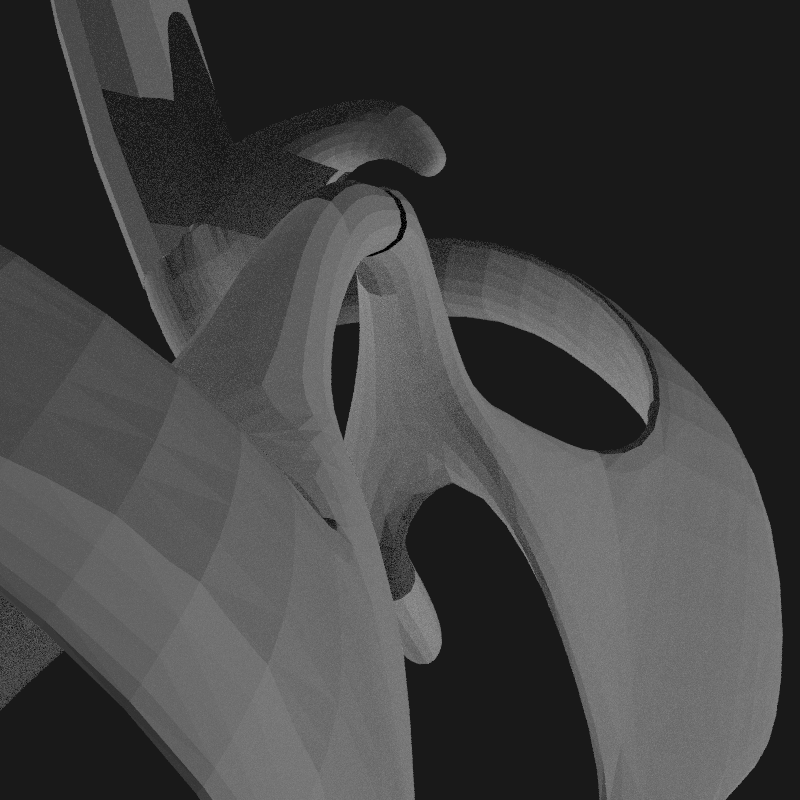
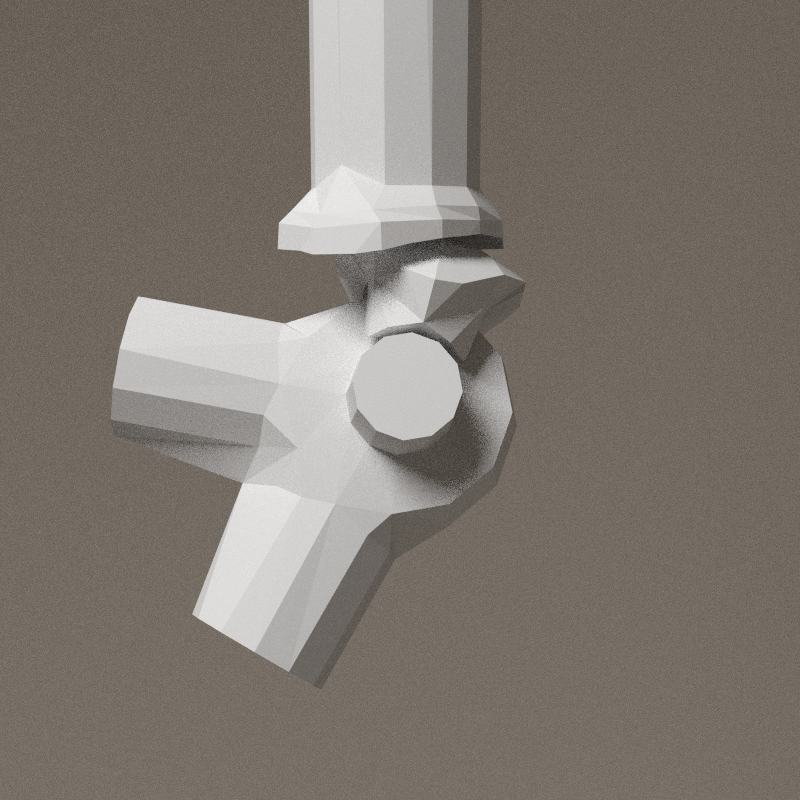
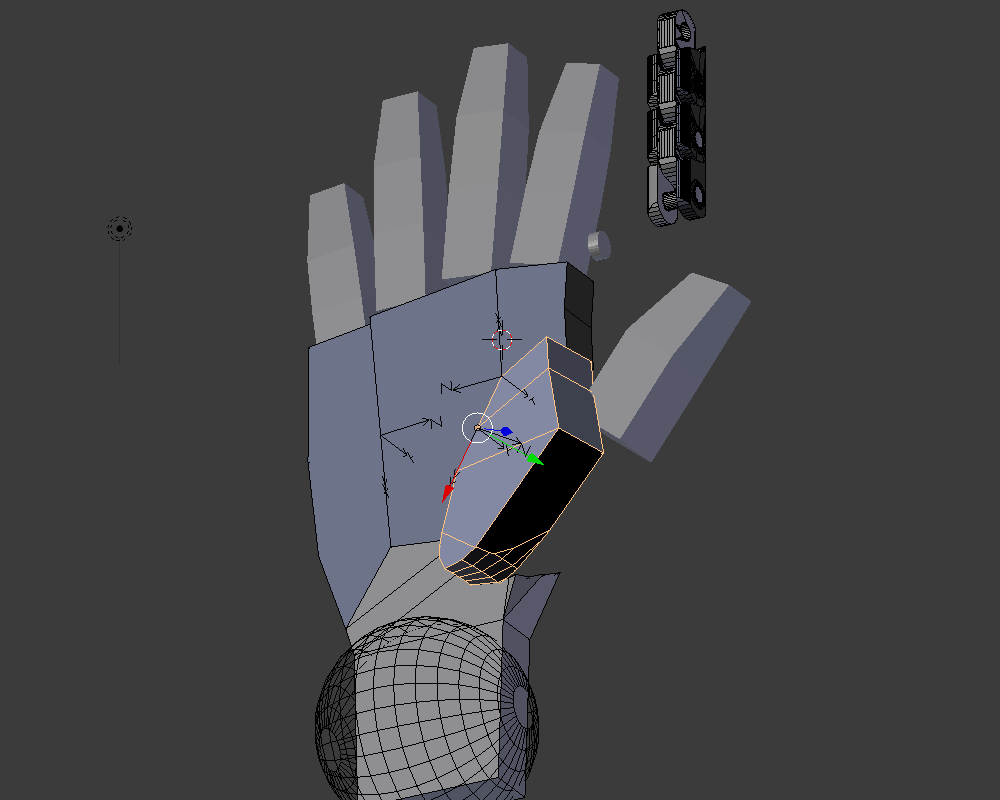
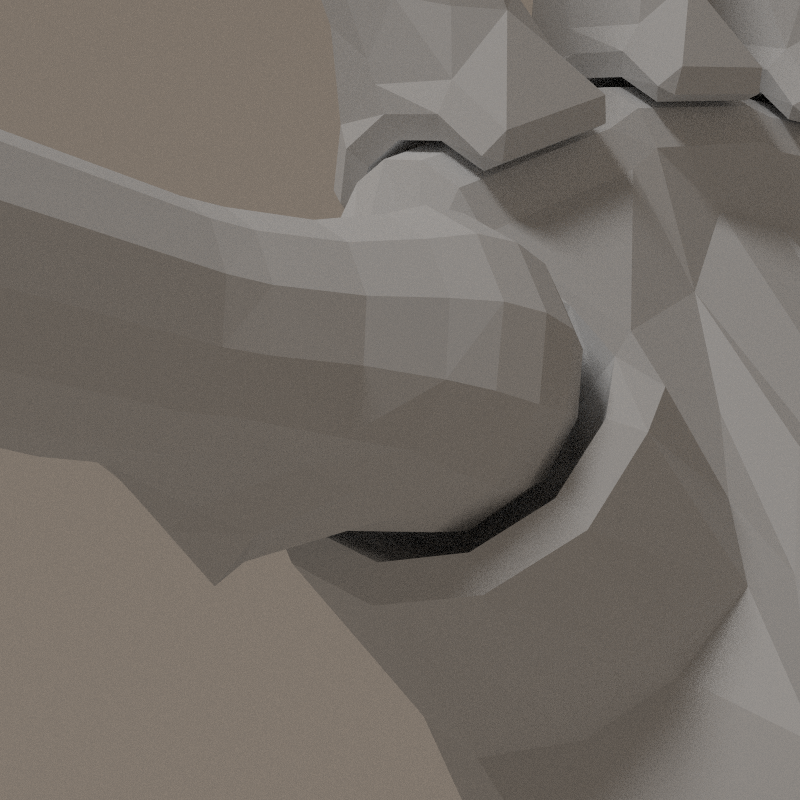
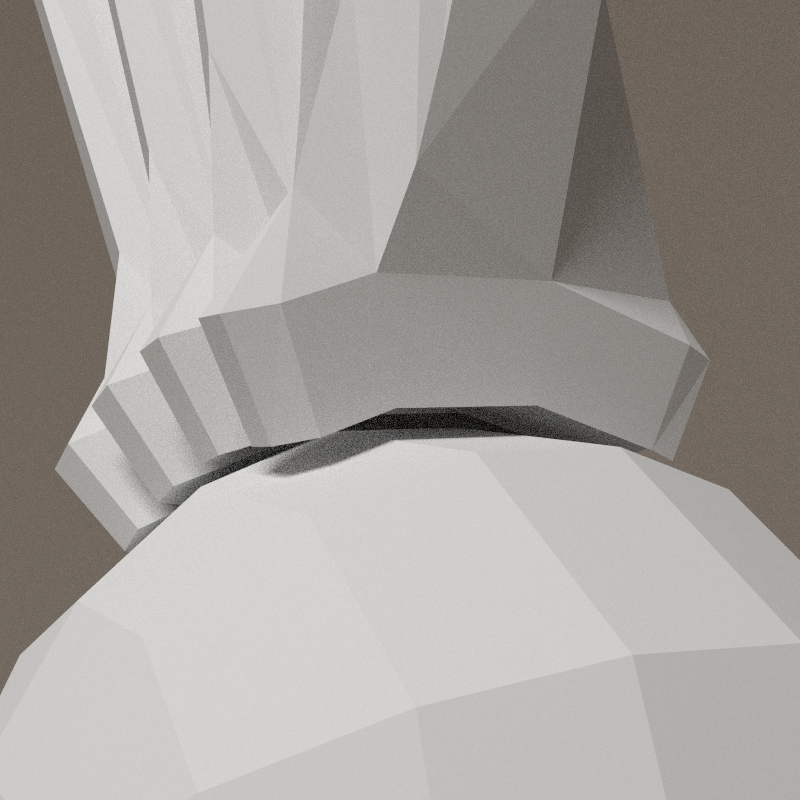
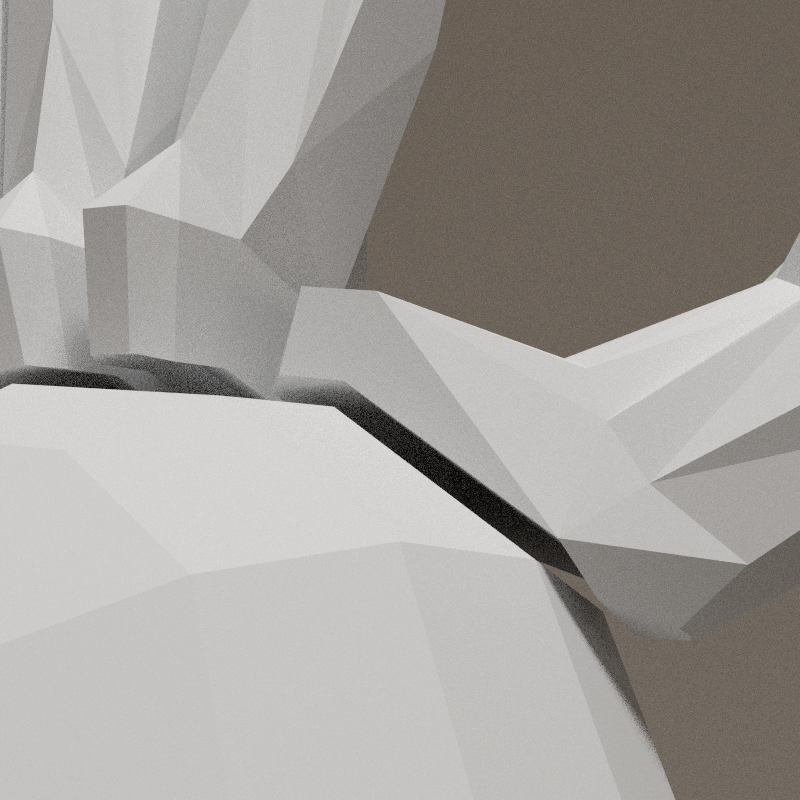
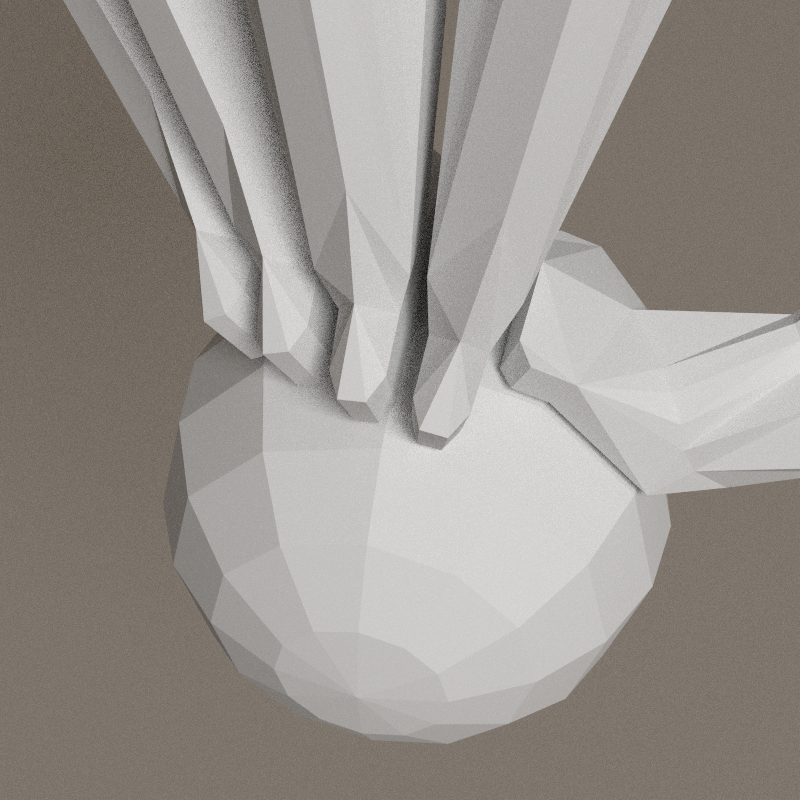
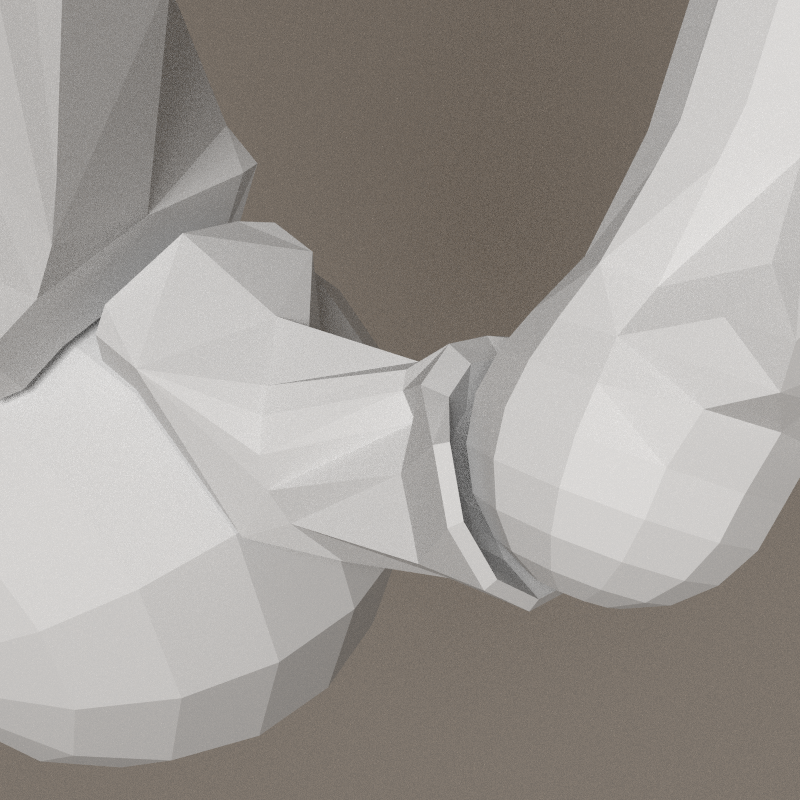
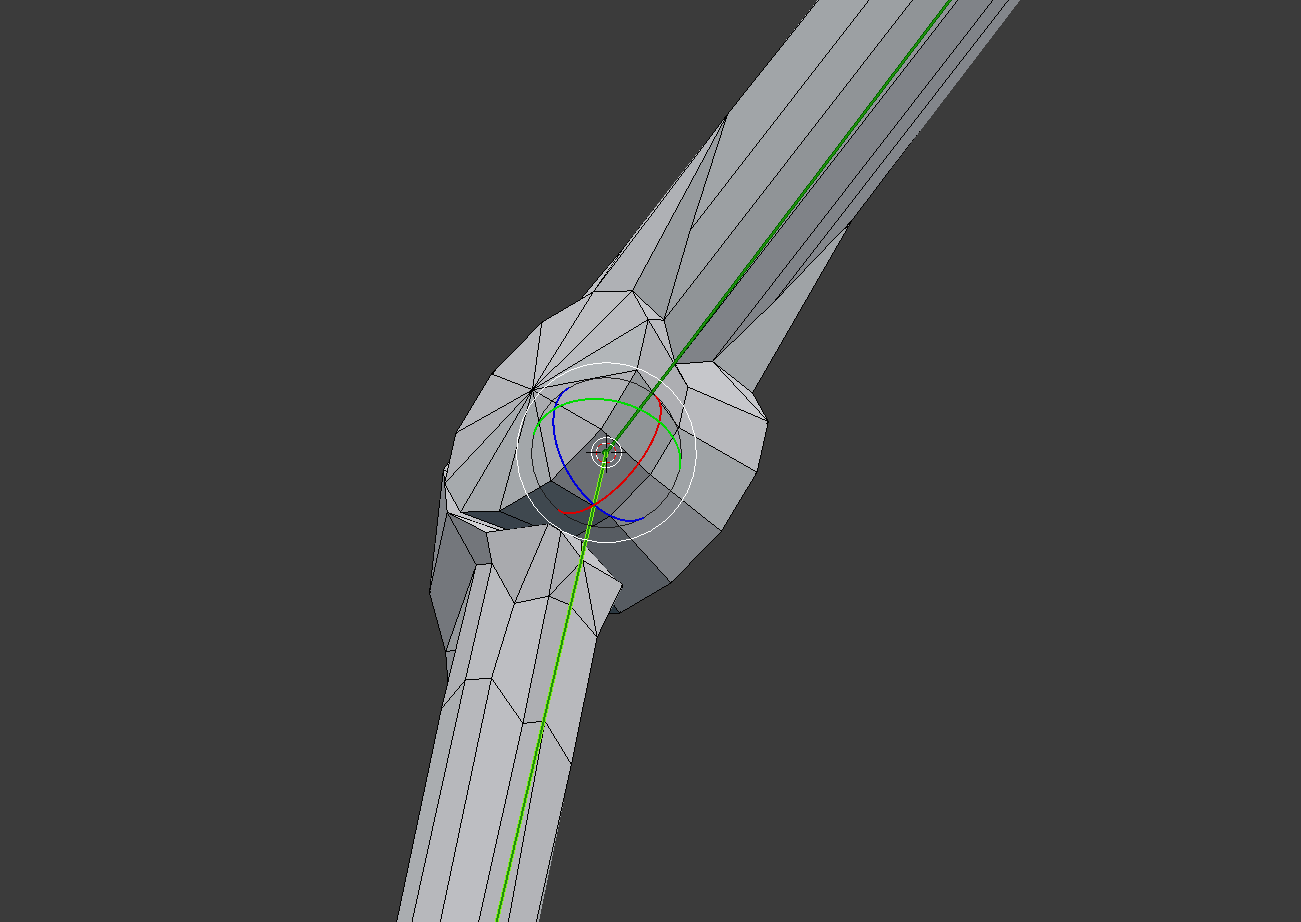
Back to documentation, wrist is one of the most complex articulation of the skeleton. I can't summarises mentally the juction with fingers & the articulation with the forearm. Spherical joint and cylindrical ones, in a so tiny space!
I need 3 axis of freedom at the wrist and 1 for each finger metacarpal, and 2 for thumb's metacarpal. One of the axis of the wrist will be ensured by the connection to the forearm ( see elbow study ). The hand is not very flexible in the perpendicular axis of the palm - adbuction/adduction -, this joint will come at the sceond place. The third one - flexion/extension - will have the shape of a cylinder and connect to a carpal bone were all the metacarpal bones will be connected. It's shape will be odd as it will be composed of half of a cylinder, a spherical hole ( to thumb ) and 4 half of cylinder, with different orientations ( to fingers ). Let's design this!
reference : https://en.wikipedia.org/wiki/Anatomical_terms_of_motion
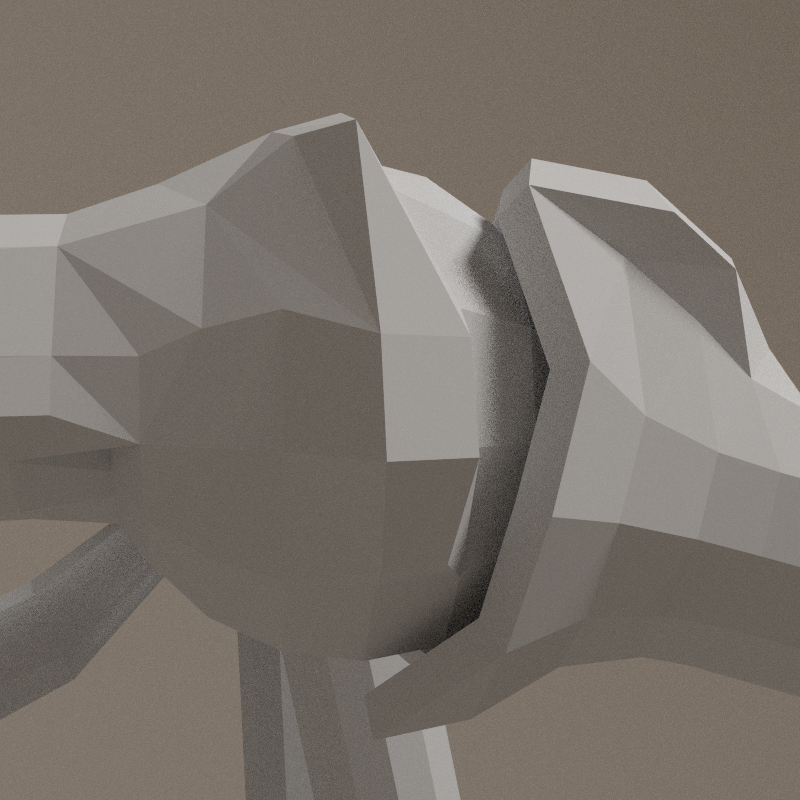
Adjustment of the fingers


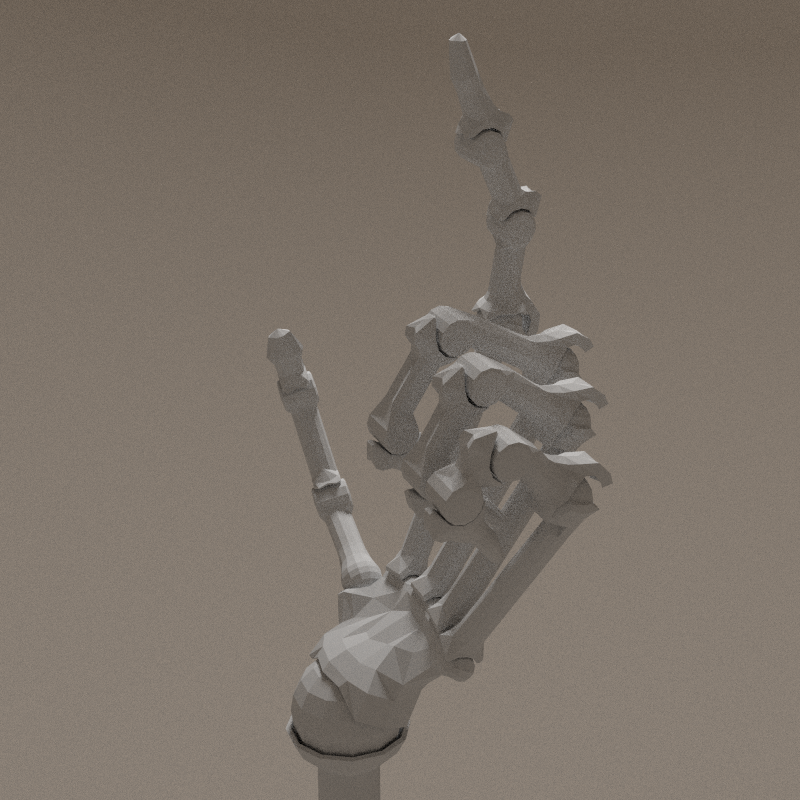
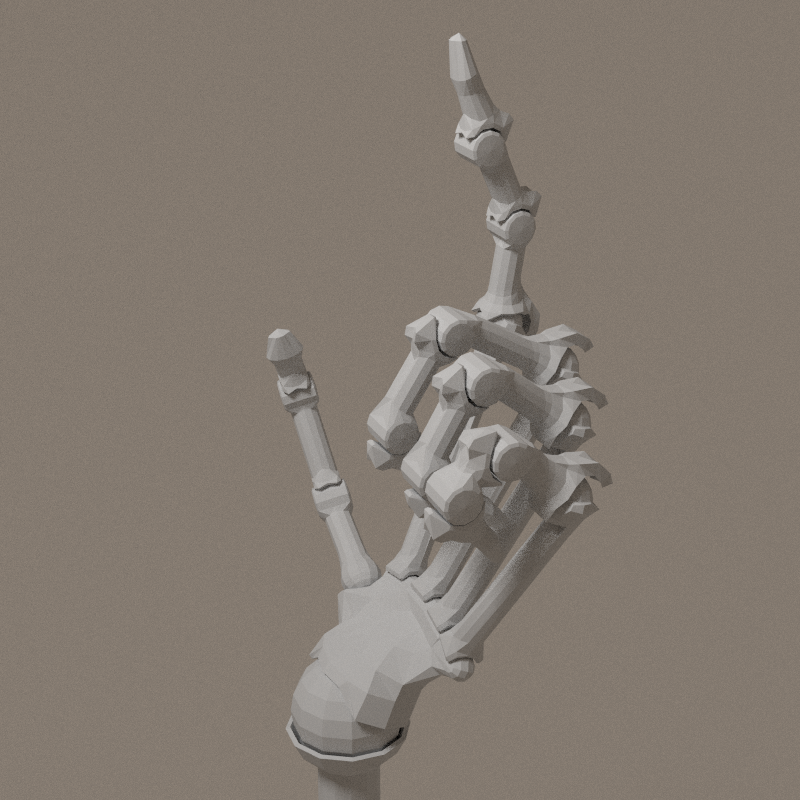

Complex articulation flushed out! Back to a sphere! The overall shape appears smoothly => it's the right shape. Stilll to do: re-orient fingers.
Not convince...
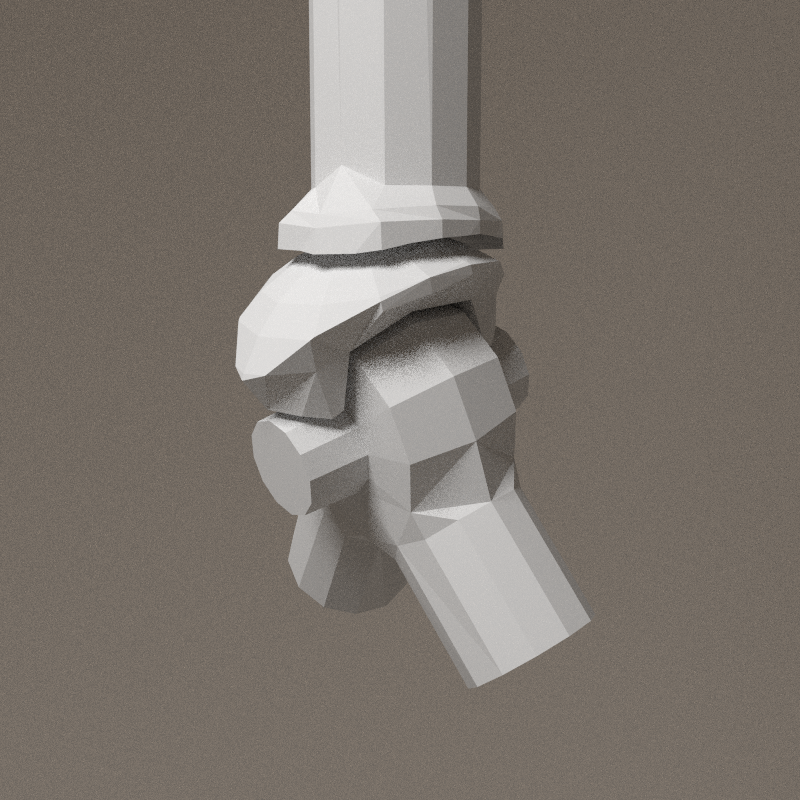
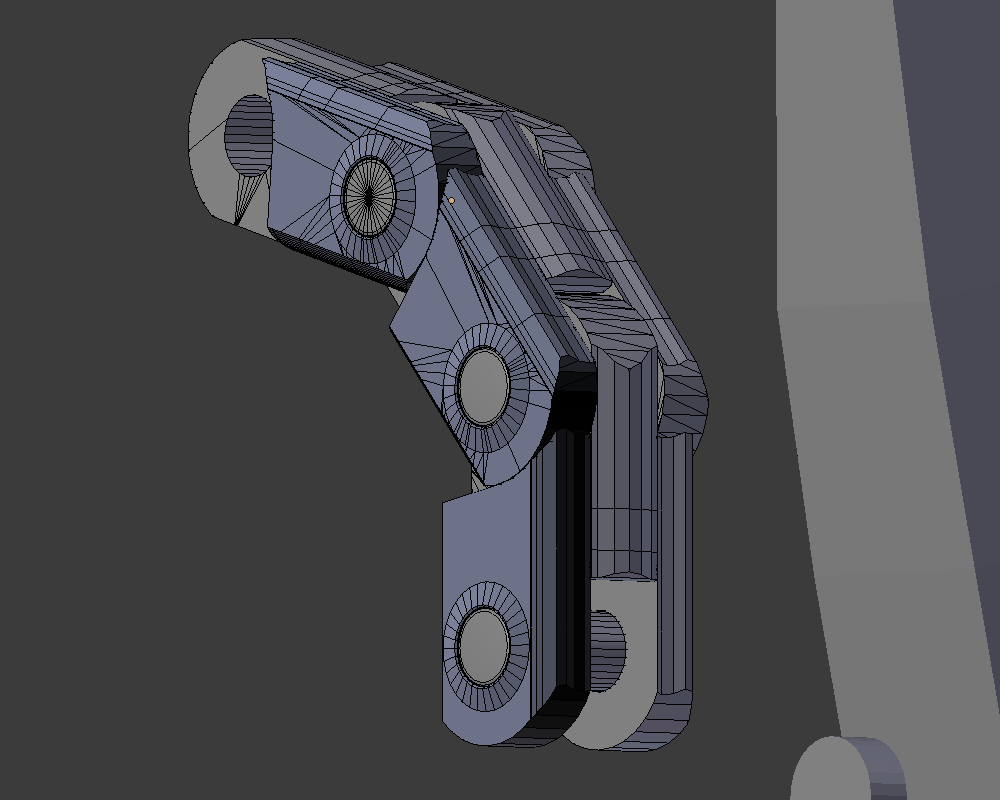
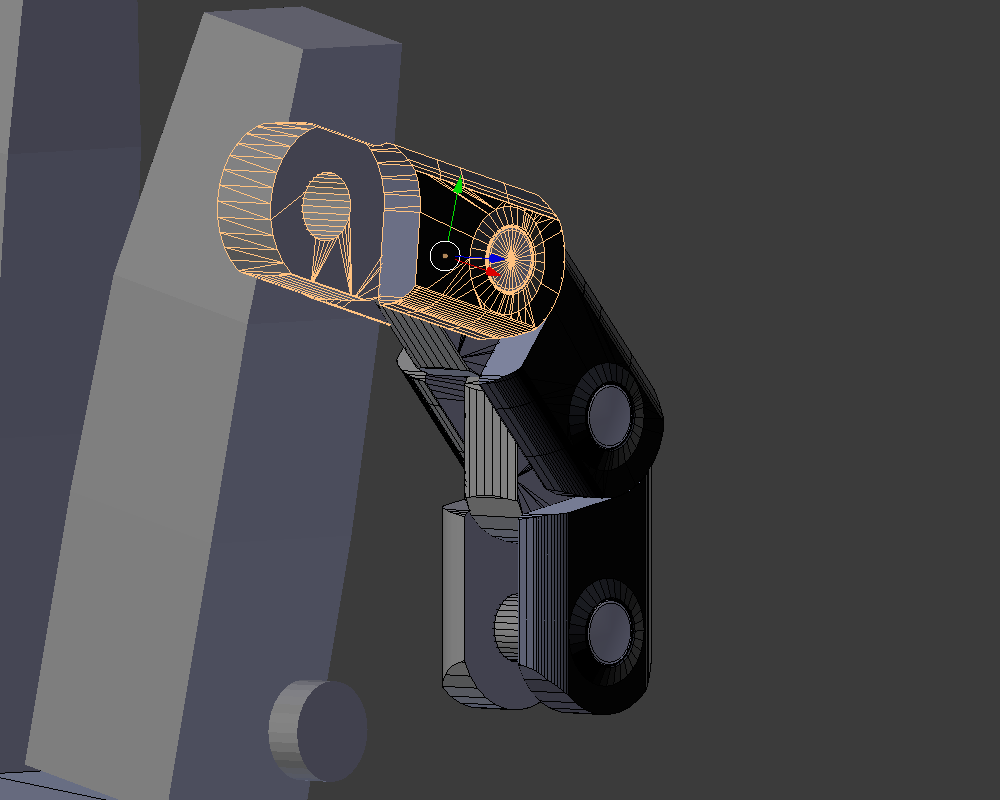
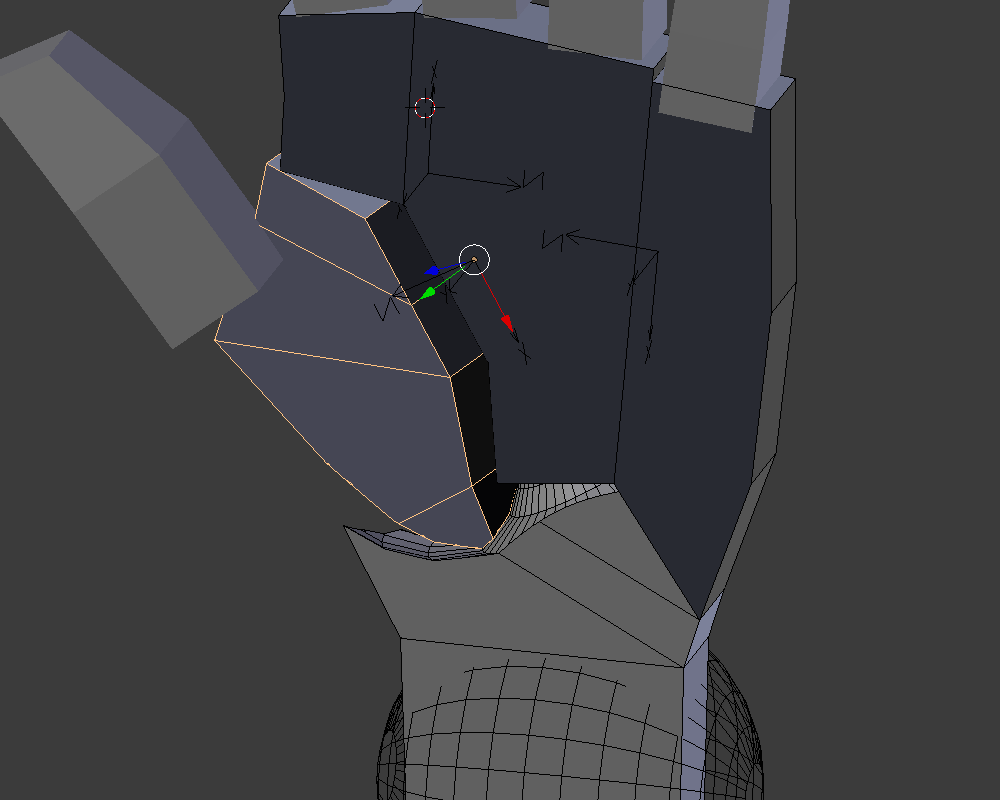
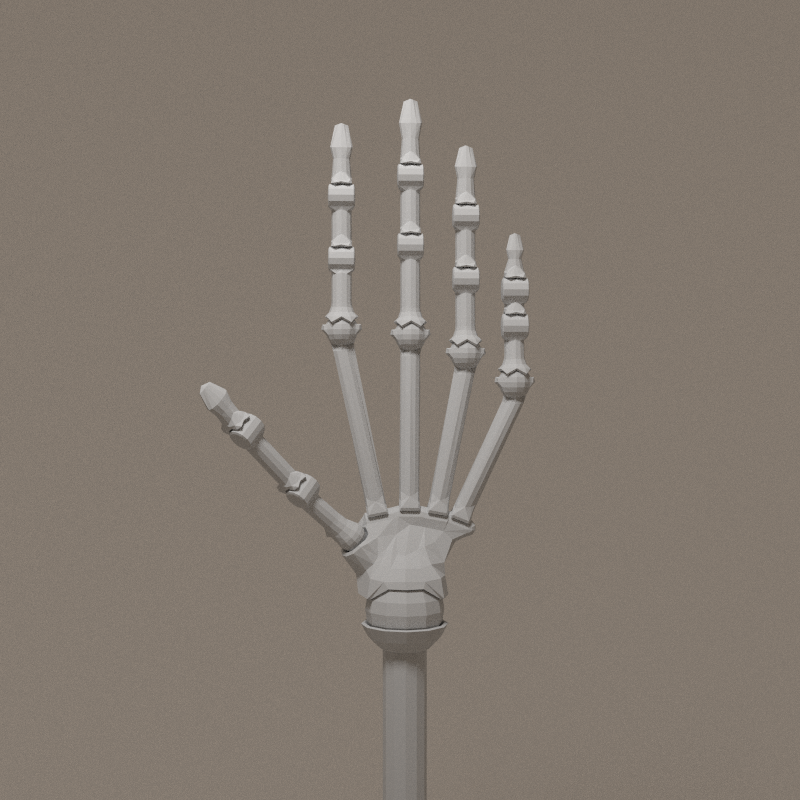
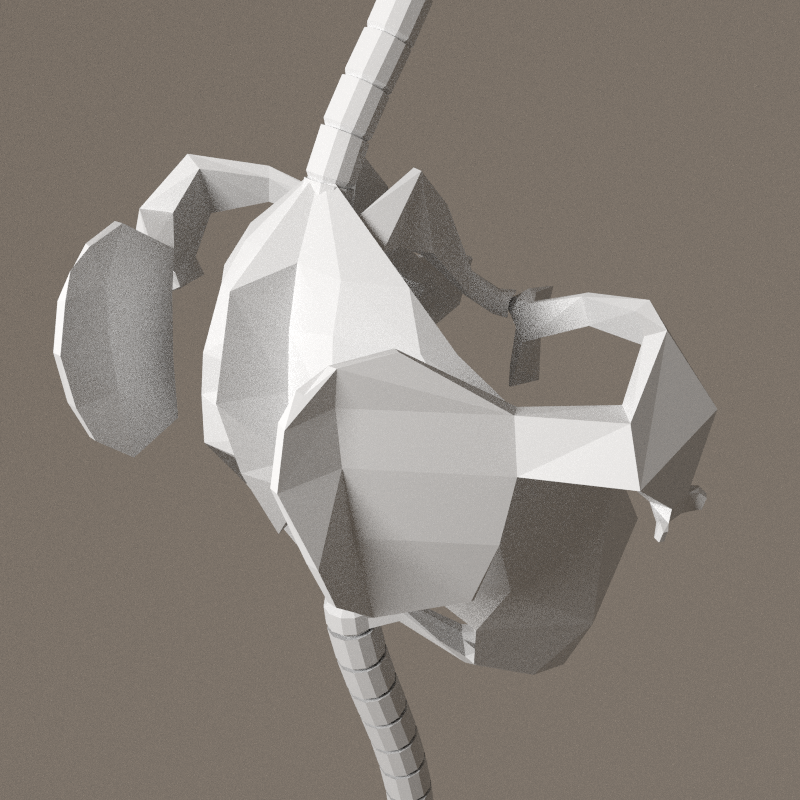
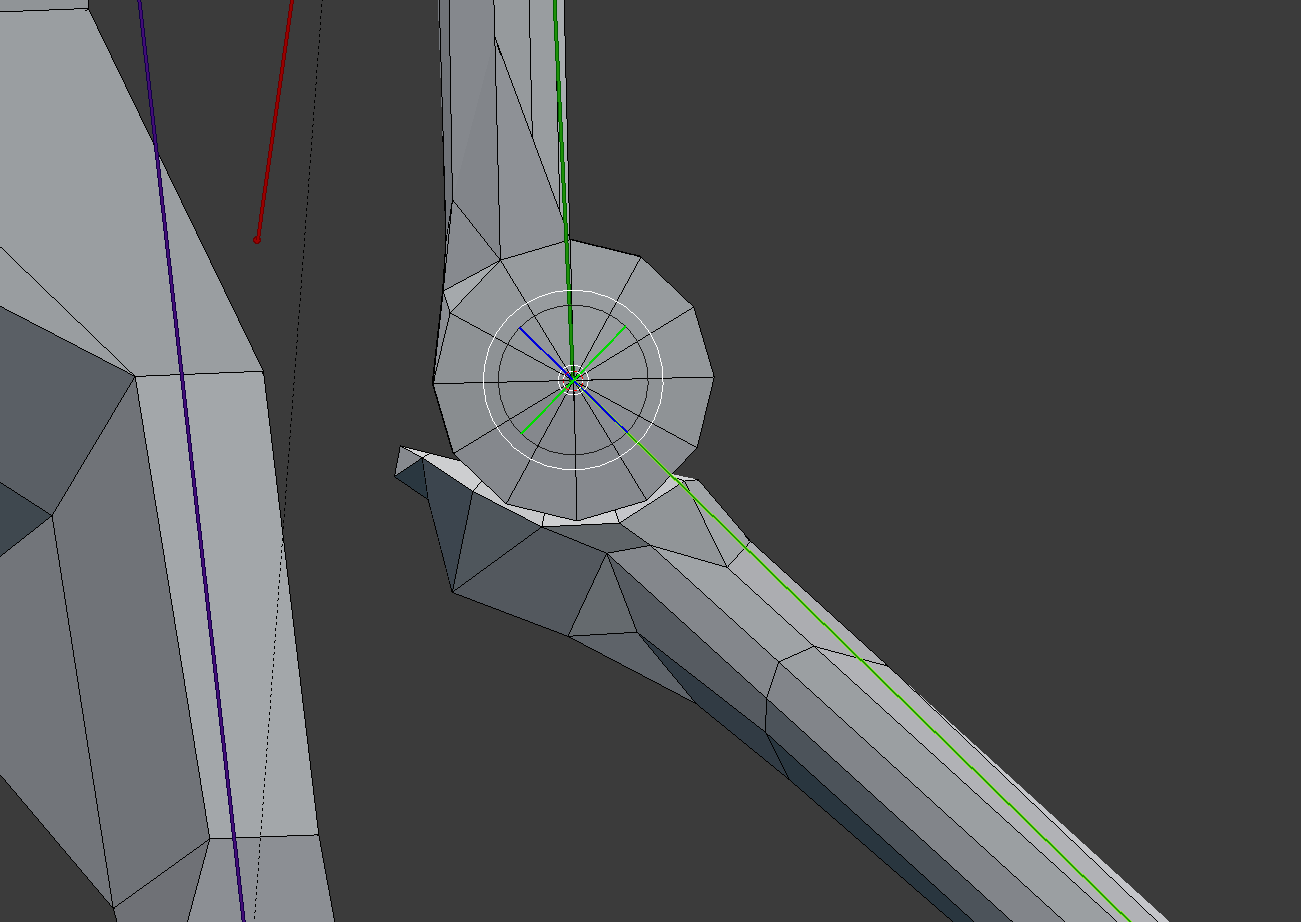
Wrist
The rigging of the hand from makehuman stops me to rethink a simple mechanical structure.


Adapt the rig: metacarpals are directly connected to the wrist sphere (see sketchbook )

It's been a hell to have the metacarpals correctly oriented: the adjustment of the bone's roll has to be precise to the 1/10° for the rotation on X axis to be aligned with the sphere's lattitude! I should have a look to the matrix of the bone and arrange that there.
Rule:
- X axis of the bone's orientation MUST be in the XZ plane ( hand's looking up ).

Pallets must be thinner -> there are centred on equator, if it goes towars the poles, the space between pallets becomes narrower. The rotation at this artication must be of a few degrees.

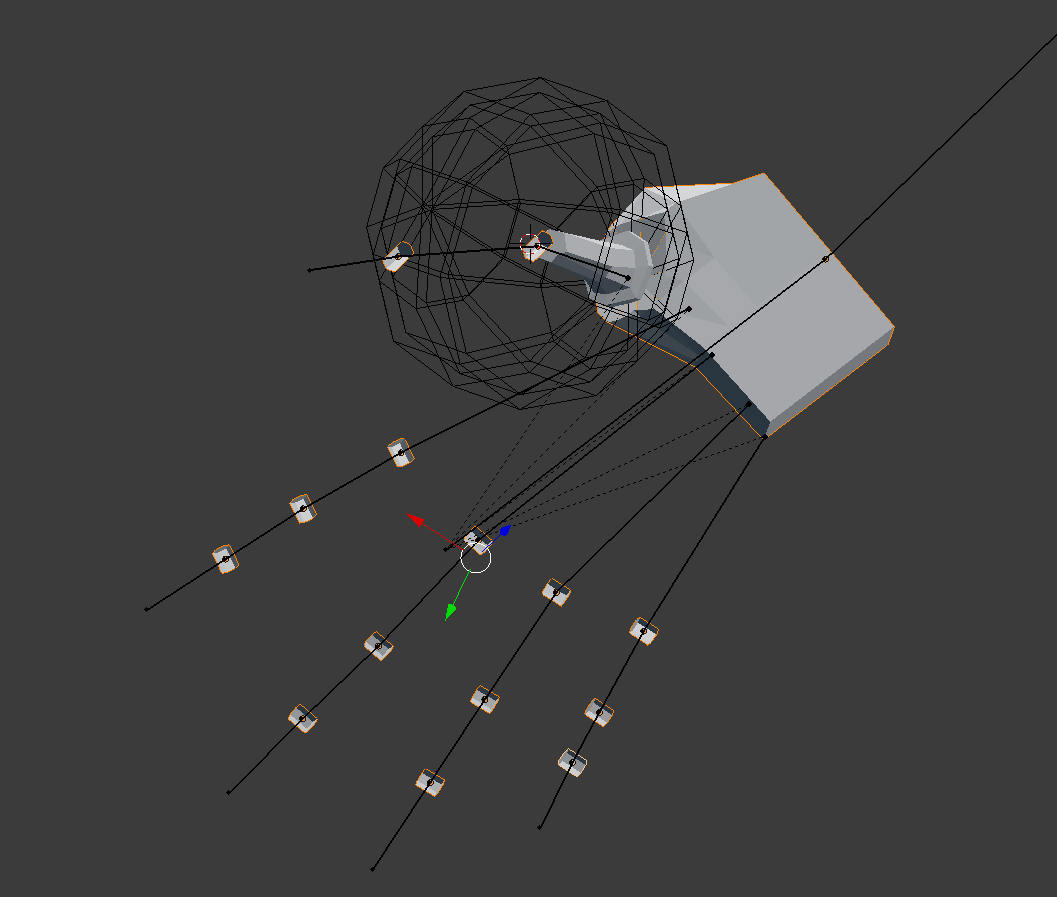
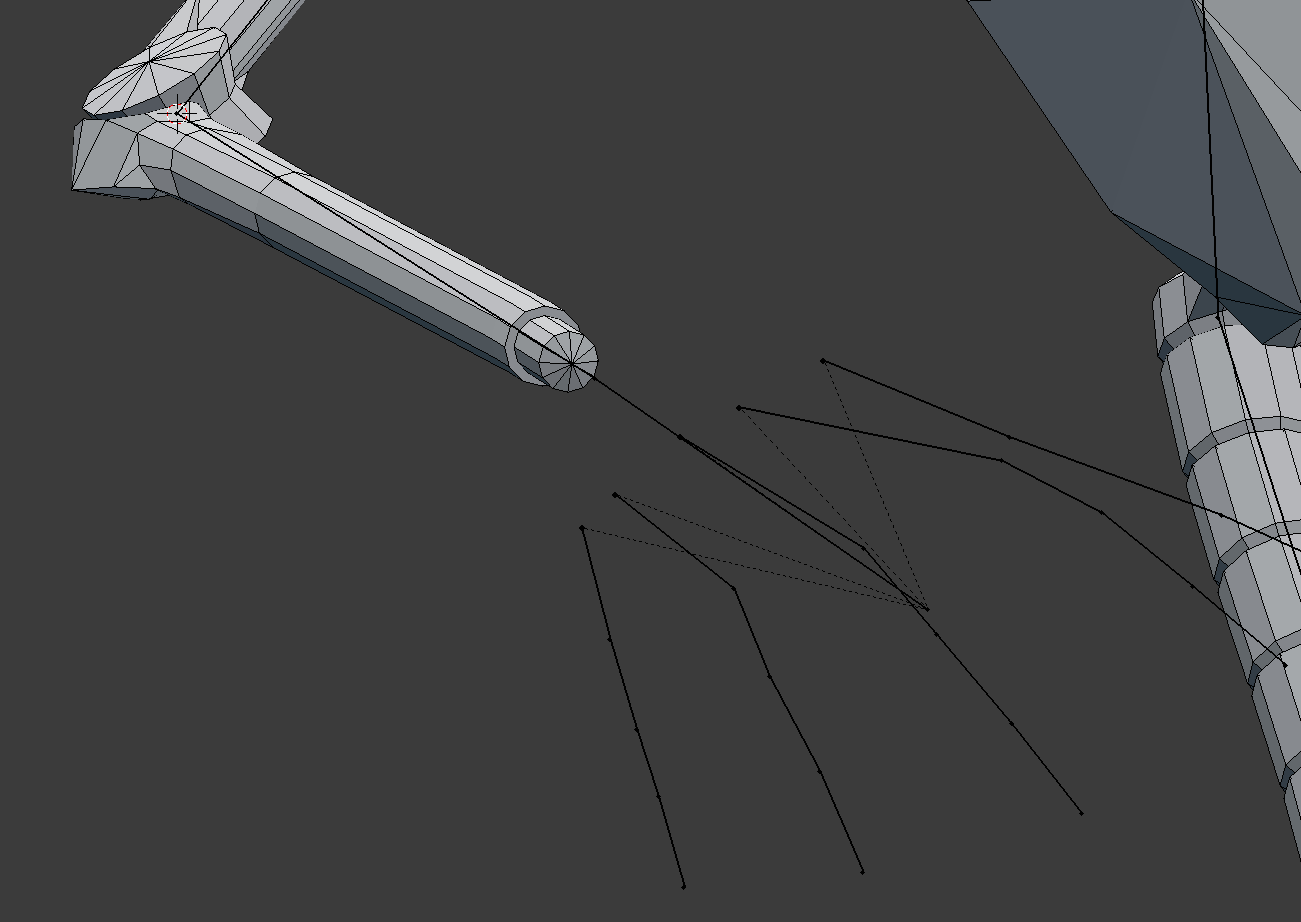
Thanks to sebastien noel, I spotted the roll control functionalities in blender - see image above - meaning i can rebuild the metacarpians. Rotation axis are correct. The space between each pallet has been increased: more space = more angle.

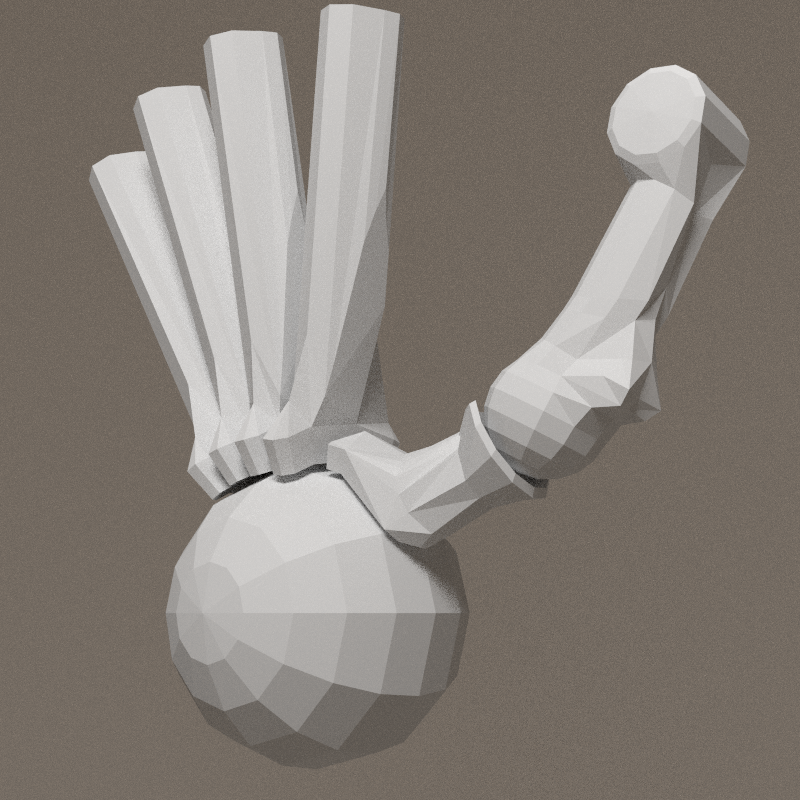

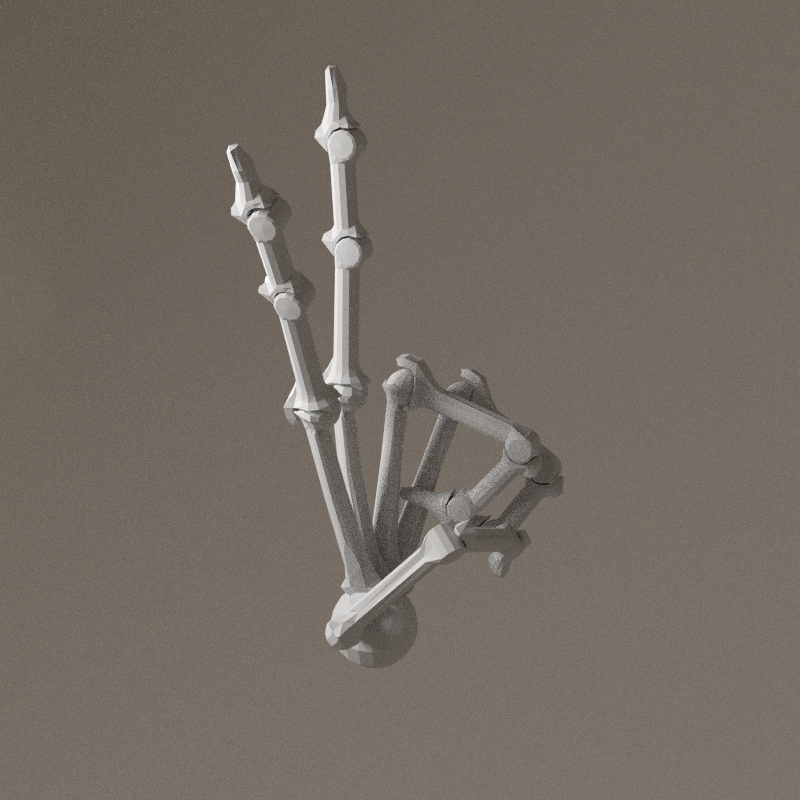


With a little help of my friends, the hand is now complete and functional. The nice trick to close edge loops is to use Bridge edge loops. It's tricky to master:
- pick a vertice on the first loop
- hold SHIFT + ALT
- pick another vertice on the first loop
- hold SHIFT
- pick a vertice on the second loop
- hold SHIFT + ALT
- pick another vertice on the second loop
The 2 loops are now selected and can be bridged!
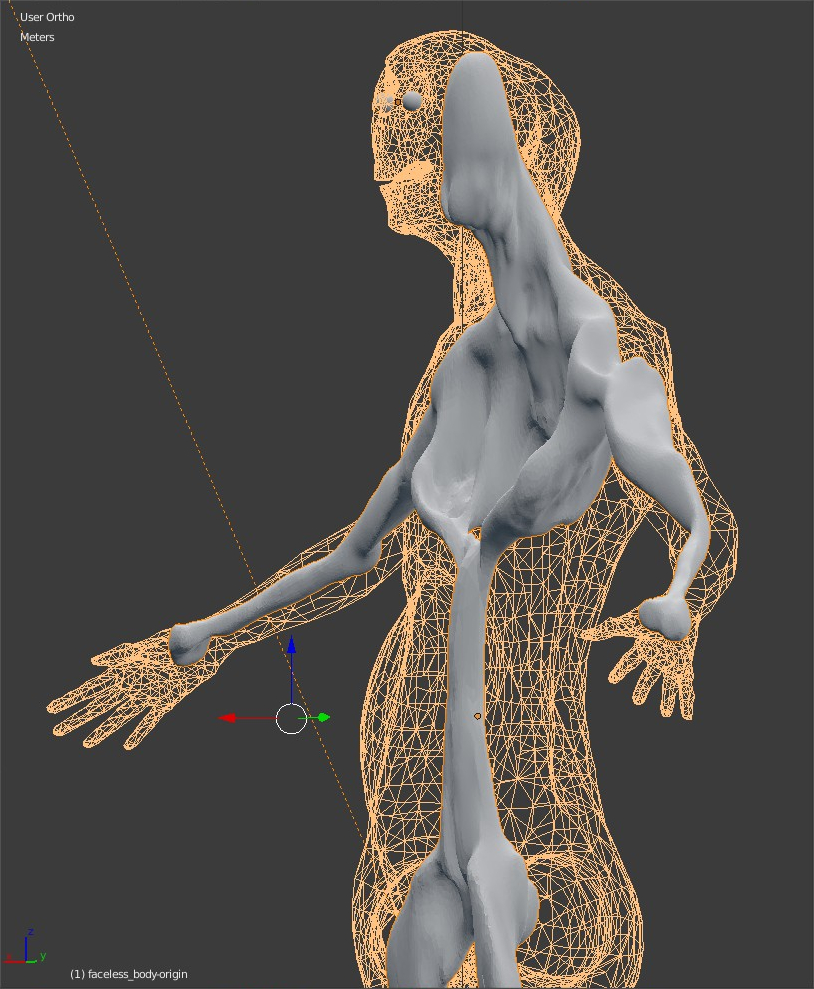
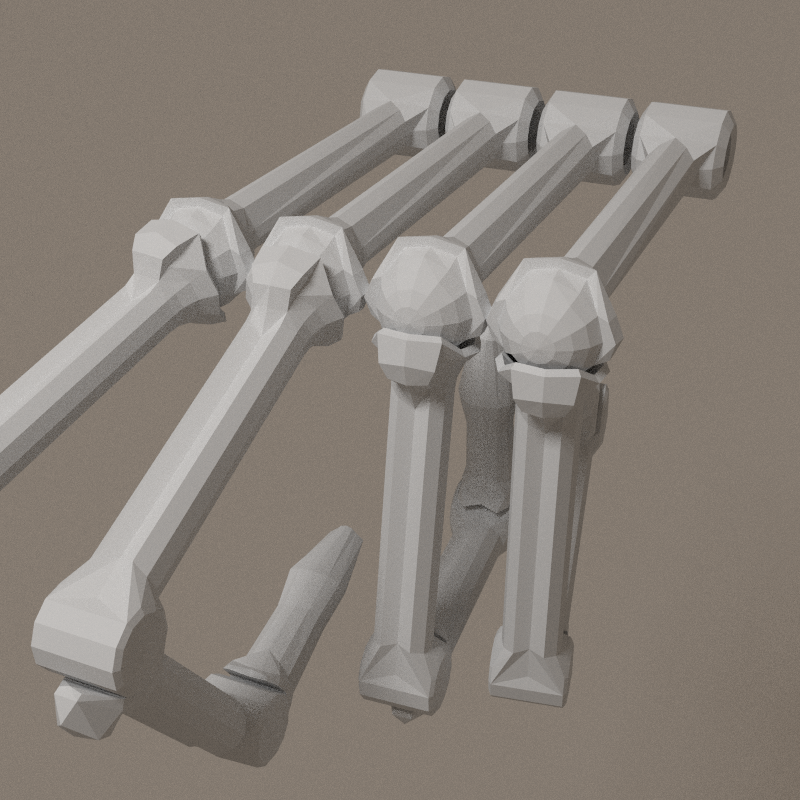
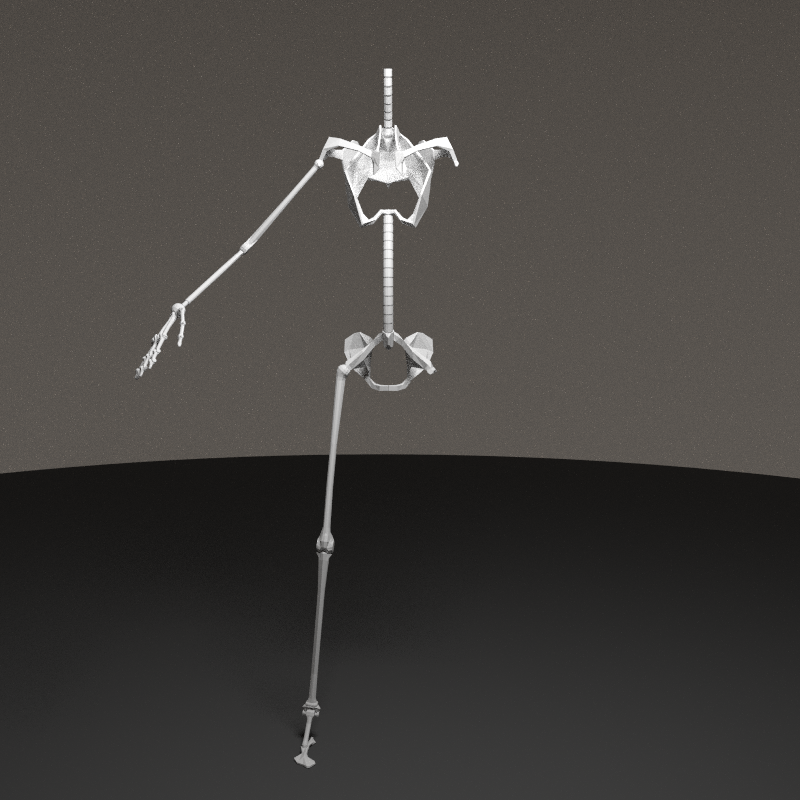
New armature
To mount the bones on a standard armature, i used makehuman. Without changing anything to the base model (a strange hermaphrodit), i went for a human IK rig.

The big advantage with the makehuman rig is that the axis are corrrectly aligned with bones. For instance, the axis of the forearm and arm are co-planar. This will help the mechanical construction a lot!
Right way to process this orientation copy in blender : Copy transforms from one object to another in blender.stackexchange.com.

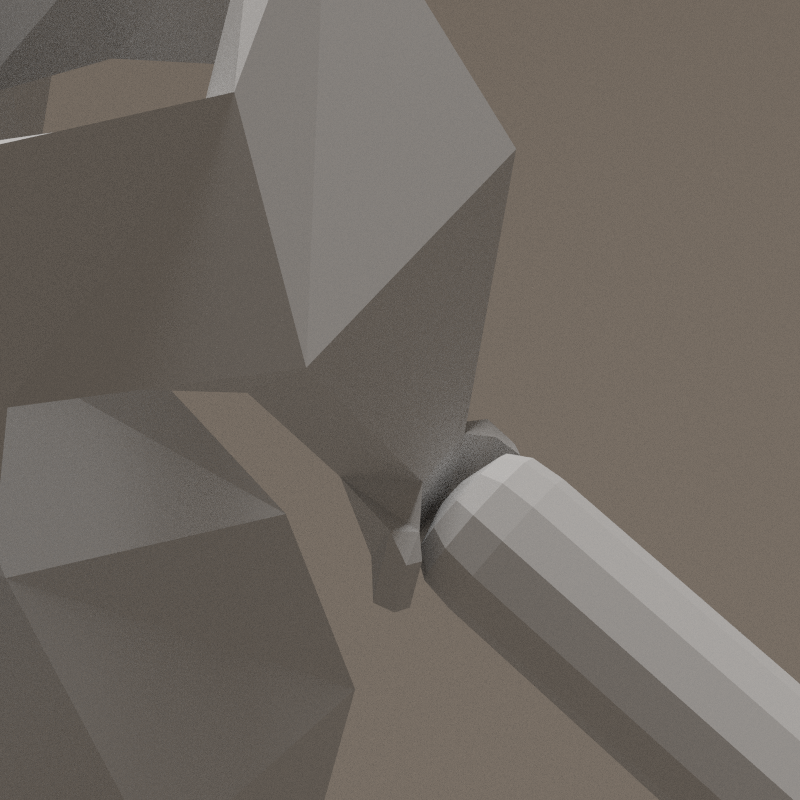
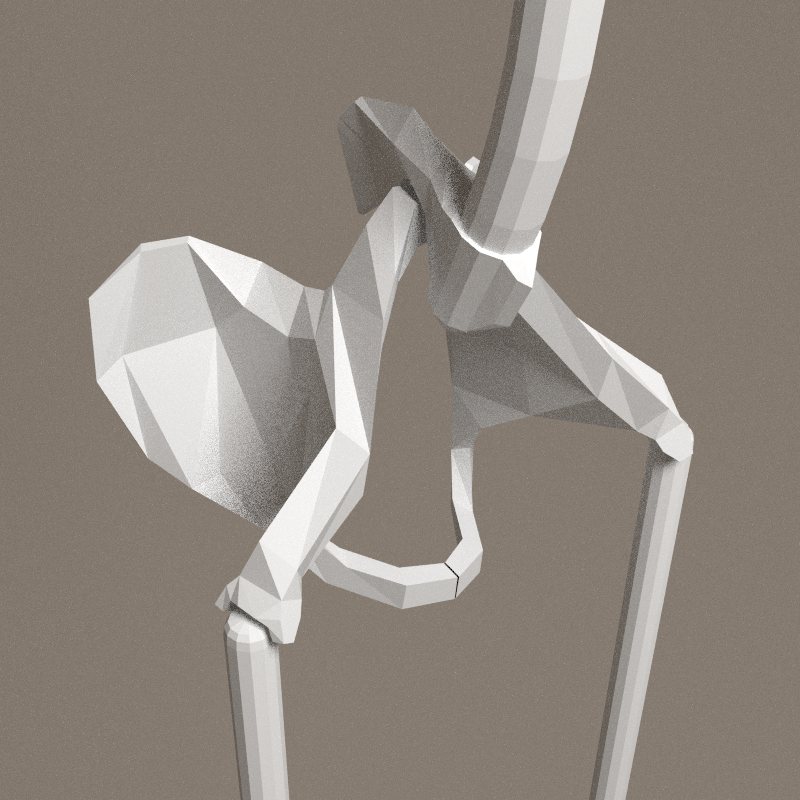
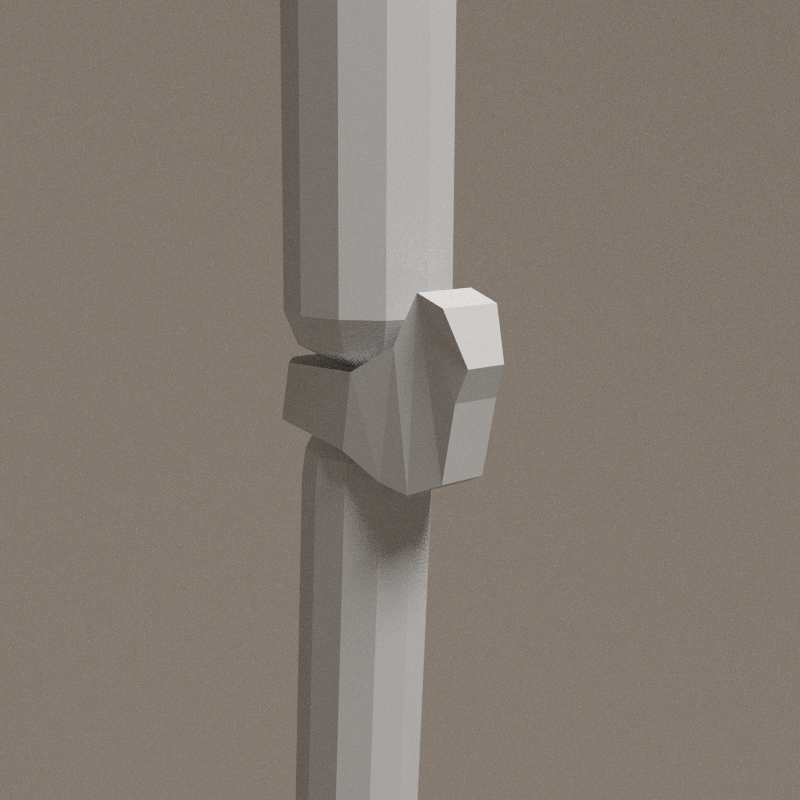
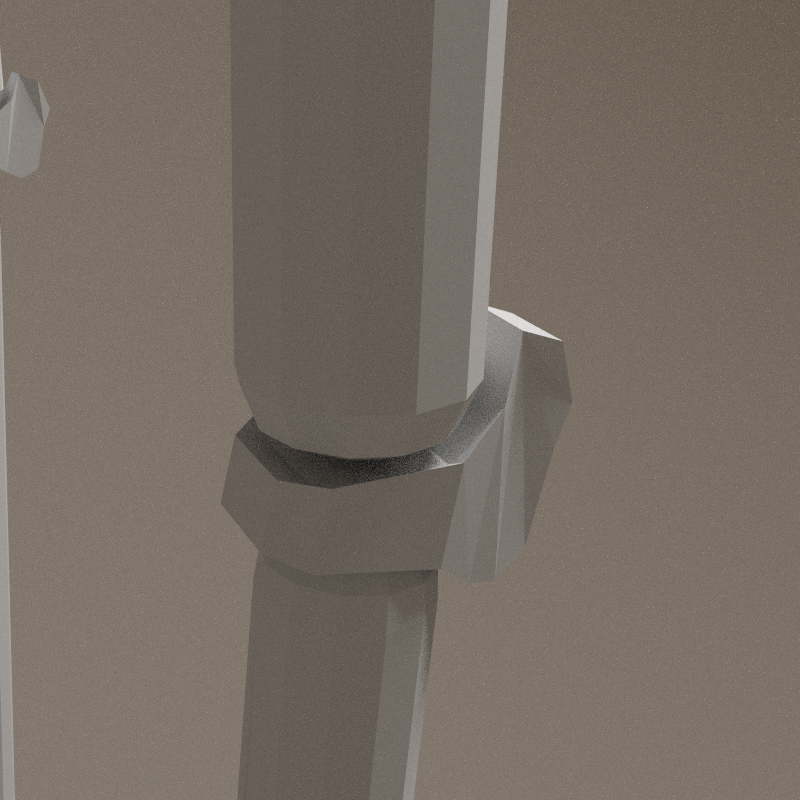
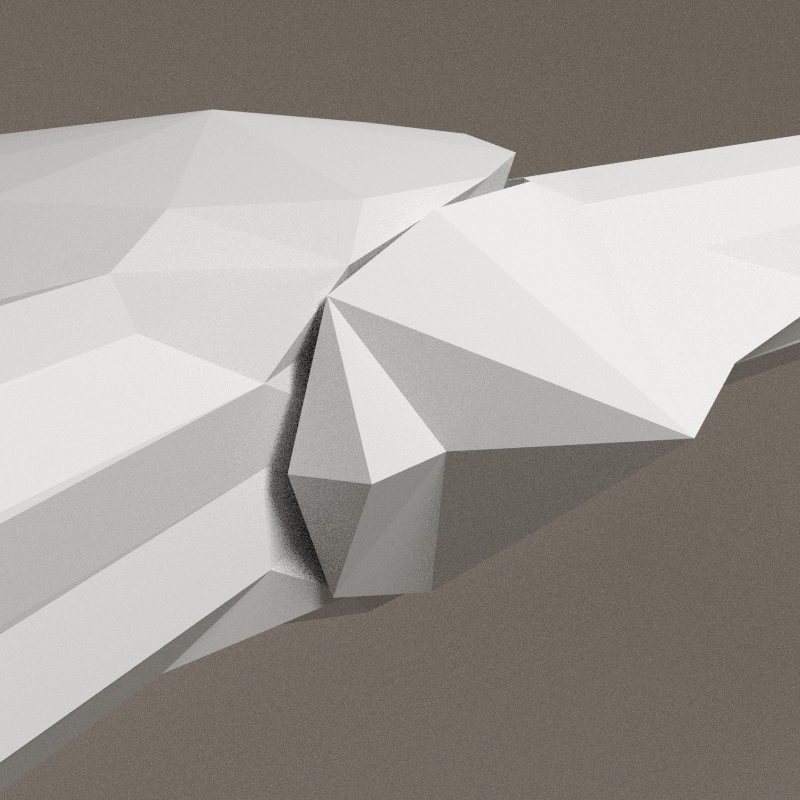
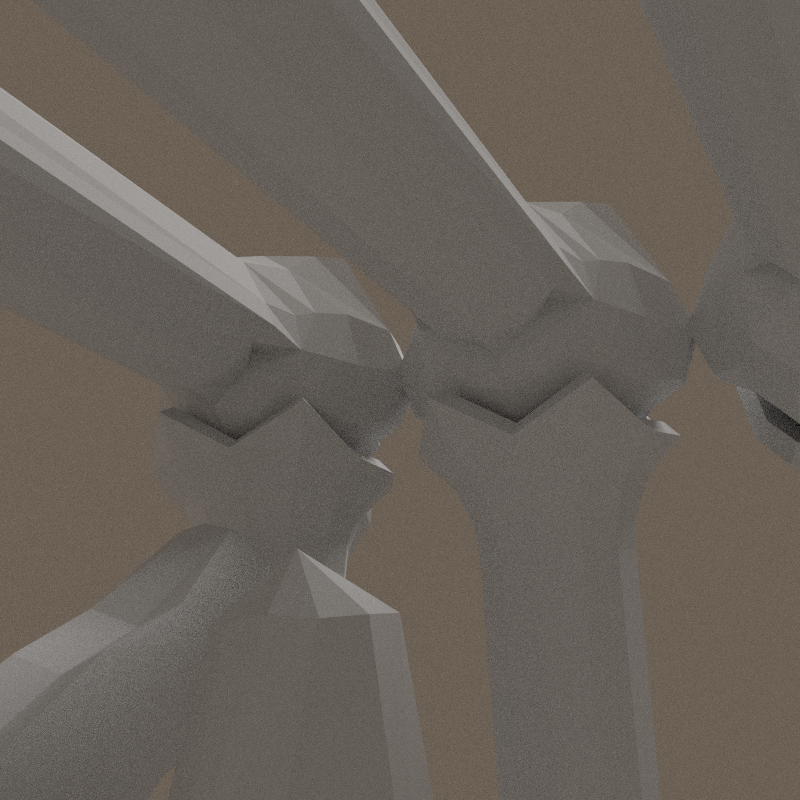
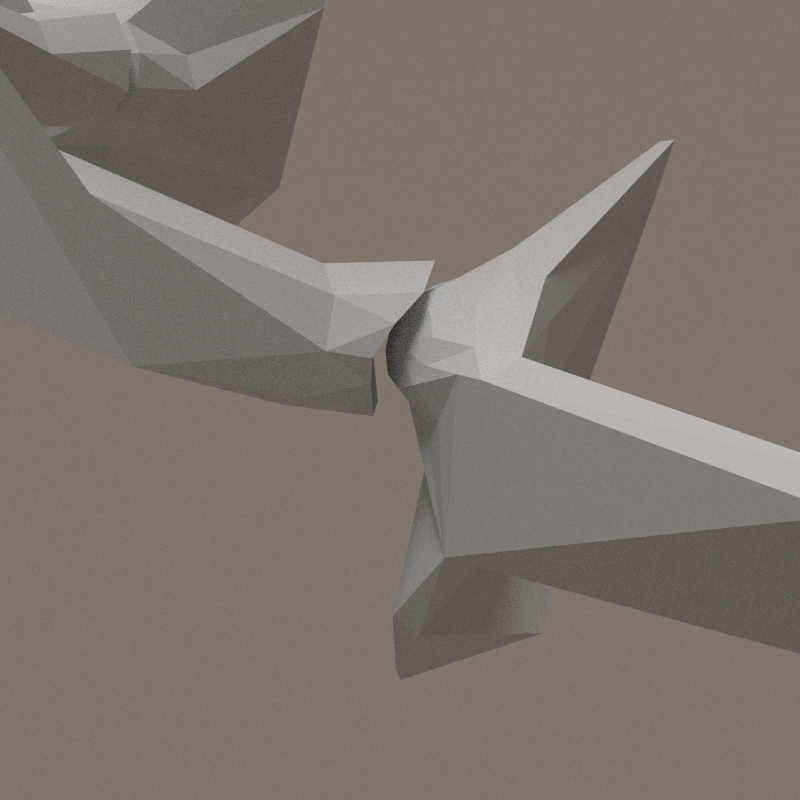
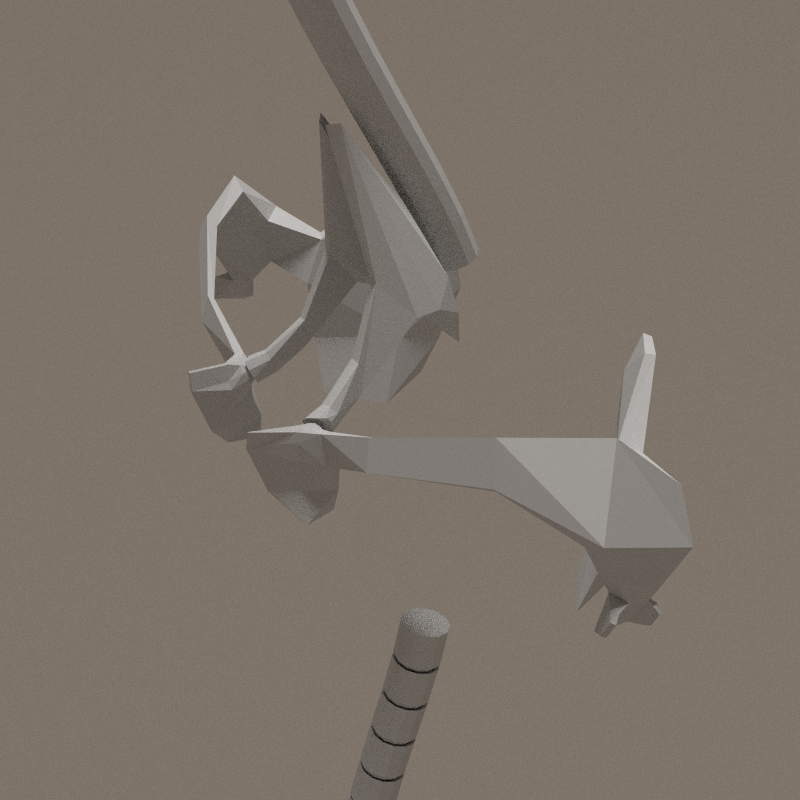
Bones adjutement
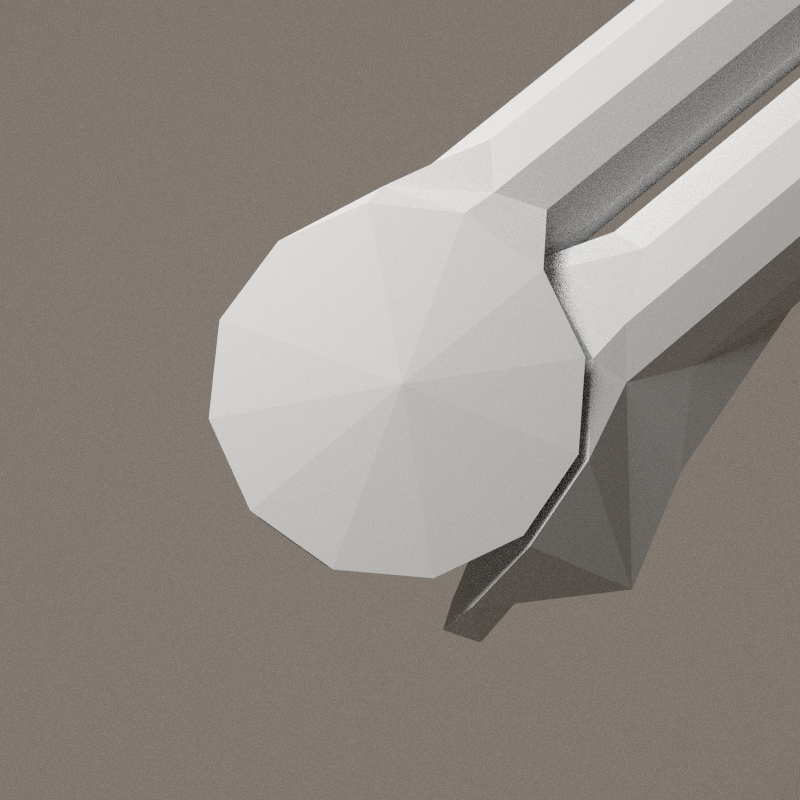
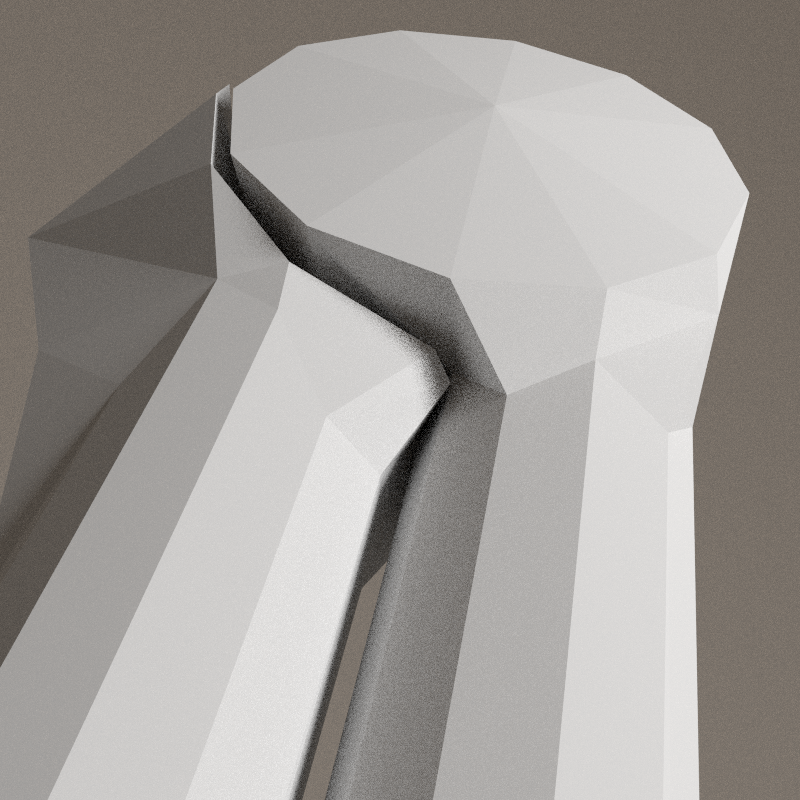
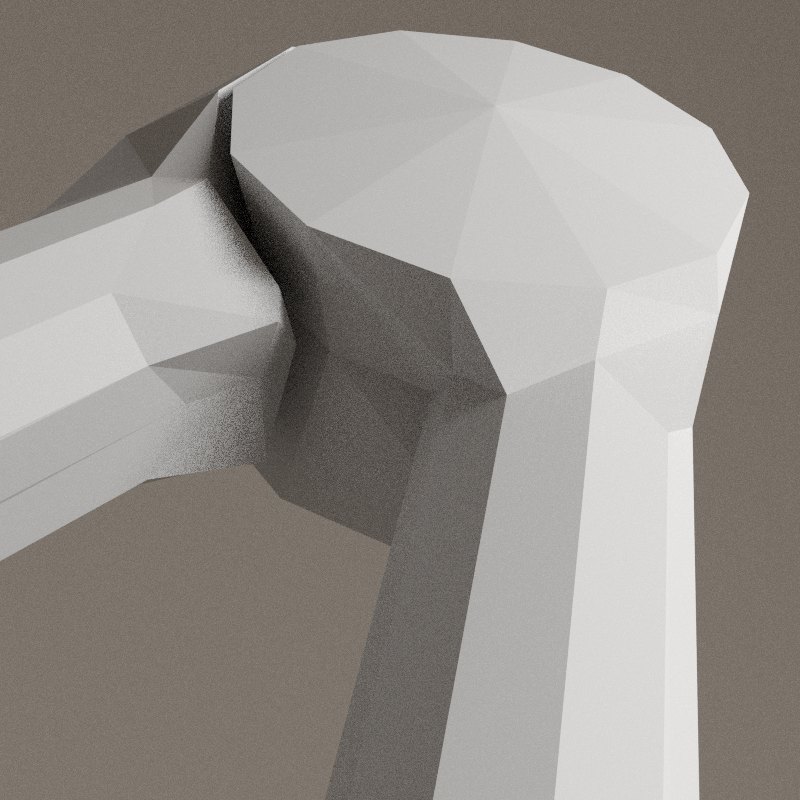
Tedious job of mixing the new armature and bones. Spine is no longer a tube.


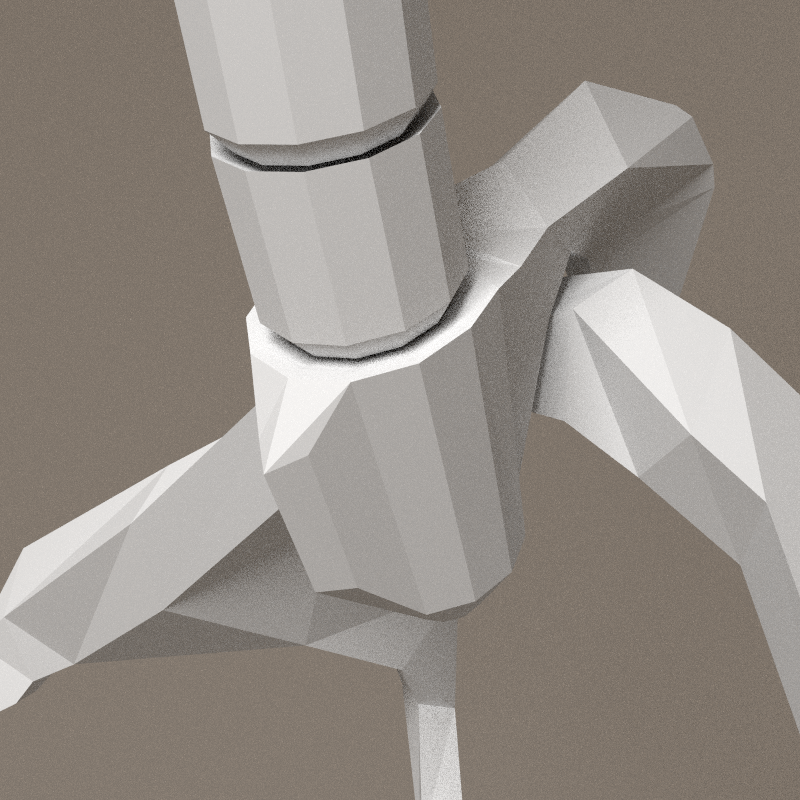


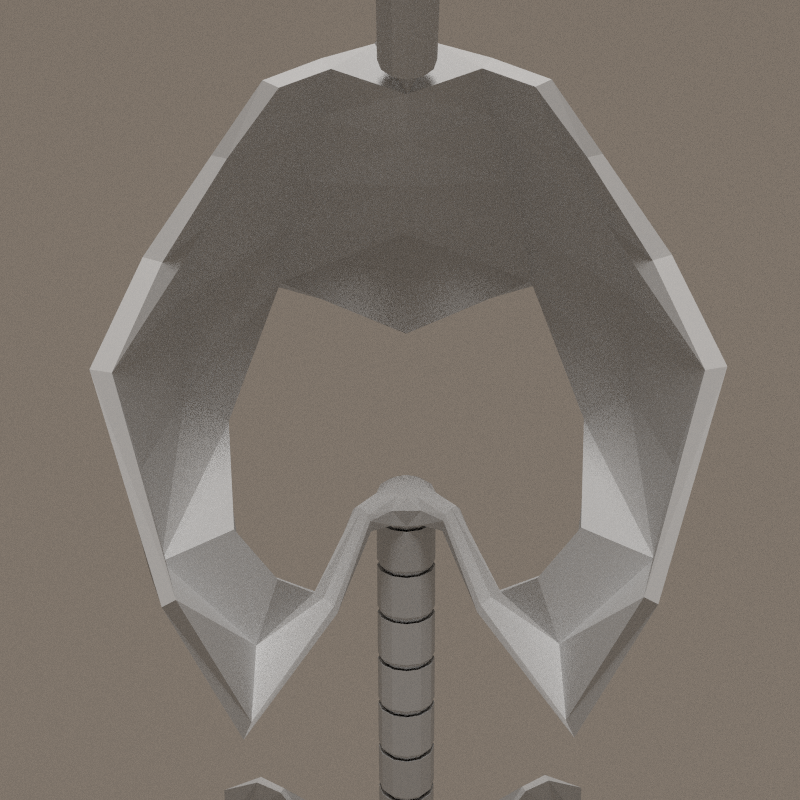
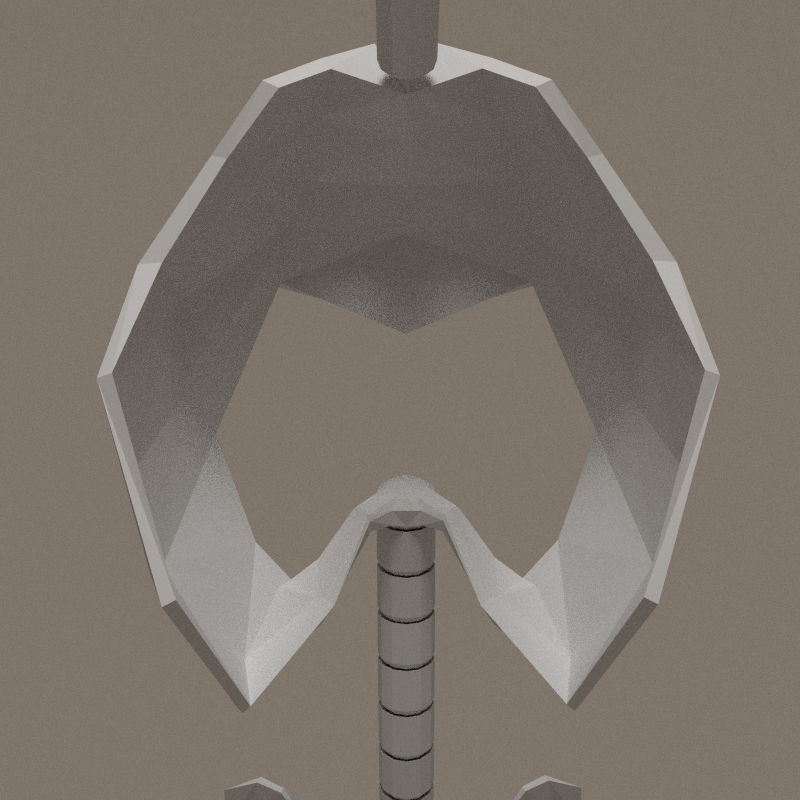


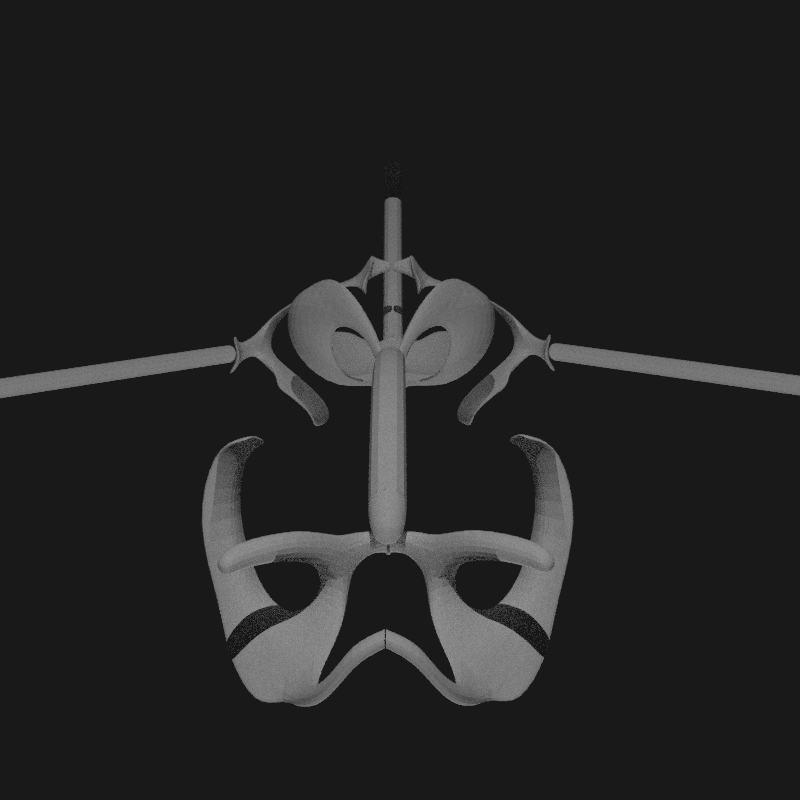
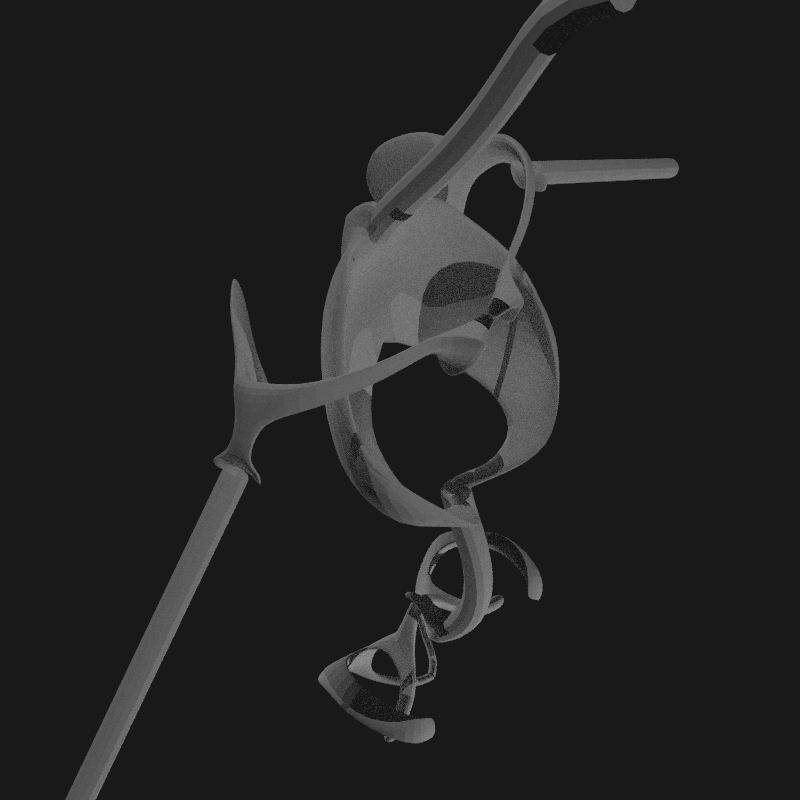
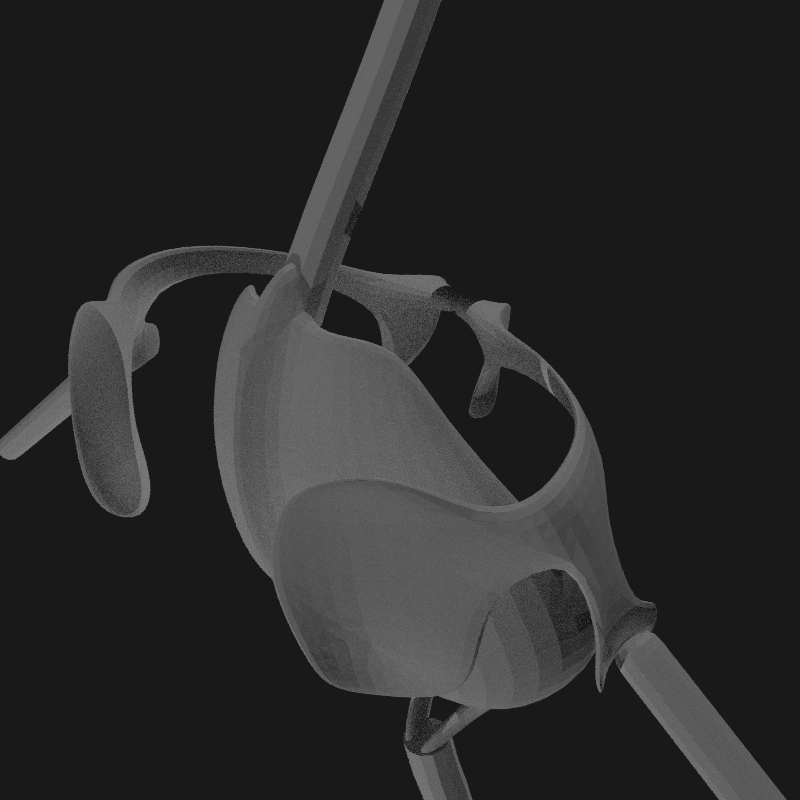
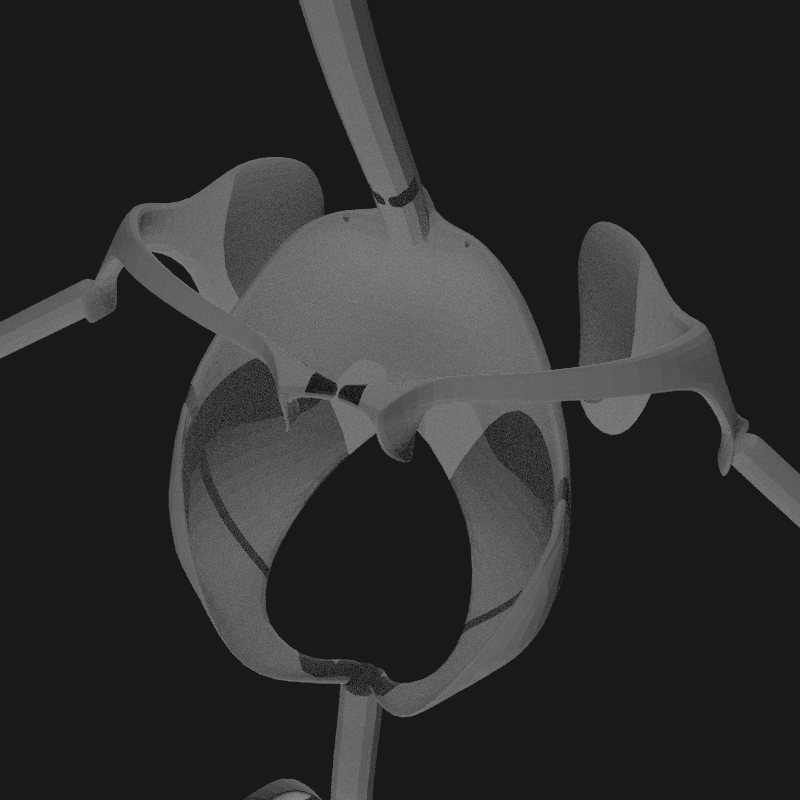
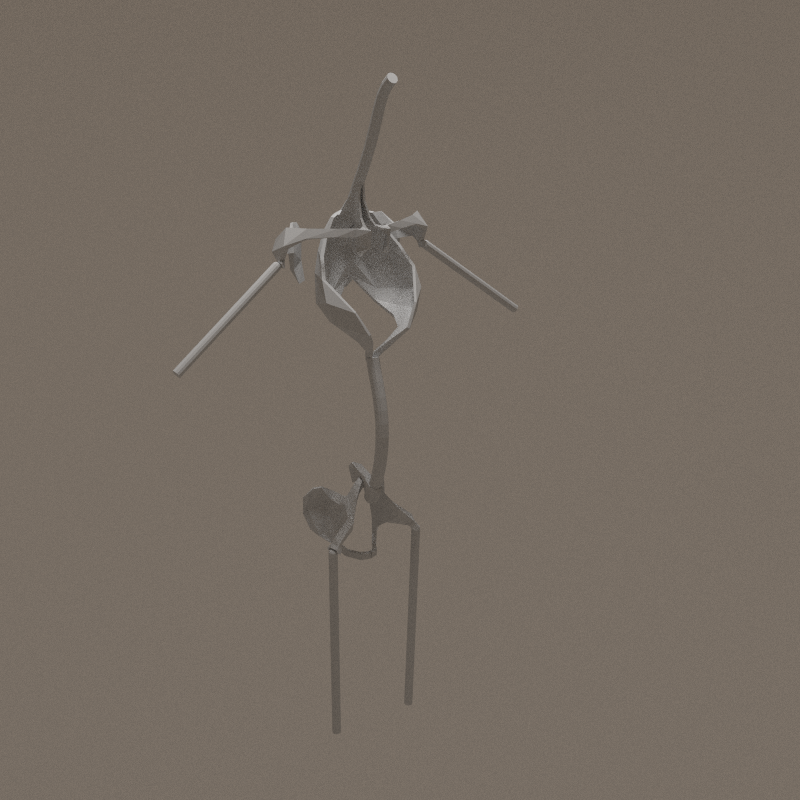
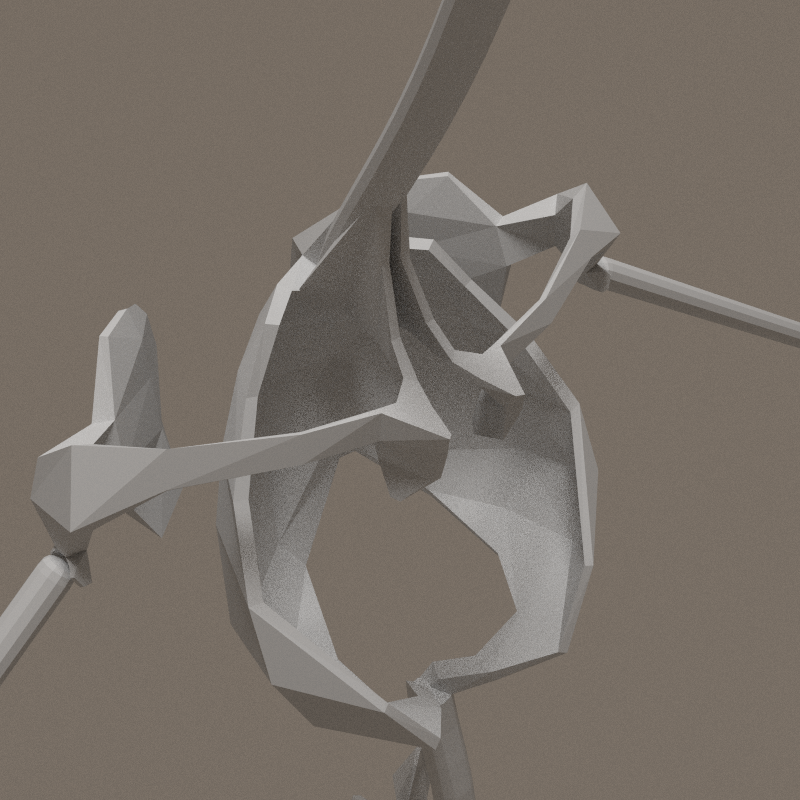
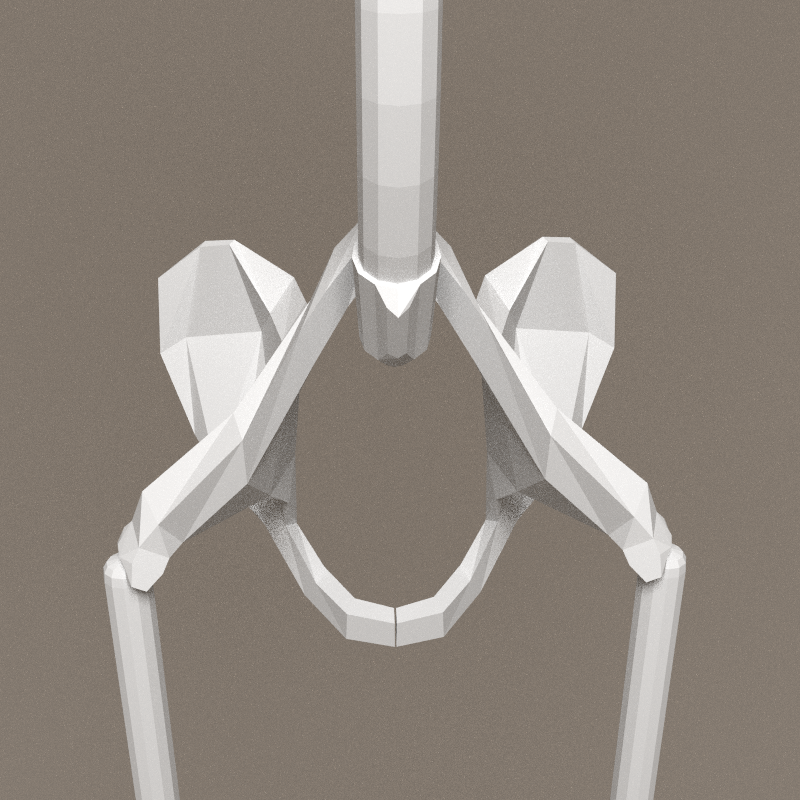
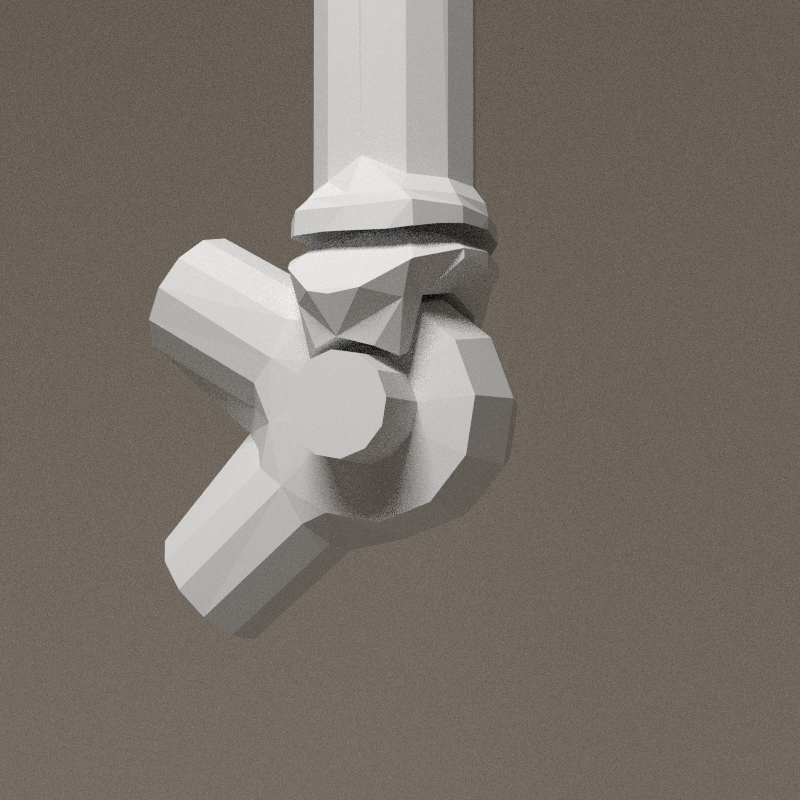
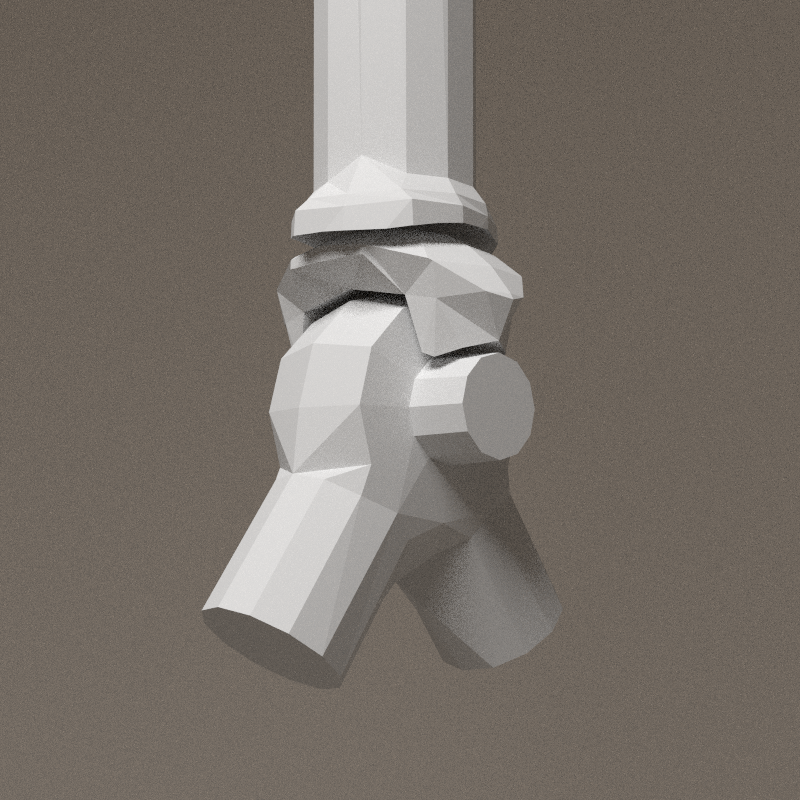
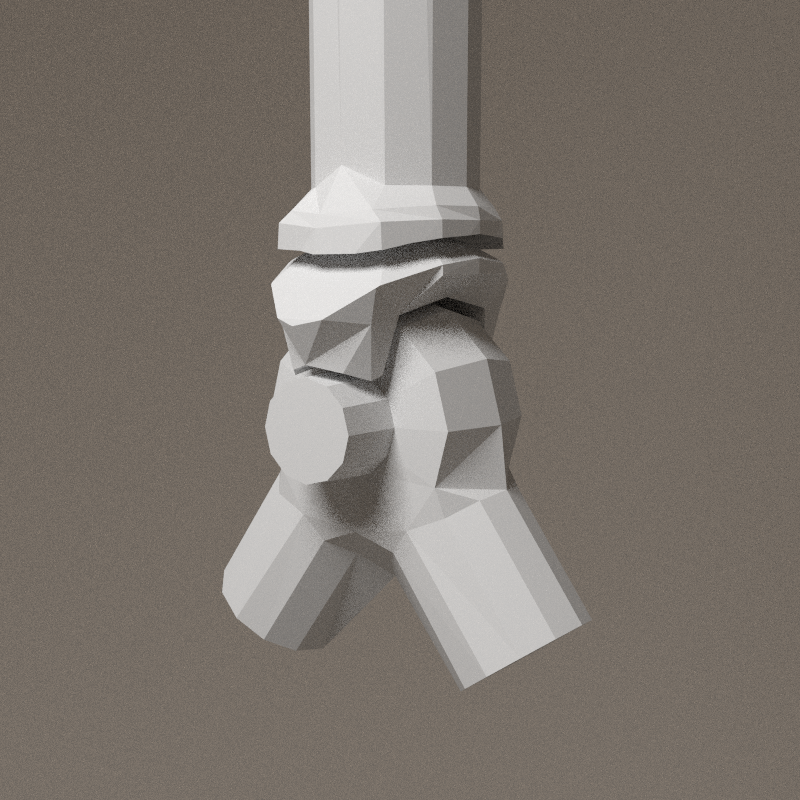
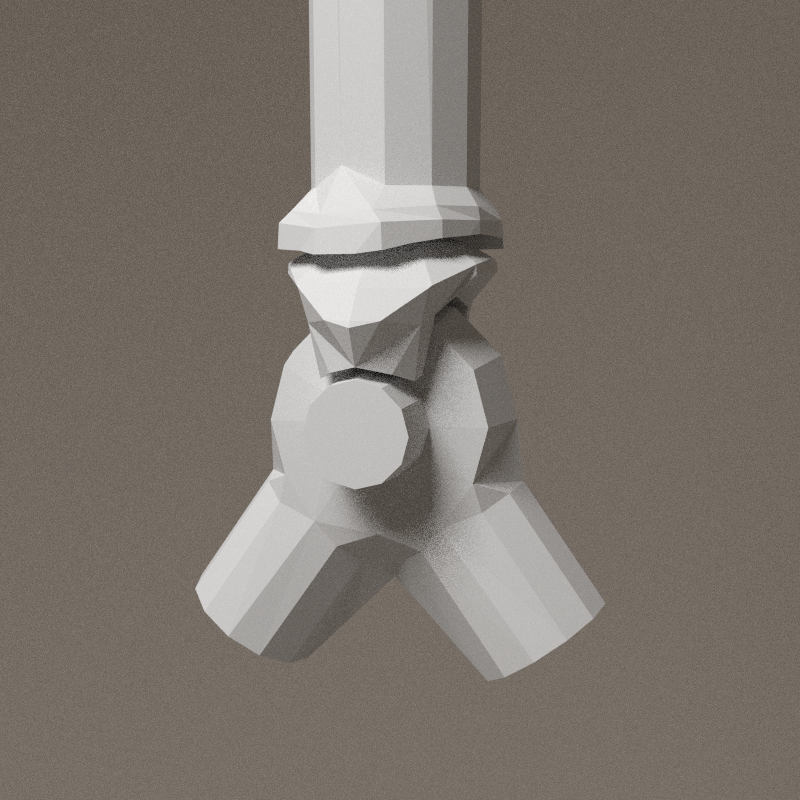
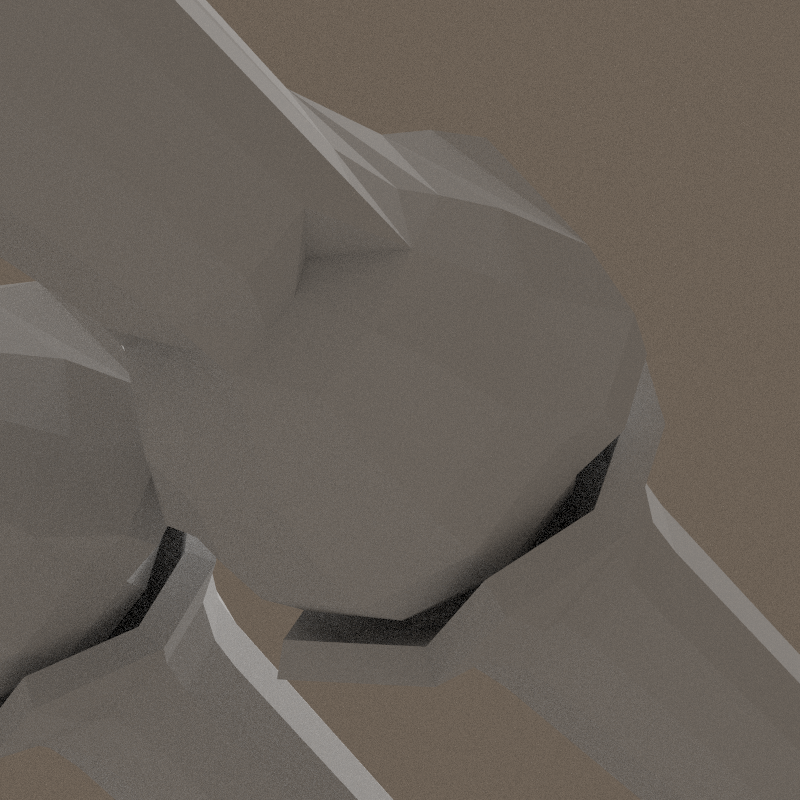
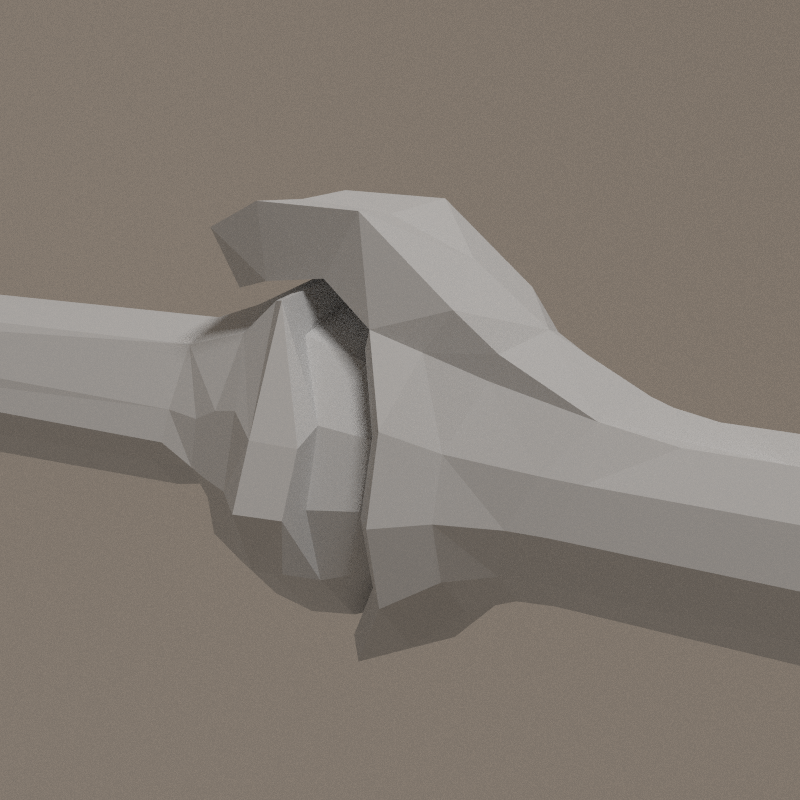
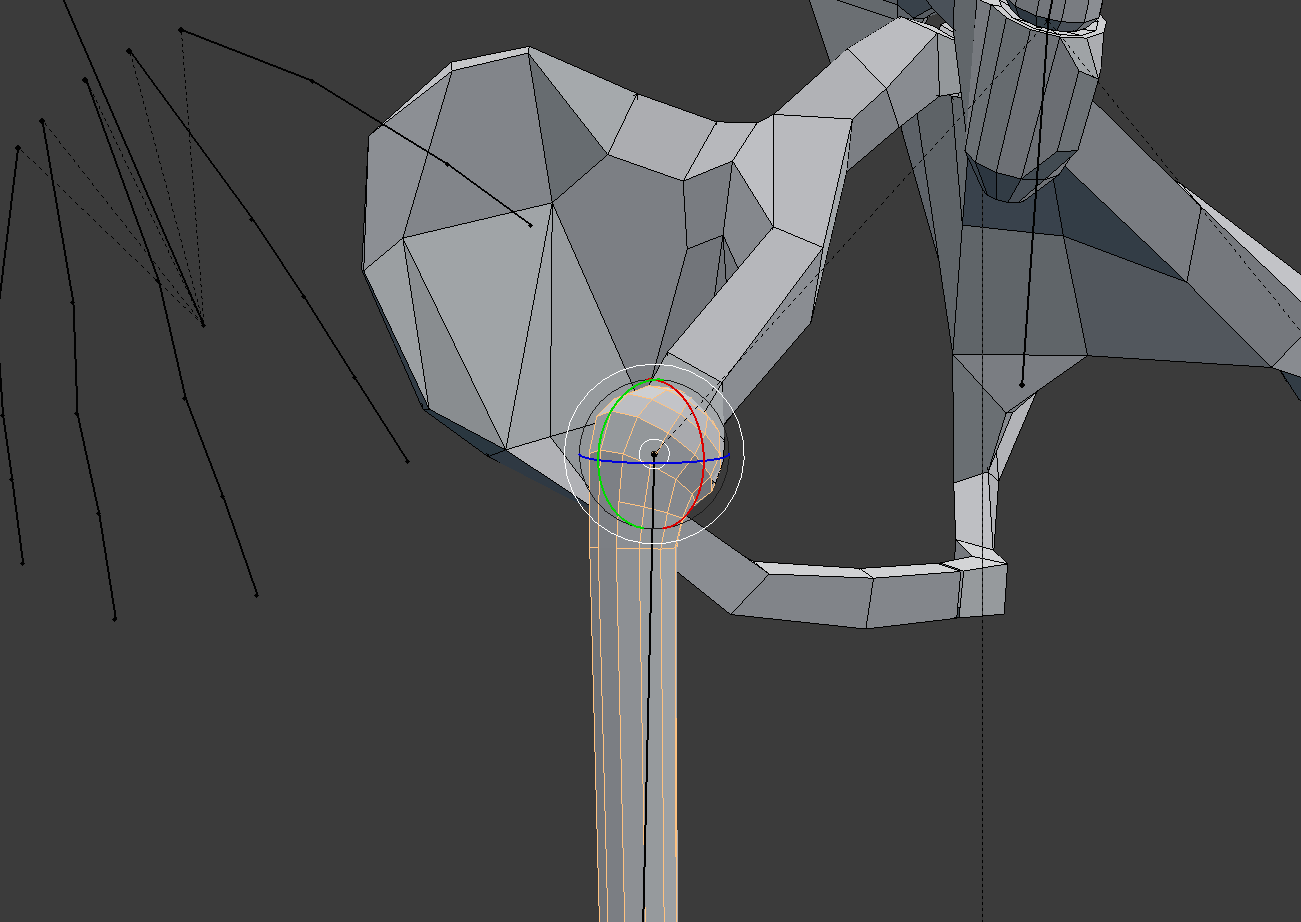
Details of articulation of the omoplate.


-
Articulations

Just because i love blender UI...
Via a custom python script, i'm able to align an object precisely with a bone. Once placed, head and tail of the mesh are separated and placed at the right location: massive use of SHIT+S to place the 3D cursor, change meshes origin and move them. With a bit of method, the rotation axis of the meshes are aligned with the armature. No manual editing! > everything must be done via copy.
Process
- mesh-bone:: edit > pick vertices around the rotation points > SHIFT + S : cursor to slected
- mesh-bone:: object > transform > origin to 3d cursor
- mesh-bone:: object > SHIFT + A : apply scale and rotation
- python:: adapt bone's name and run
- the mesh-bone might not be correctly oriented - CTRL + Z, add a rotation, apply and run the script
The mesh-bone is now correctly oriented. The tail of the mesh-bone is not at the right location.
- mesh-bone:: object > SHIFT + D > ENTER ( duplication at the same place )
- mesh-bone:: edit > remove lower part of the mesh
- mesh-bone-copy:: edit > remove upper part of the mesh
- mesh-bone-copy:: edit > pick vertices around the rotation points > SHIFT + S : cursor to slected
- mesh-bone-copy:: object > transform > origin to 3d cursor
Center of the object is now aligned with rotation axis.
- armature:: edit > pick the bone's tail > SHIFT + S : cursor to slected
- mesh-bone-copy:: object > SHIFT + S : selection to cursor
- mesh-bone-copy:: object (select)
- mesh-bone:: object (SHIFT + select)
- CTRL + J : fusion of the 2 part of the mesh-bone
- mesh-bone:: edit > add the missing faces to make the mesh solid again.
It's not straight-forward, but it works very well.

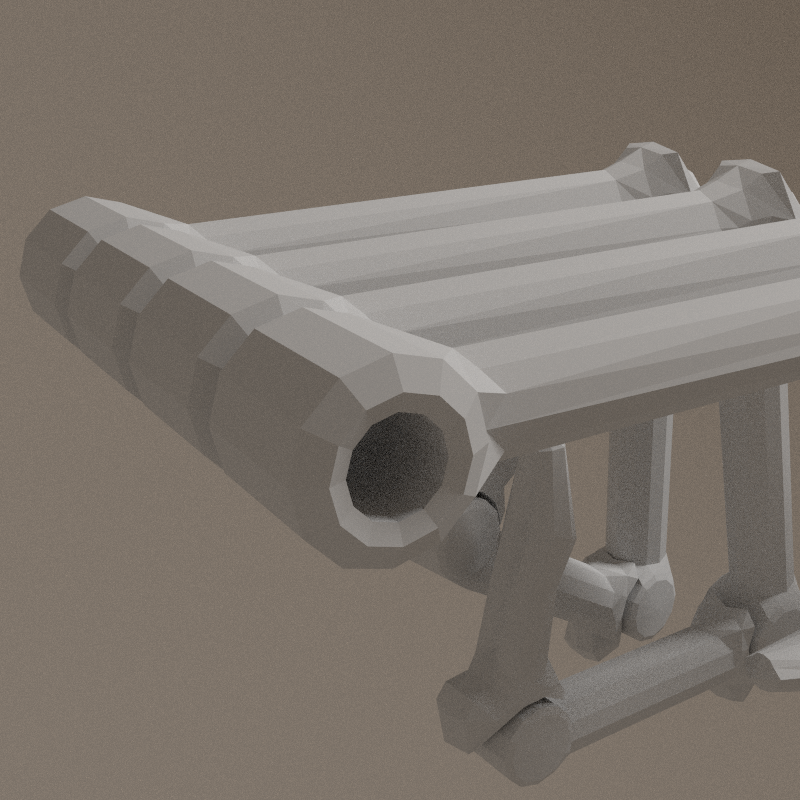
Texture


First attempt, based on http://blendermada.com/materials/detail/26-cracked-stone/
Resources
Backups
- File:Skeleton-model-backup.zip - .blend file + refs folder
Externals
- BIODIGITAL HUMAN - website to explore 3d anatomy.
- Base de l'anatomie humaine - projet de Edouard Ceysson et Loup Dédiot.
Books